


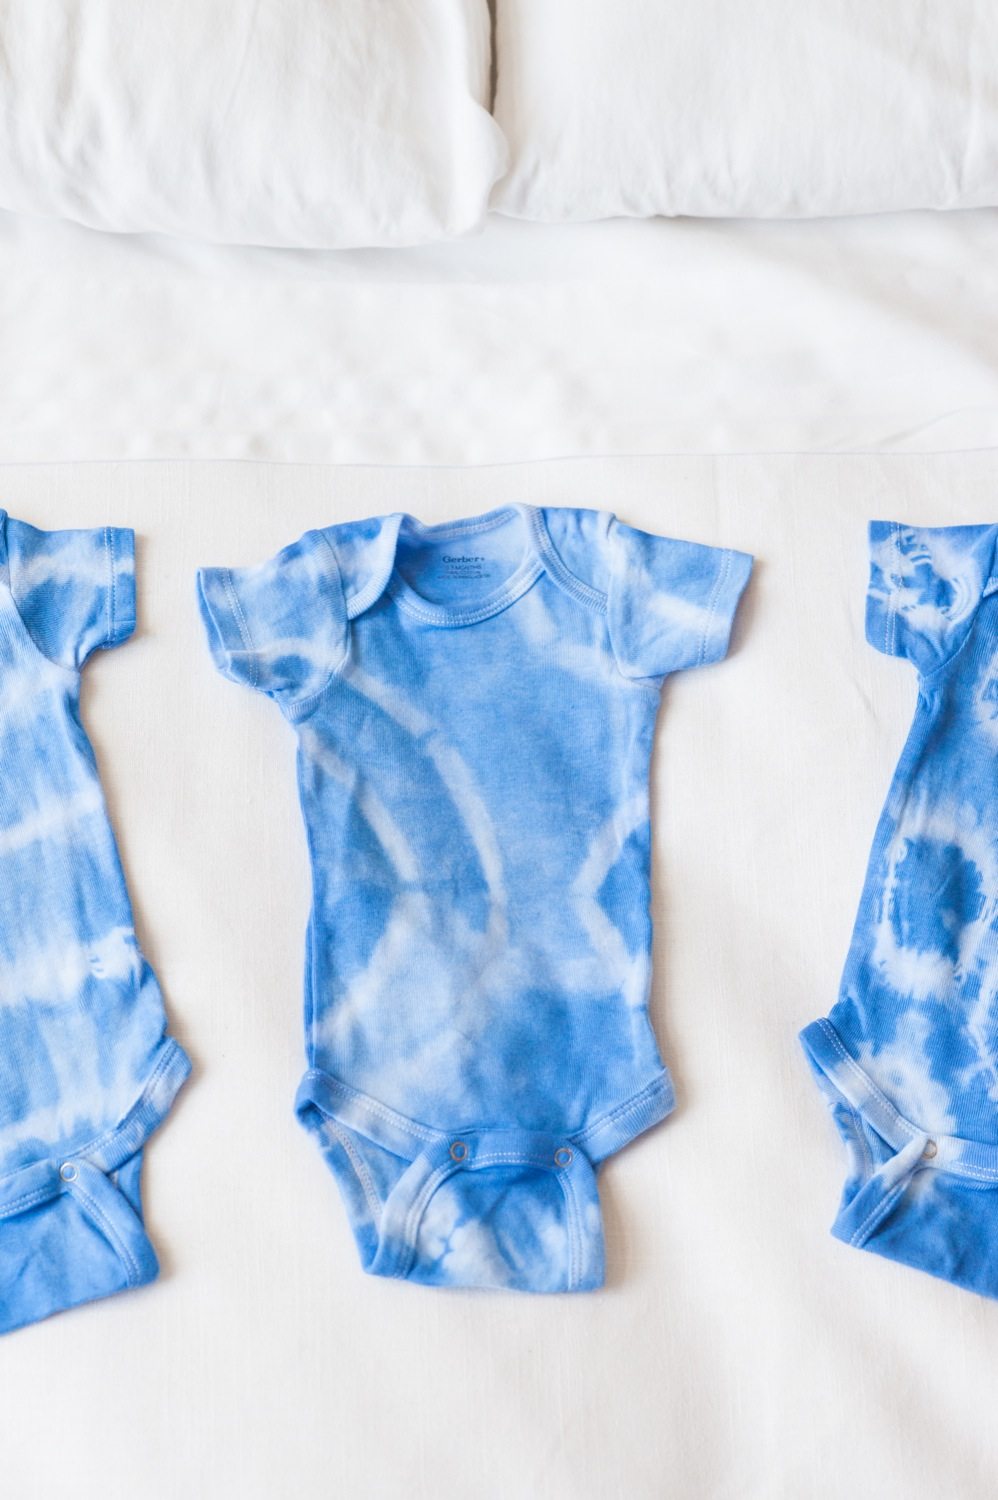
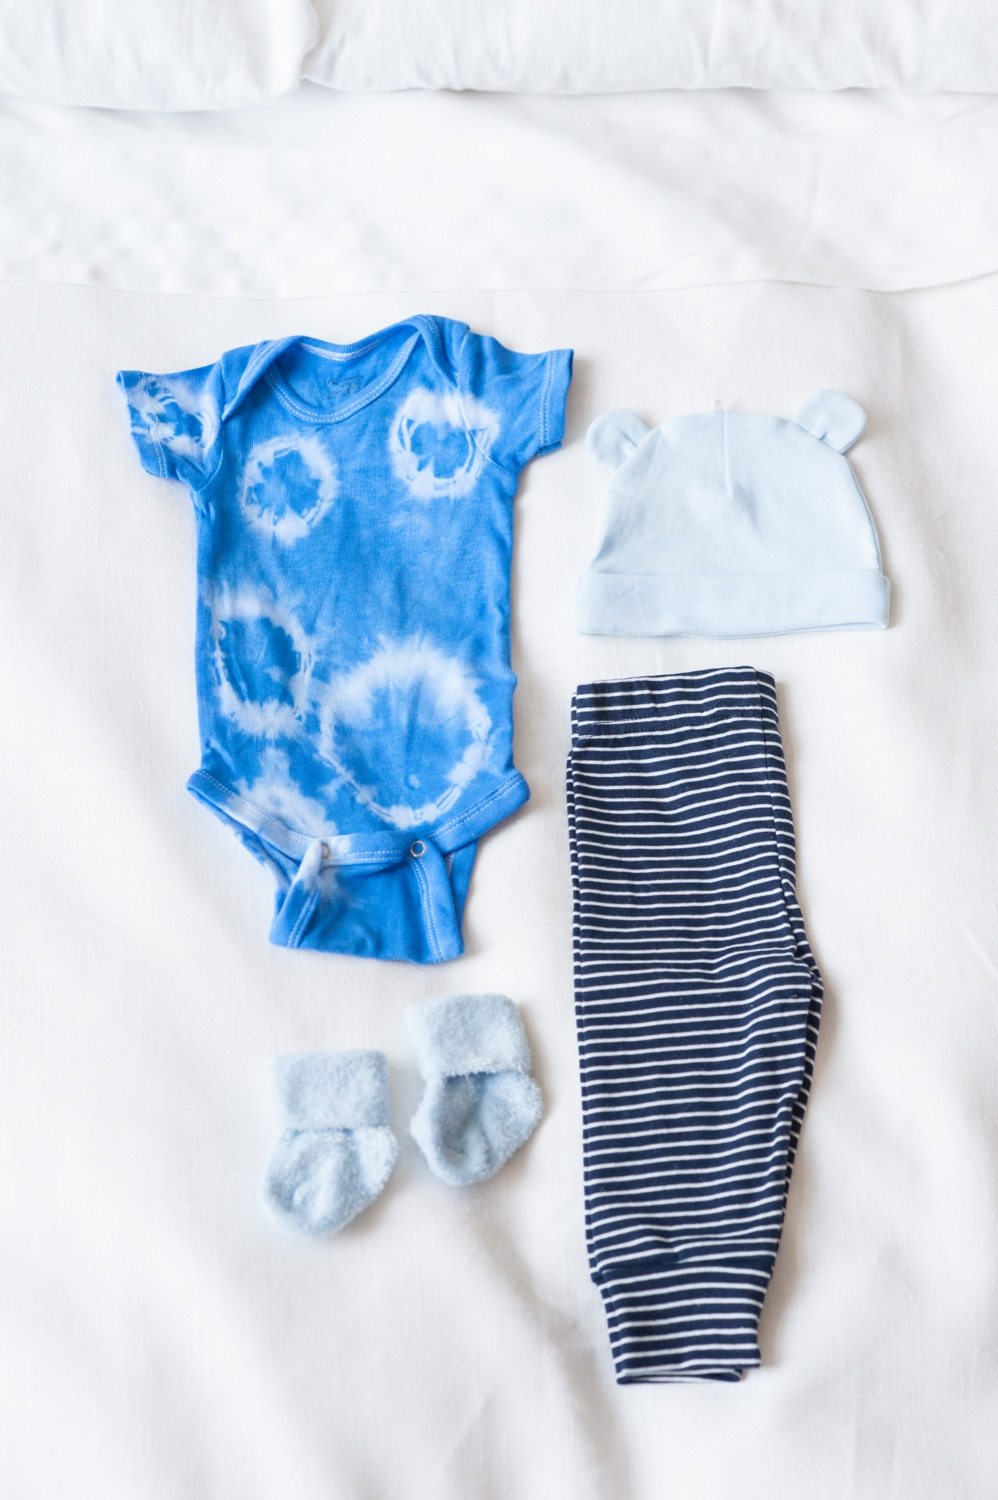
Is it just me or does it seem like there is a virtual baby boom going on at the moment? Between blogger friends and “real life” friends, I swear at least 1/4 of the women I know are expecting little ones in the coming months. And with lots of babies, comes lots of showers to attend and gifts to buy! I was playing around on Pinterest one night trying to find a few fun ideas for DIY onesies and found there were surprisingly few, so I decided it was a perfect excuse to mess around with a bit of shibori dyeing. You know I love indigo and classic Japanese shibori dyeing is just stunning. (Remember these gorgeous DIY indigo dyed linens from a couple of years ago?) So today we’re making DIY shibori onesies that are perfect for your friends having little girls or little boys or those that are opting not to find out. I’ve styled them both ways to show you that indigo is perfect for all babies!

![]()
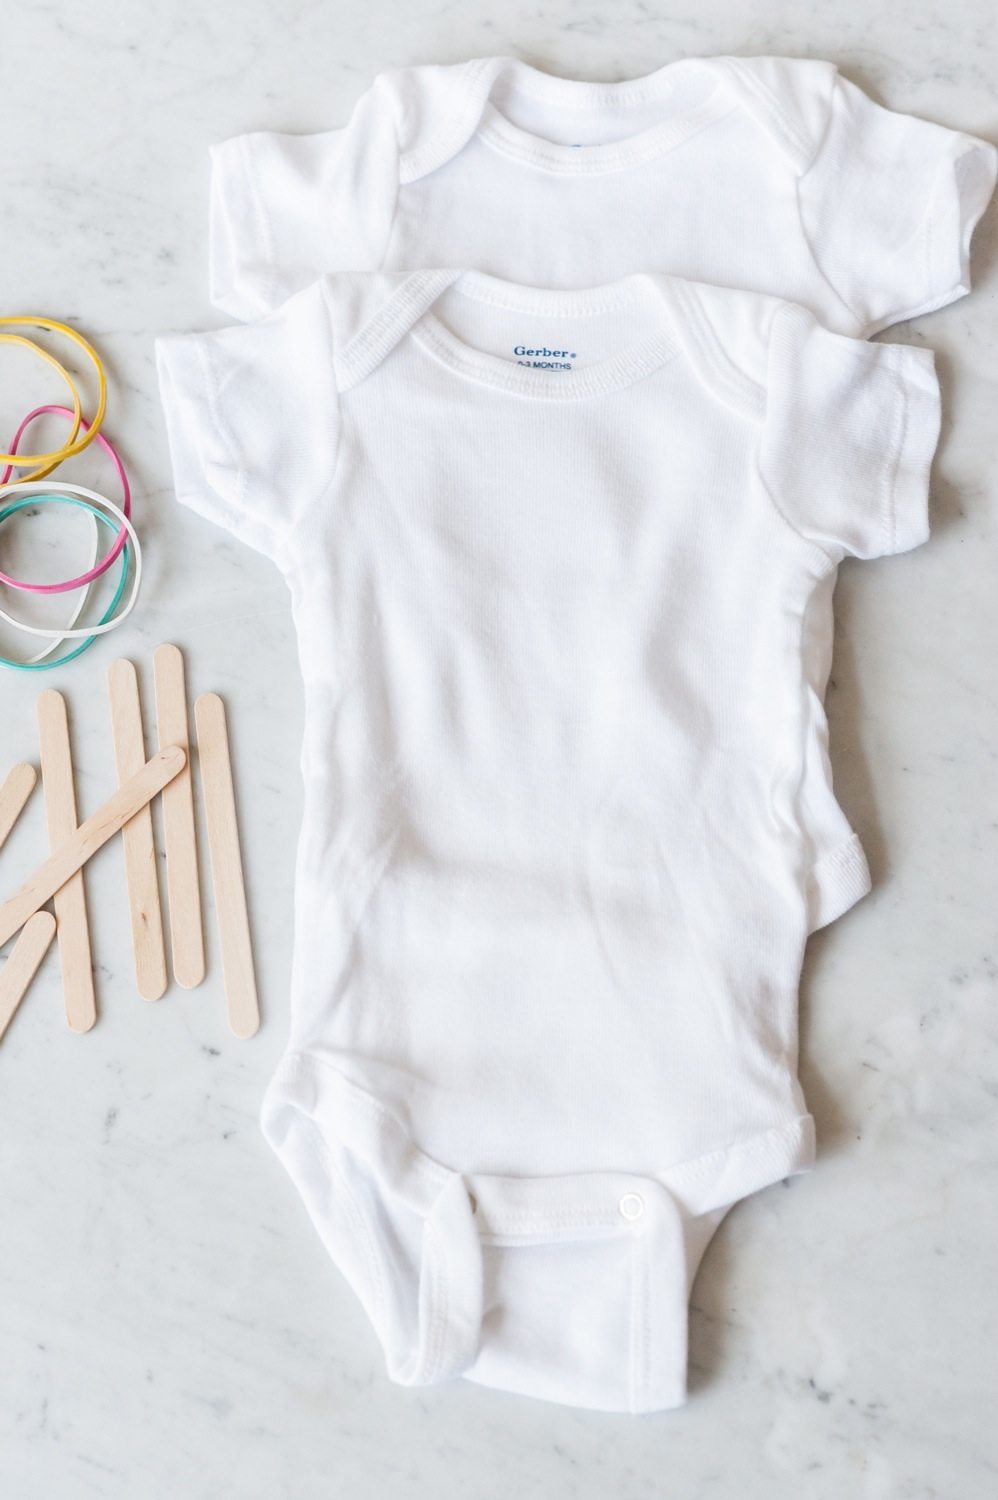
- Basic white onesies
- Rubber bands
- Popsicle sticks
- Rubber gloves (get the thicker kind)
- A bucket for the dye bath
- Hot water
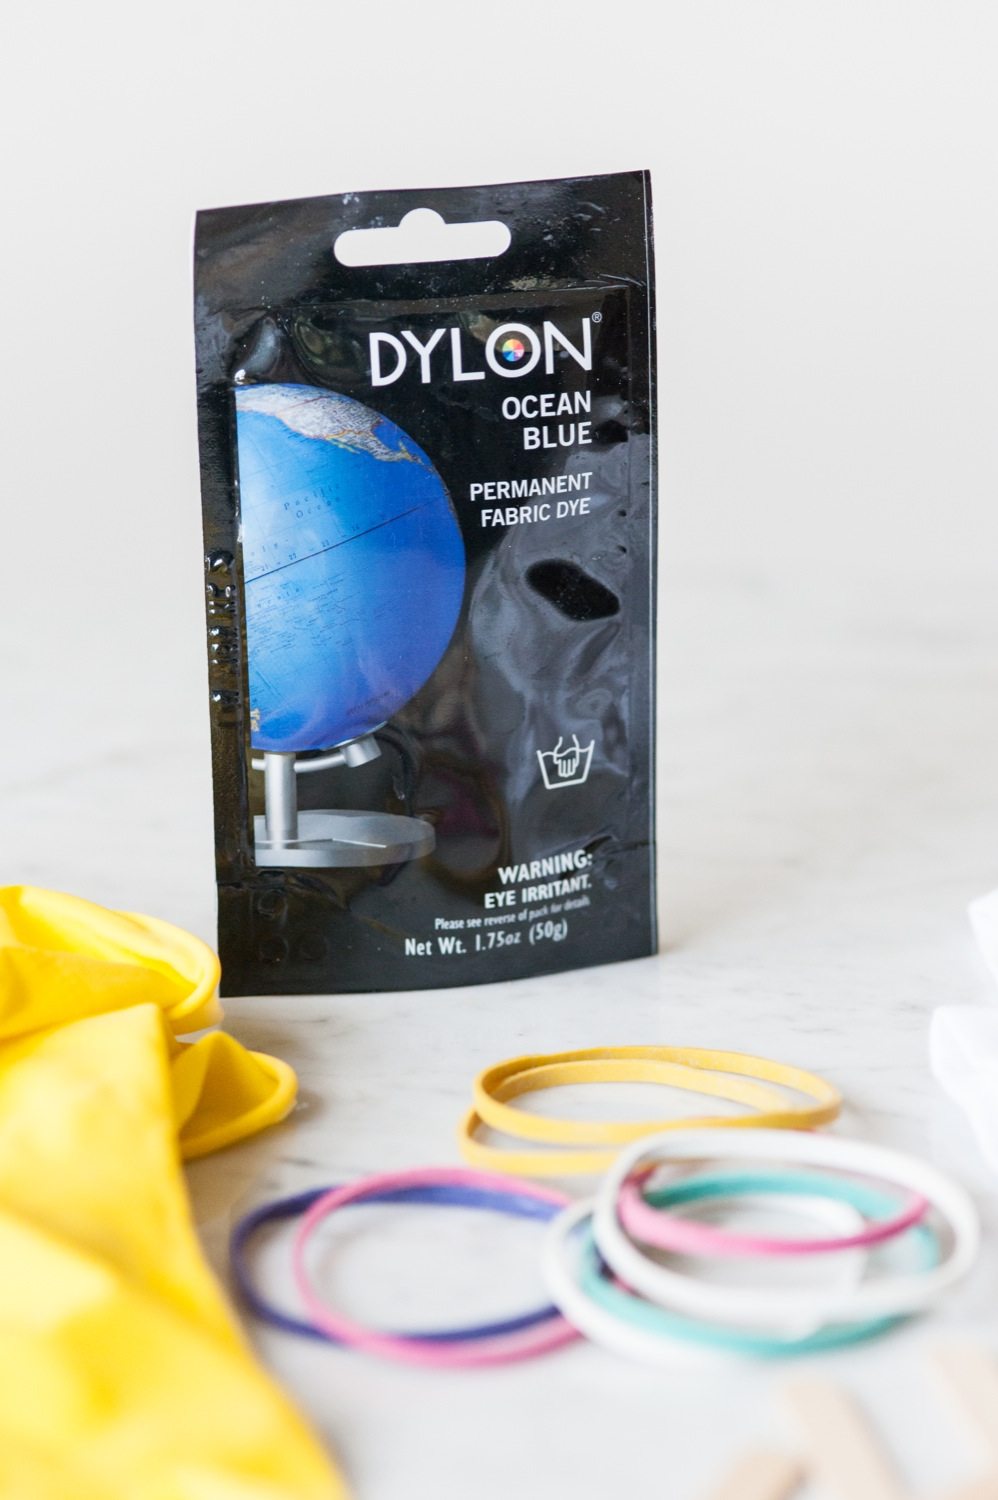
- Fabric dye (I used this kind)
Before doing anything, step one is to completely and thoroughly read the instructions that come with your particular dye and prepare the dye bath accordingly. Then, read them again. When I decided to give this a go, I did not have time to order indigo dye (you can find it here) and I couldn’t find any locally so I opted to just use a super dark blue fabric dye. The process is very similar, but the actual indigo dye will end up darker, so personally I think I’ll play with that next time although I do love how these turned out! Whatever route you go, just make sure you’ve read all the instructions and prepare your dye bath and fabric accordingly.
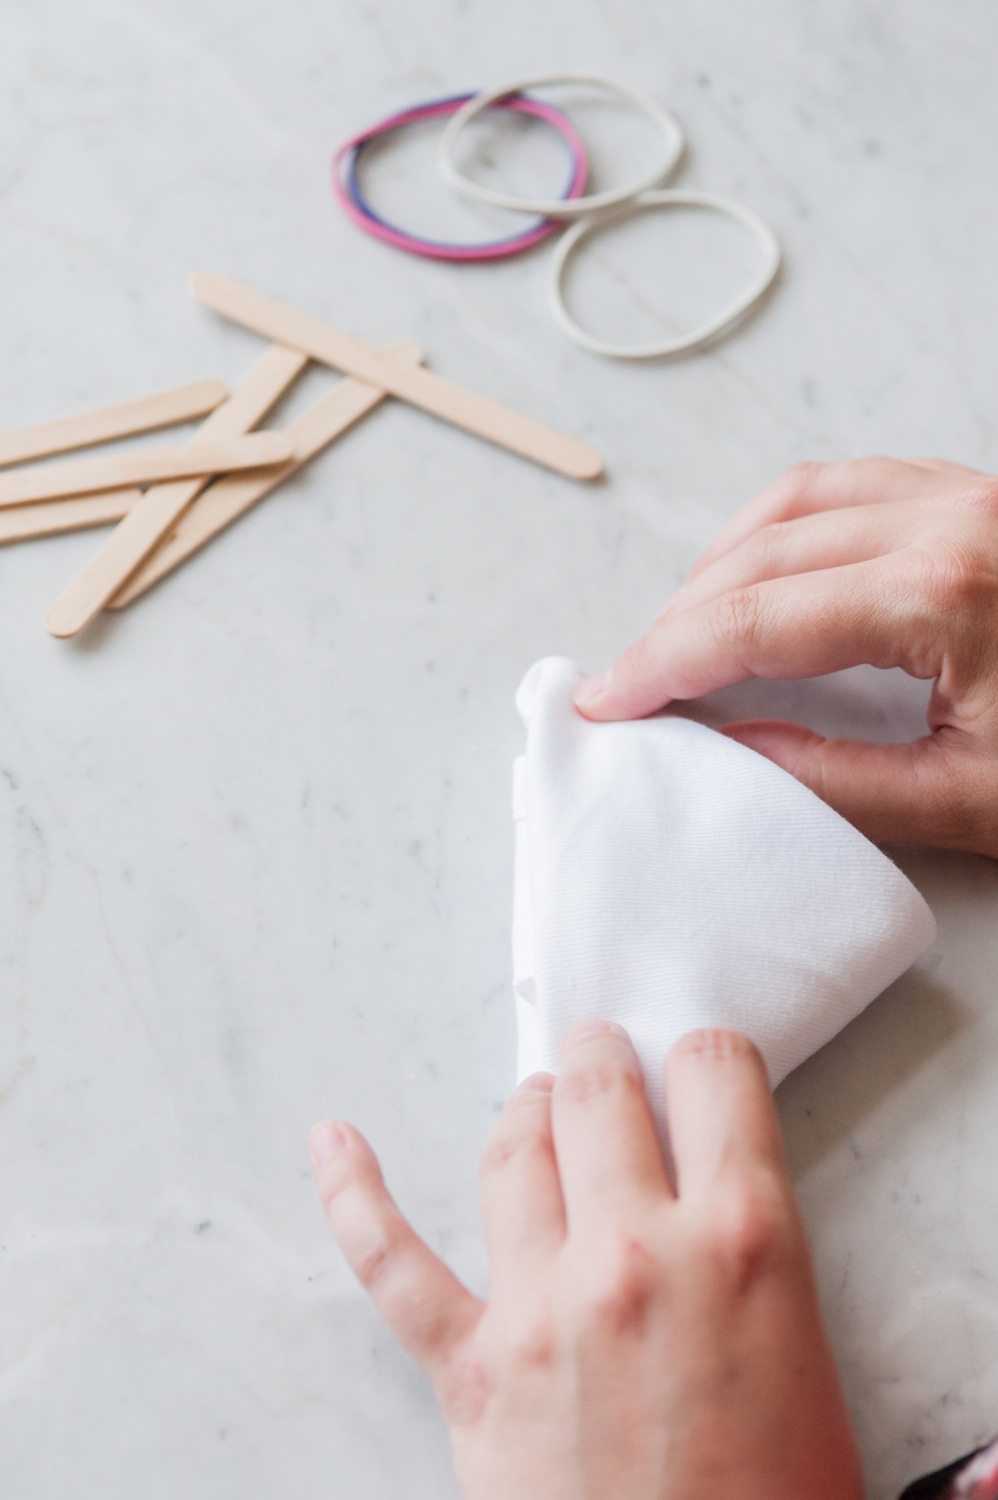
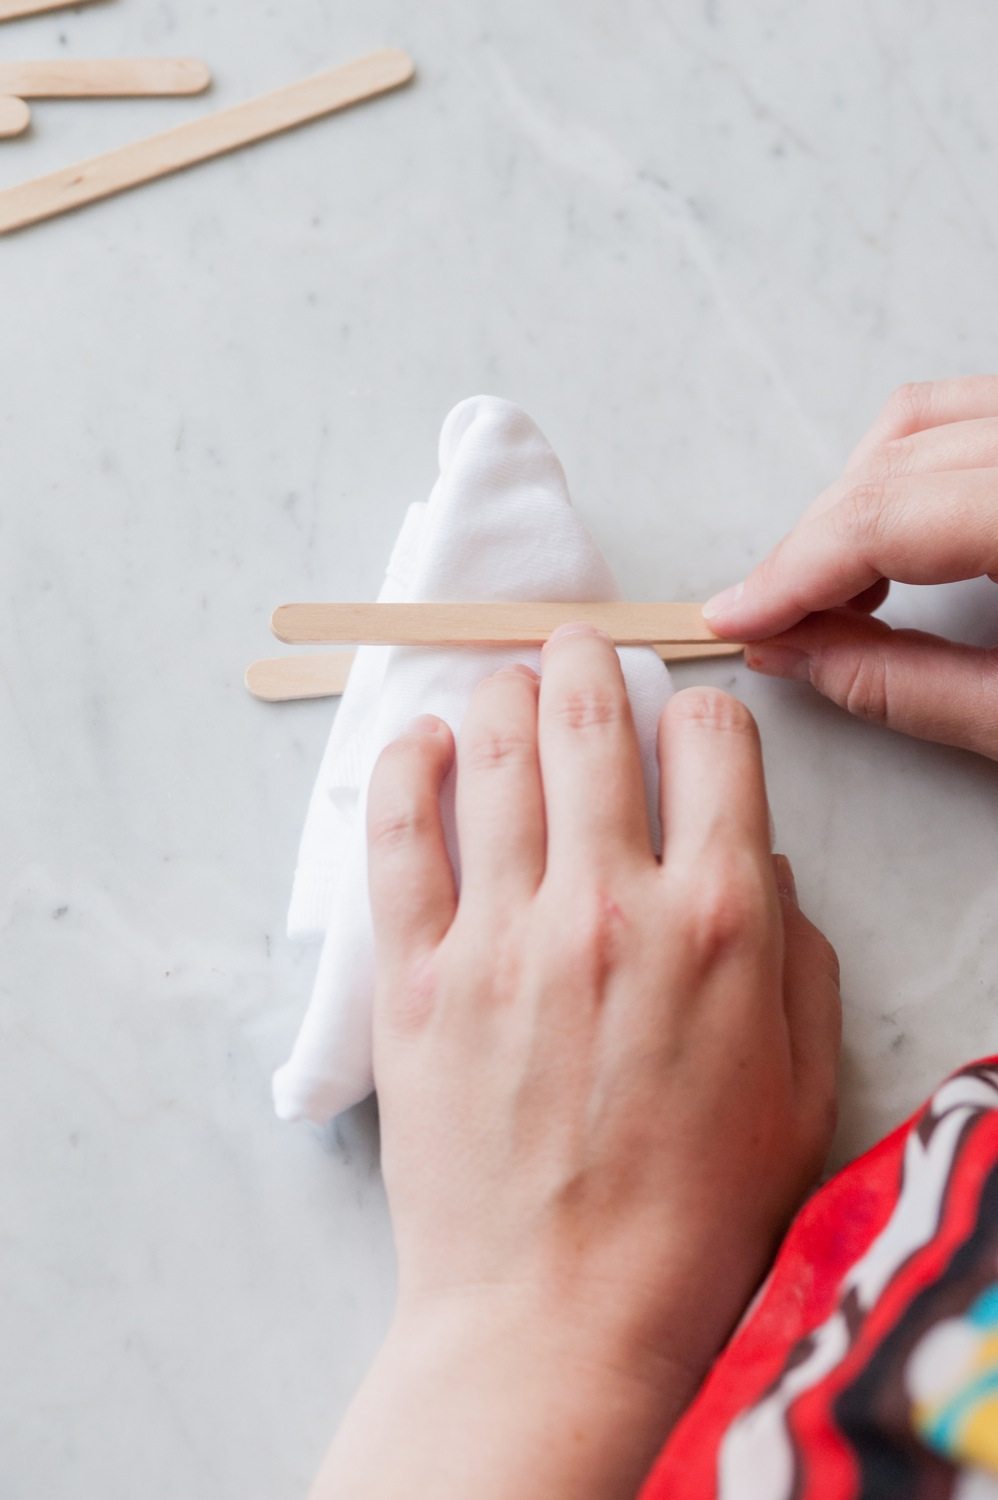
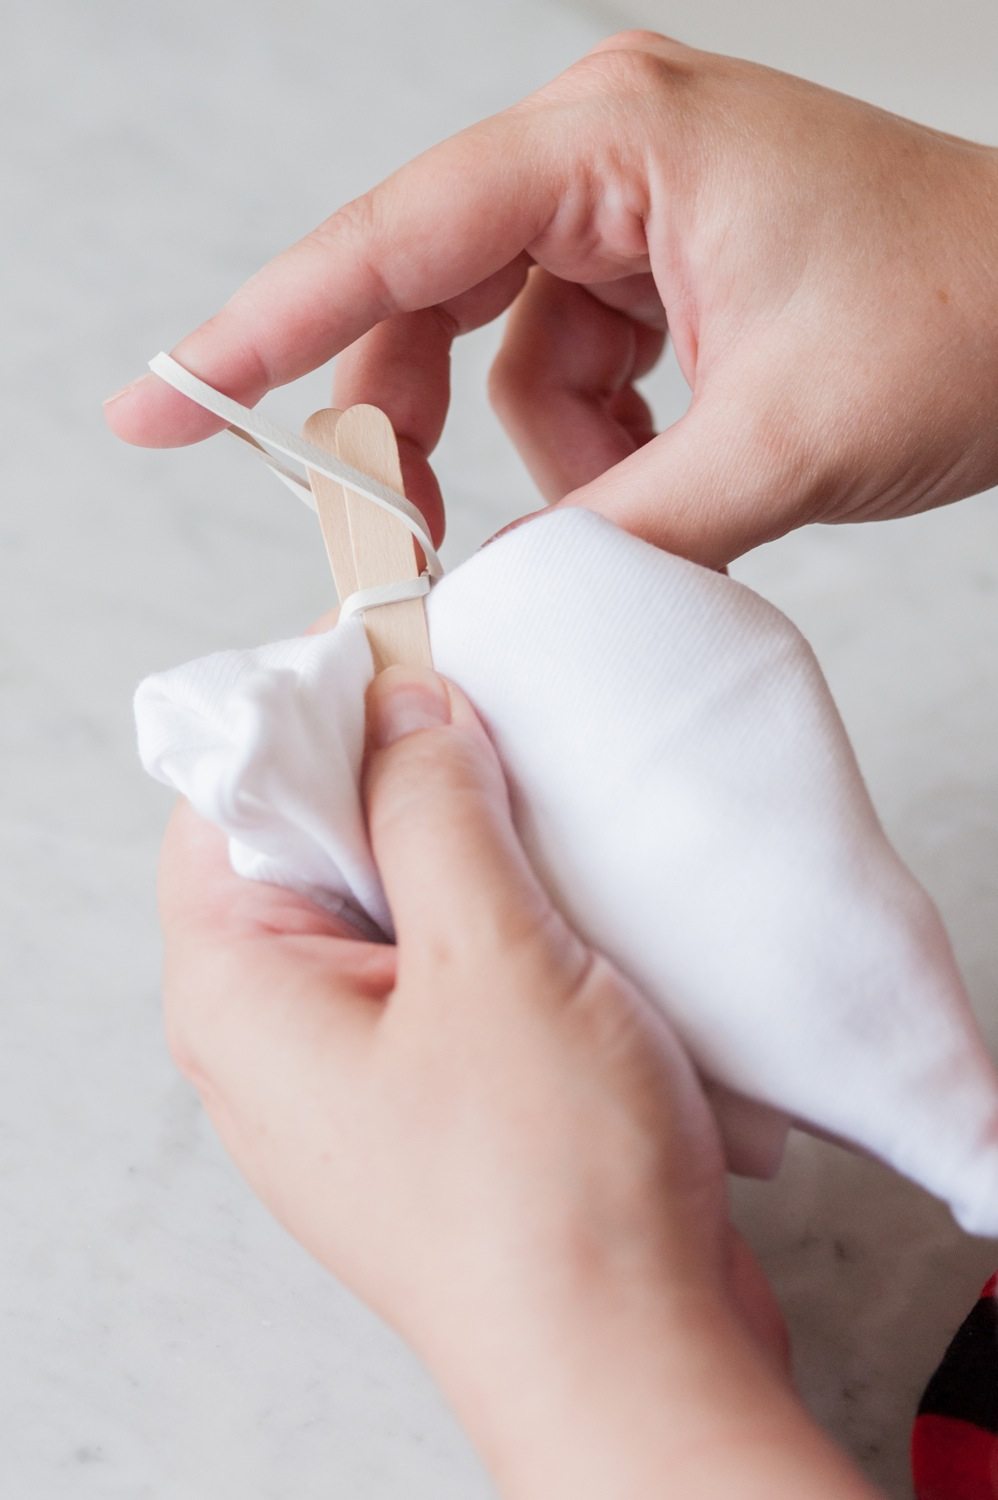

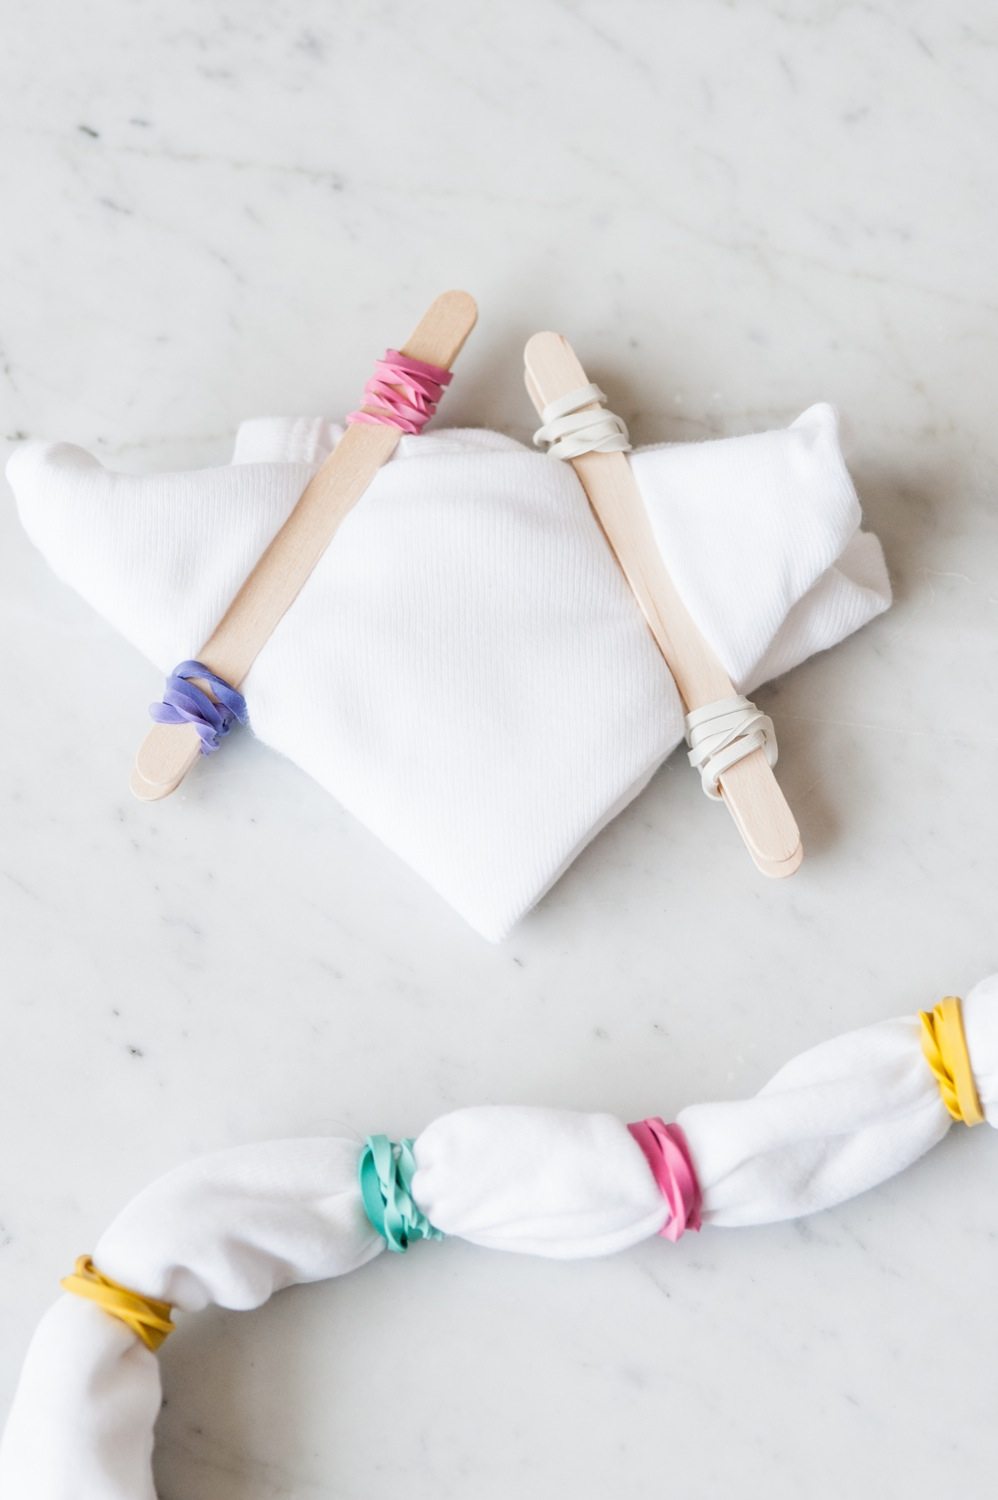
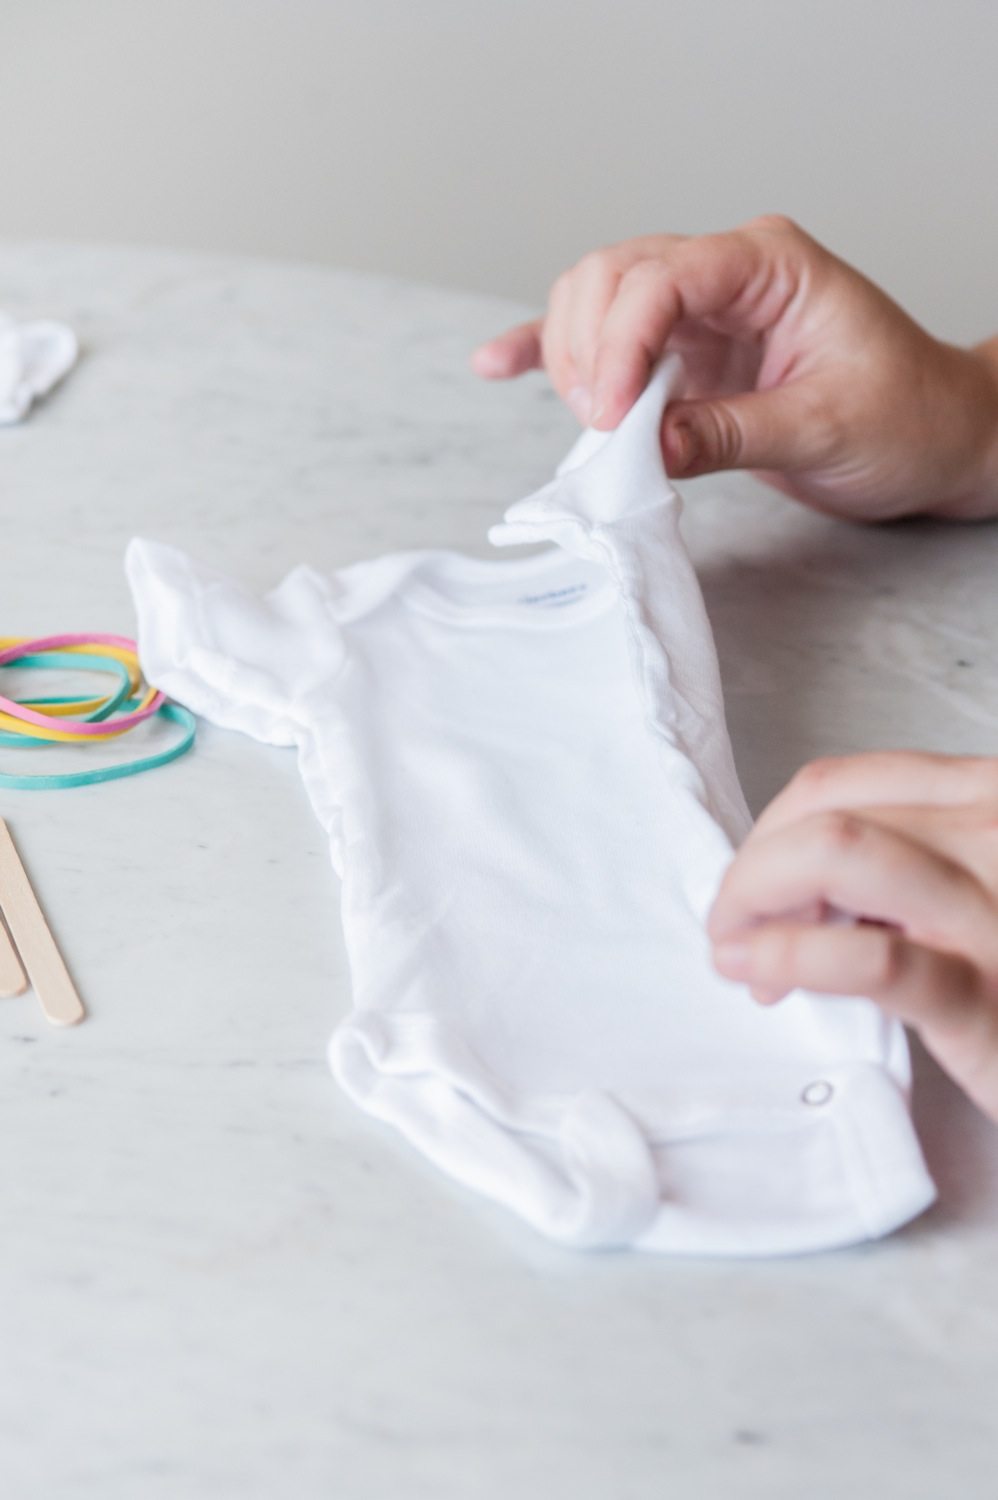
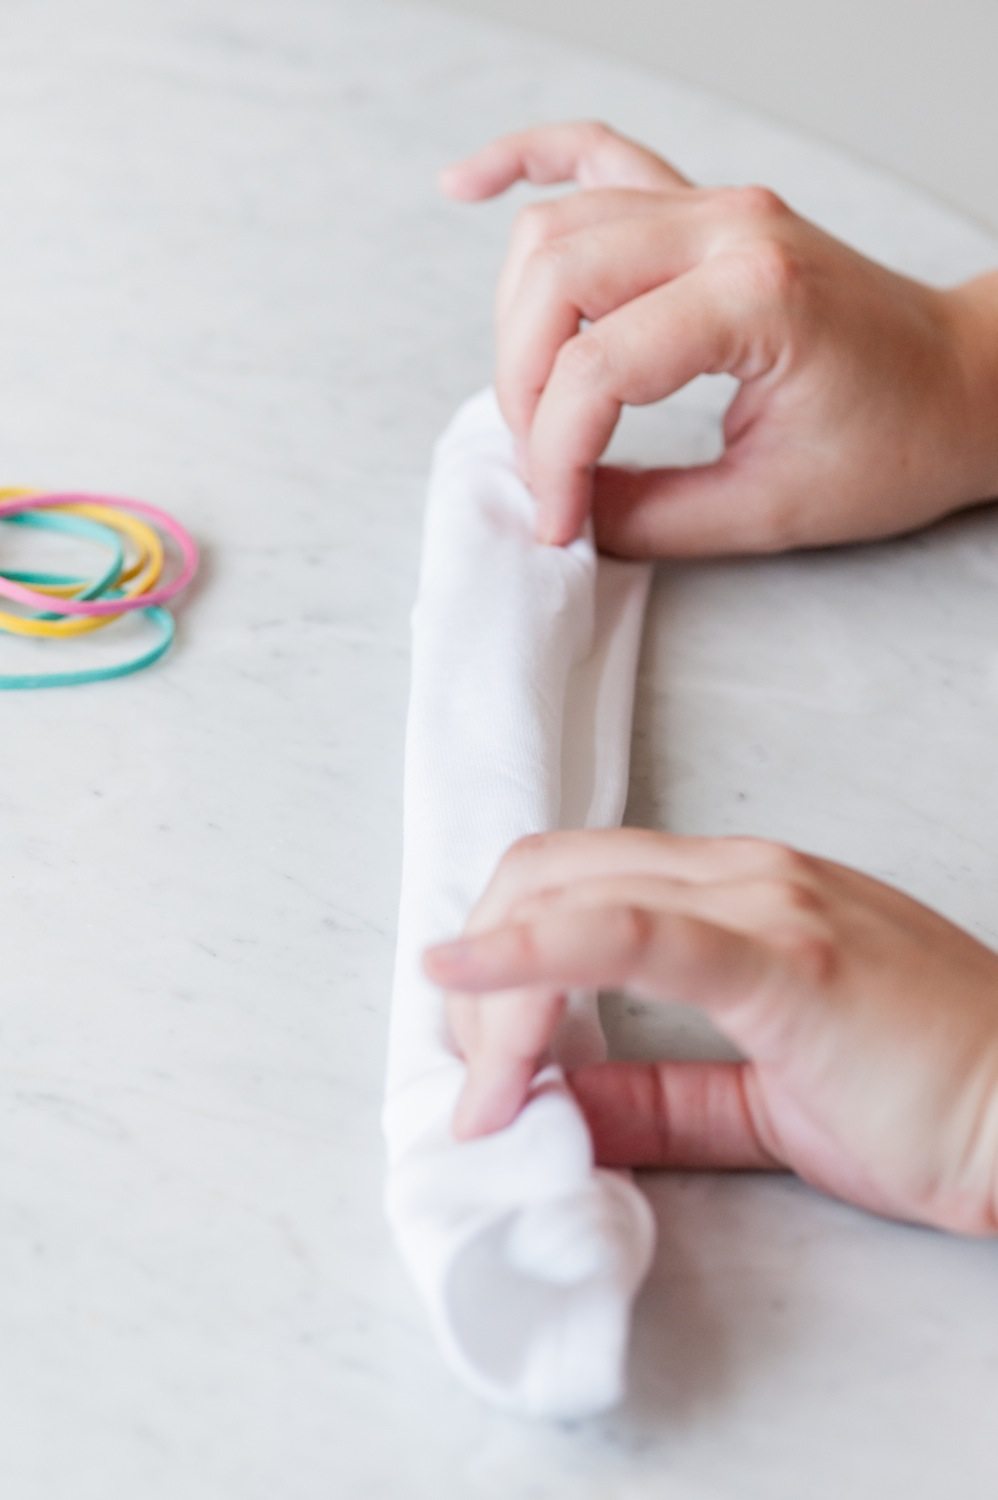
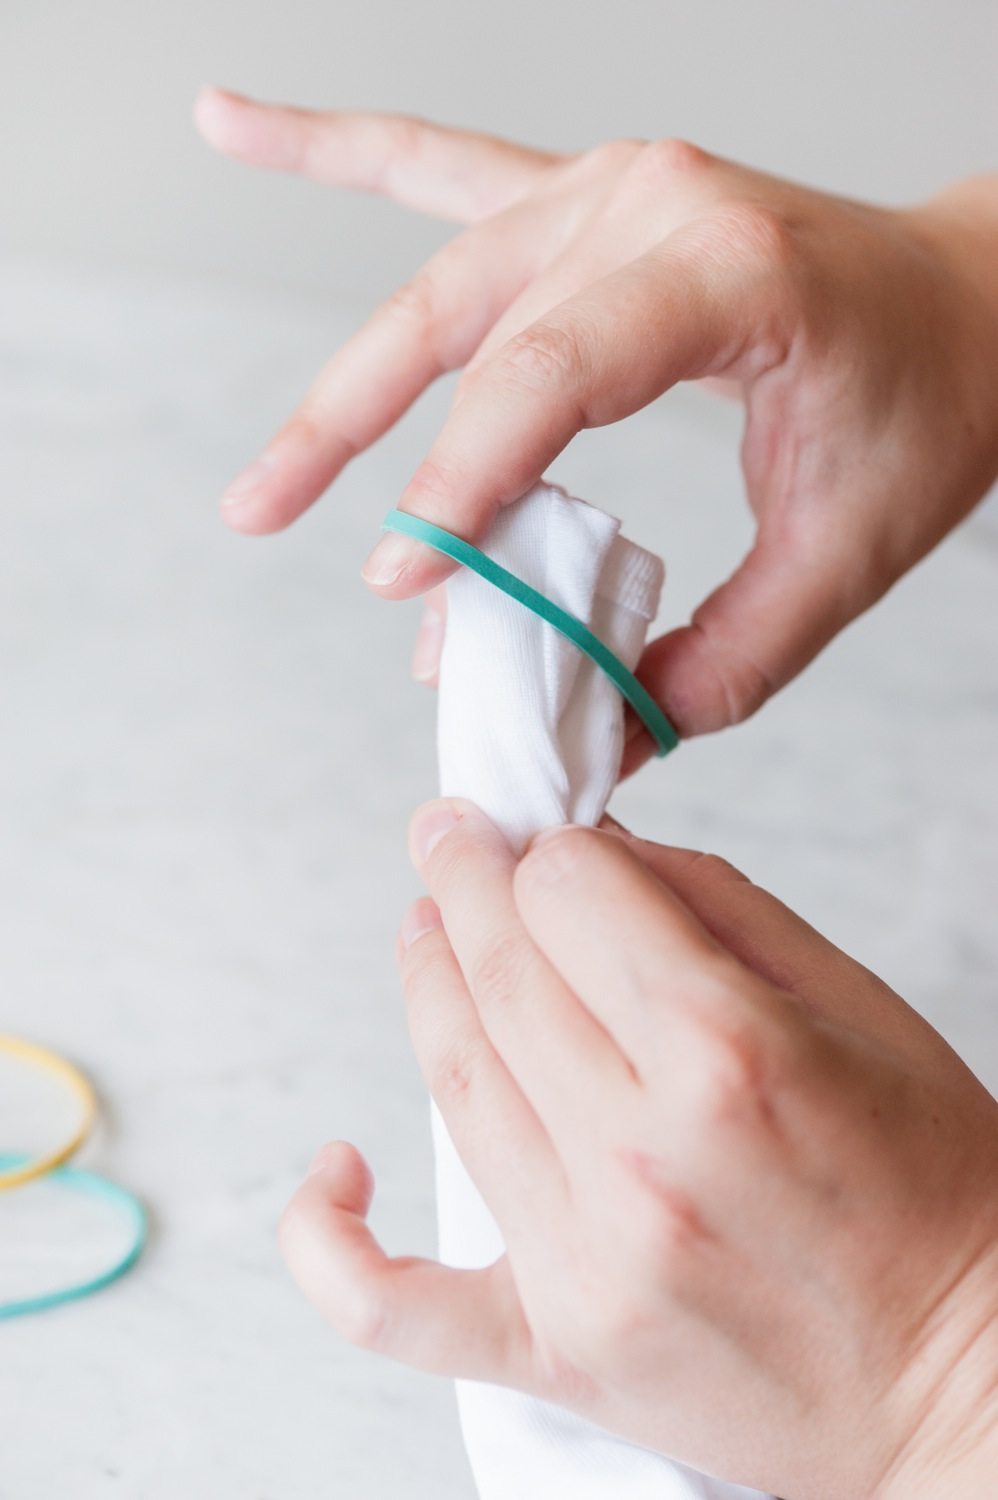
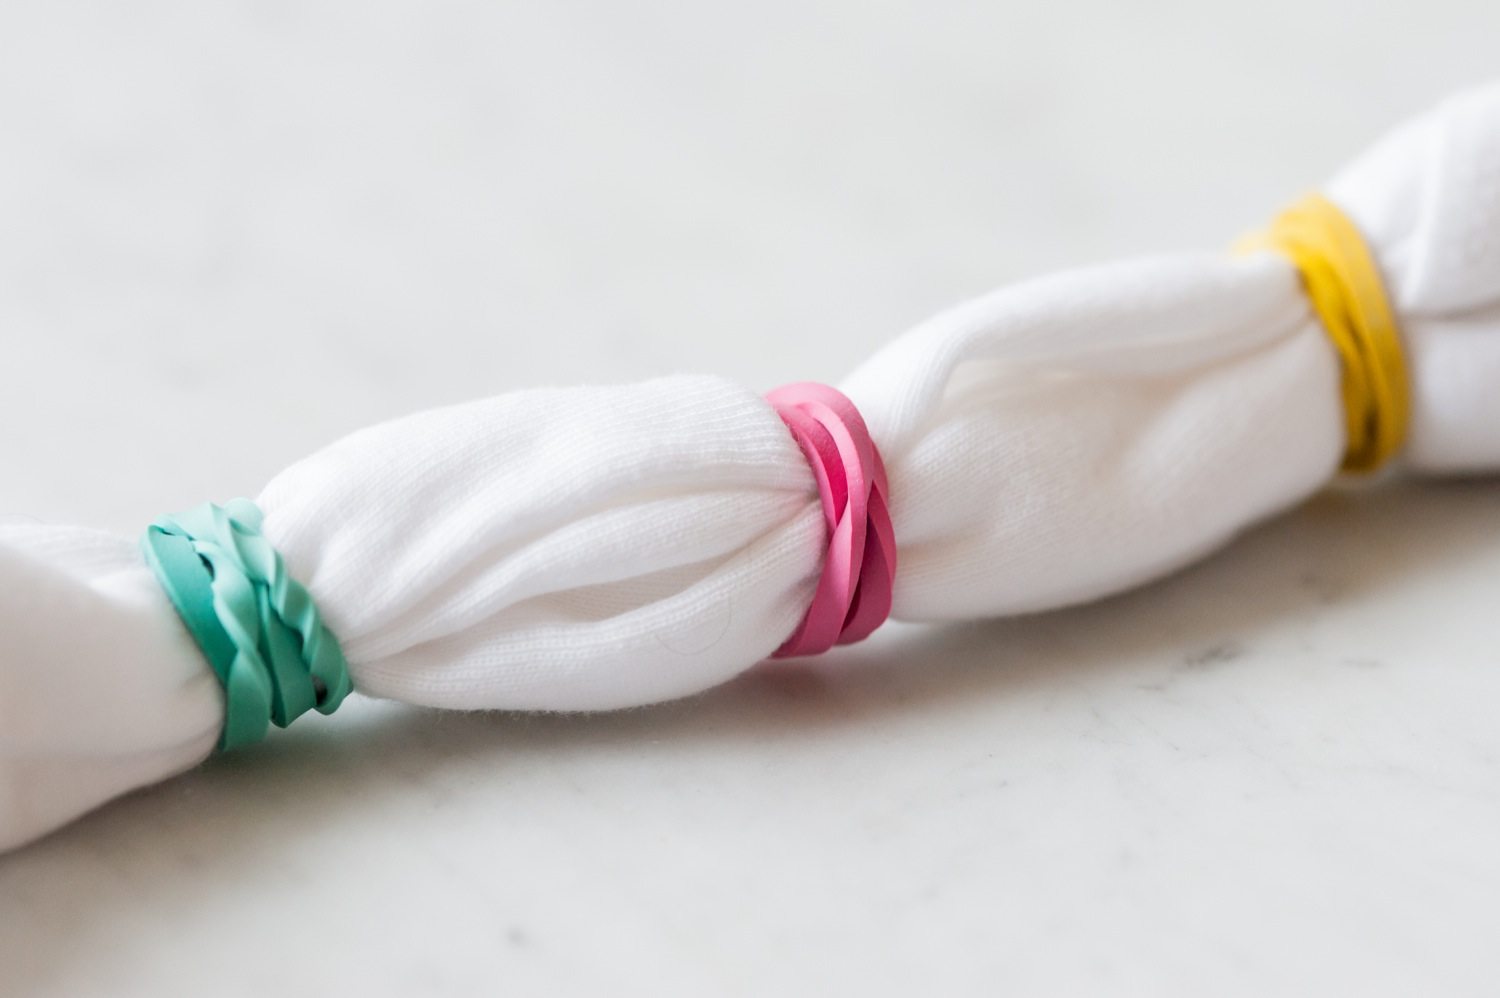
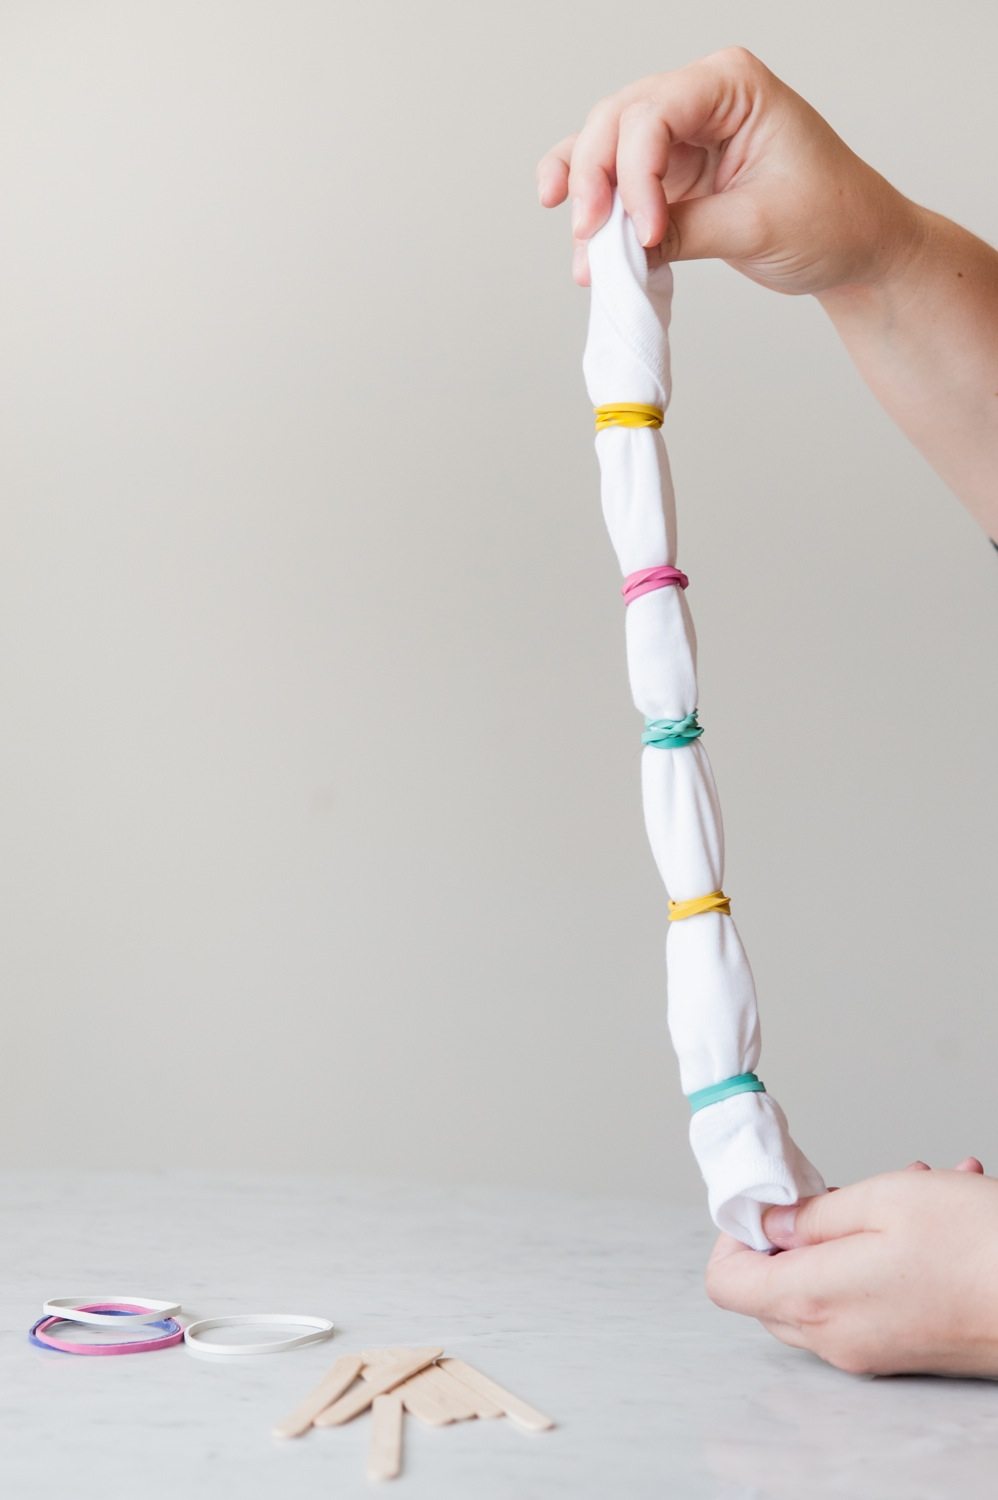
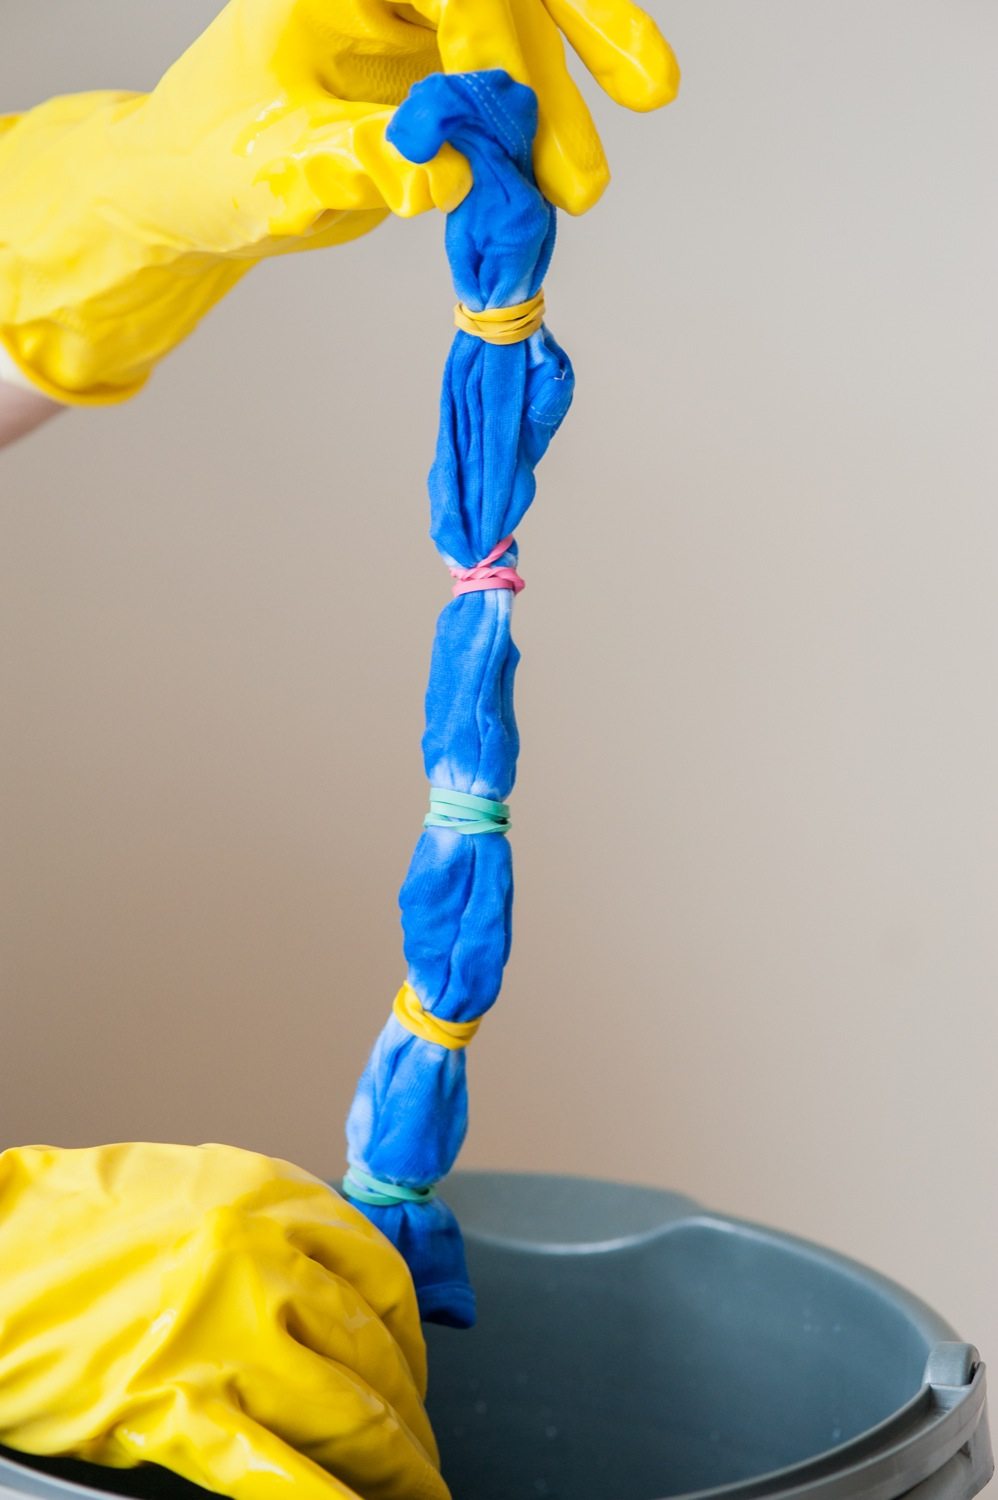
The next step is to fold and knot your fabric! You can use different techniques for this depending on the final look you prefer. Up above, simple rubber bands tied around the fabric rolled up results in a striped pattern. You can fold and secure with popsicles sticks to create rings or pinch and secure the fabric to create sunburst patterns reminiscent of the tie dyeing of our youth. (You can find more resources for shibori folding and the resulting patterns in this post.) When you have the onesies prepared, place them in the dye bath and dye according to the manufacturer’s instructions, keeping in the mind that the longer the fabric is in the dye, the richer the end color.

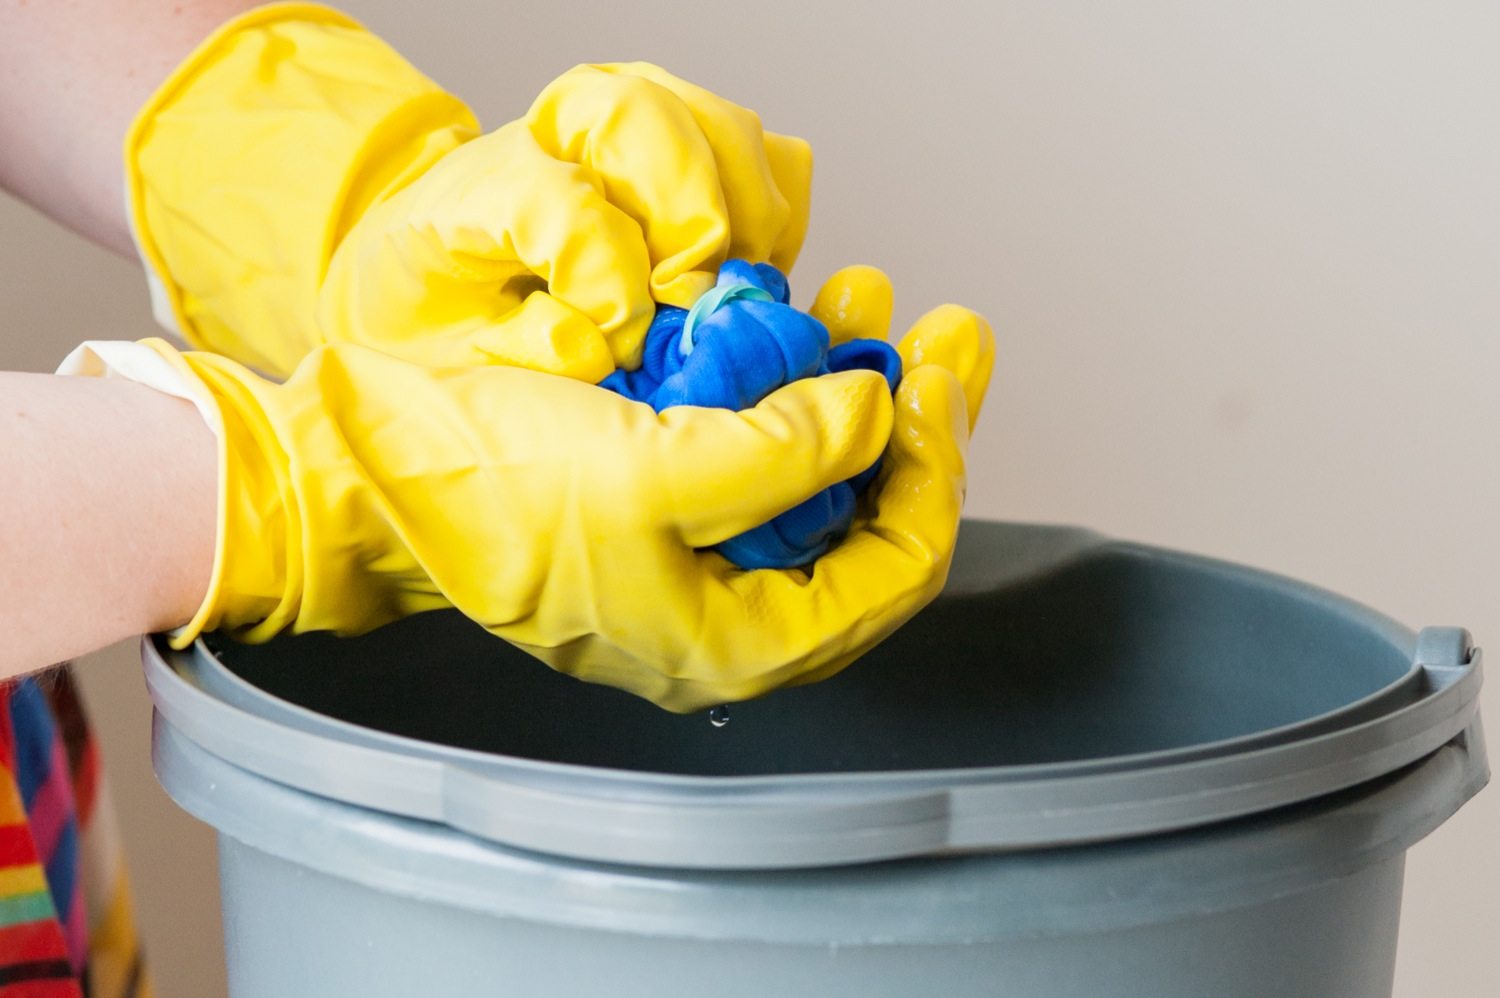
When working with dye, remember to always wear gloves and prepare your work area accordingly! Because, you know, it’s dye and it’s permanent. I like these thicker rubber gloves, as opposed to latex gloves, which are easier to tear and may result in blue fingers for a good length of time. When the time is up, use metal tongs or a paint stick to lift the onesies up out of the dye bath and wring out thoroughly before rinsing. Rinse, rinse and rinse some more using fresh clean water (doing so in a stainless steel sink is best) and then wash as advised in the dye instructions. What you’re left with are totally adorable onesies perfect for every little baby in your life. So sweet!
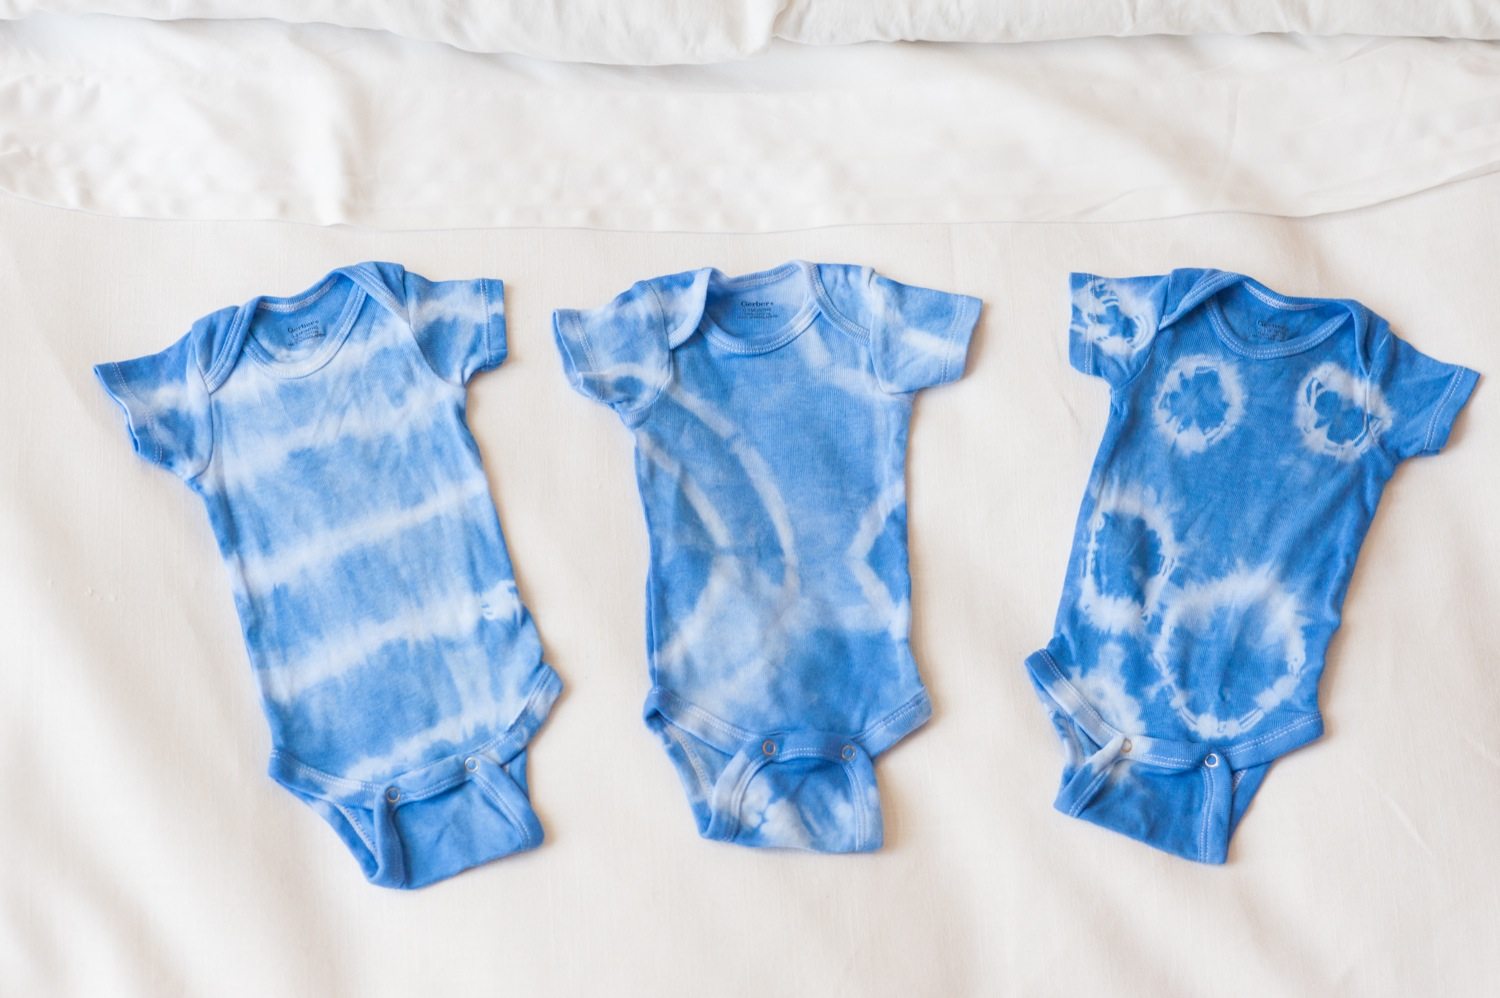
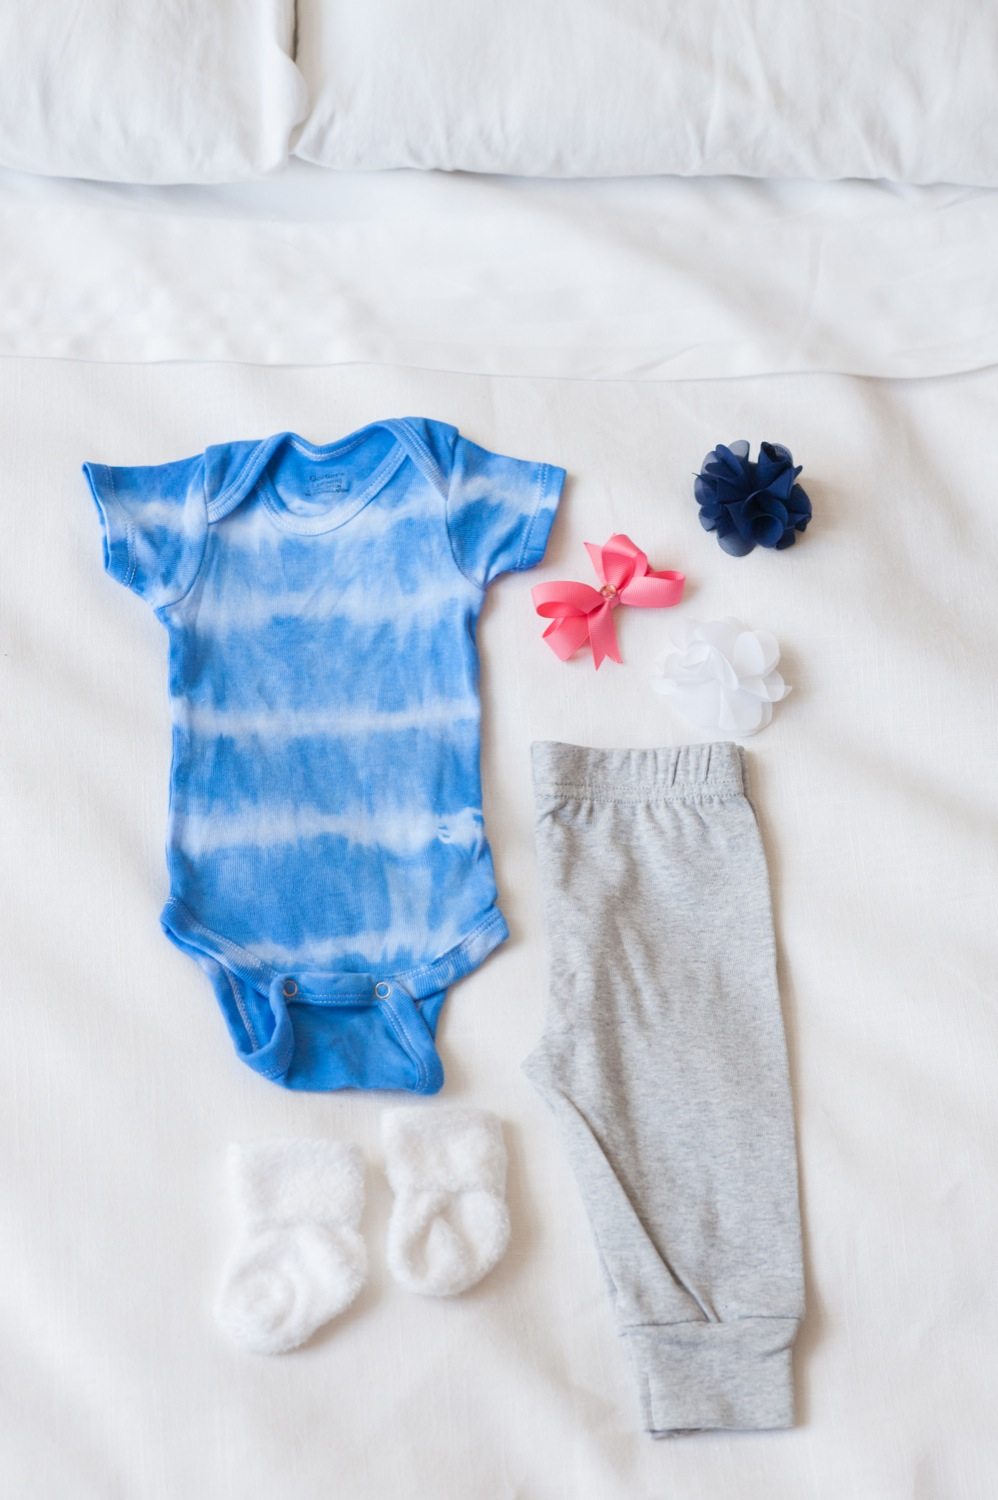
I have to admit that these cute little onesies are one of my favorite projects to date, I think because they helped me get over my mental block when it comes to dyeing. I had it in my head that it would be a ton of work and really fussy, but it was shockingly easy! And the end result? Just too too cute! Has anyone else dyed anything recently? What should I dye next? I have a feeling I’m going to be dyeing things like a mad woman for the foreseeable future!
![]()
[Design + styling by Cyd Converse | Photos by Alice G. Patterson for The Sweetest Occasion.]
The fine print: Please link with love! As with all of our posts, DIY projects featured on The Sweetest Occasion may not be copied, distributed or reproduced without express written permission. Love and links are always appreciated! If you’d like to share this post, please link to this post directly for the DIY tutorial and do not include the instructions in your own post. Thanks so much! xoxo


 Back to Top
So cute!!!! Congratulations :)
This is so so adorable! If I get around to it I may have to give this a shot for our squirrelly baby!
Eeeeeeek. So cute. Can’t wait to see a pic of these on actual babies!
These are so cute – and SO adorably tiny!
Also, I’m terrrrrible about forgetting gloves until it’s way too late. :/