


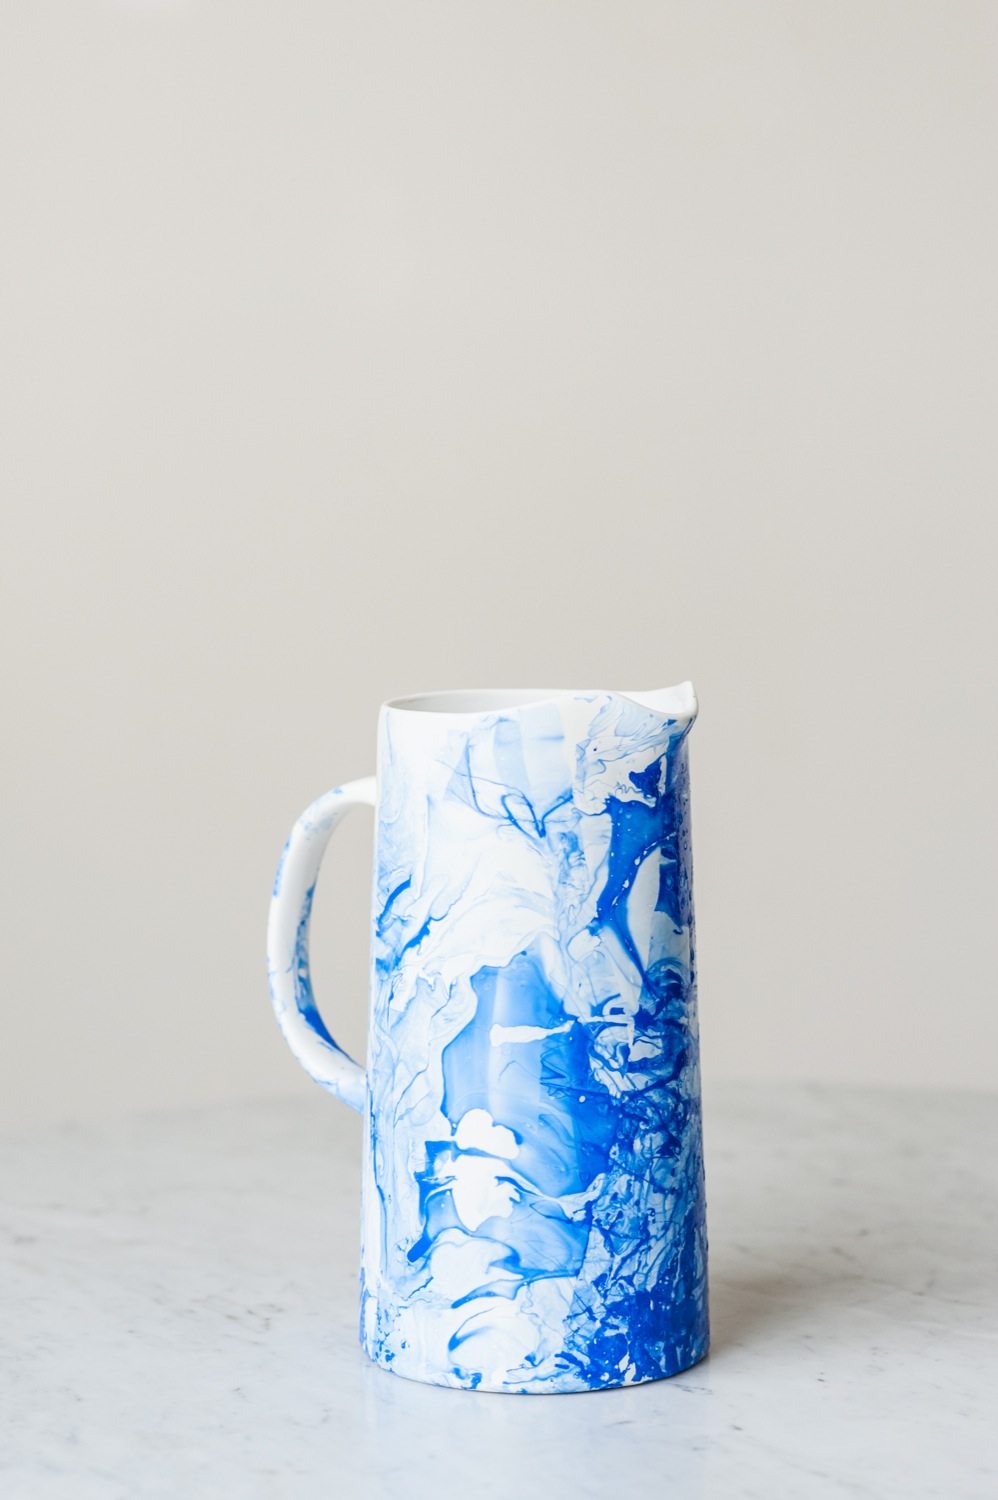
I know I’m not alone in being totally into the marble craze that’s kind of sweeping the craft world at the moment. Rarely a day goes by that I don’t see a new project hit Pinterest that I just adore. The technique is so super easy that I wanted to give it a go transforming a simple, white ceramic pitcher that I picked up at Target. The clean, modern shape was already really cool, but I figured a dipped indigo marble look was only going to make it even cooler. Turns out, my instinct on this one was right! So today I’m showing you the pretty ridiculously easy way to rock this DIY marble look on just about any ceramic or glass thing you may happen to own or pick up for cheap at a yard sale this summer. All you need is nail polish and water. Yes, seriously. Let’s do this!

![]()
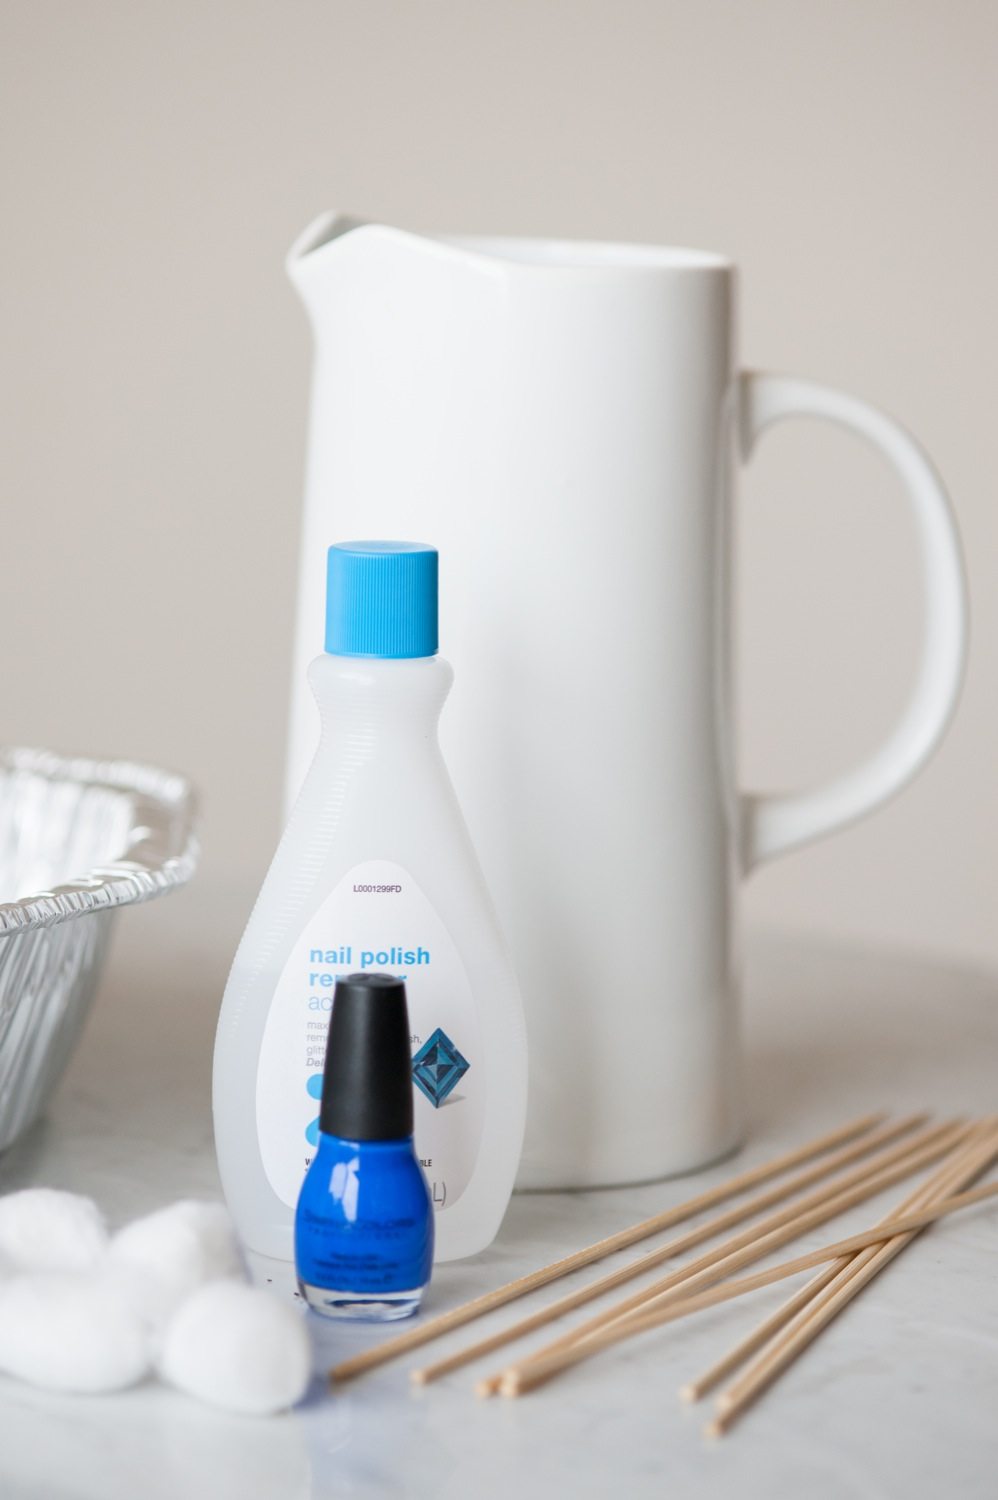
- Ceramic or glass pitcher, vase or similar
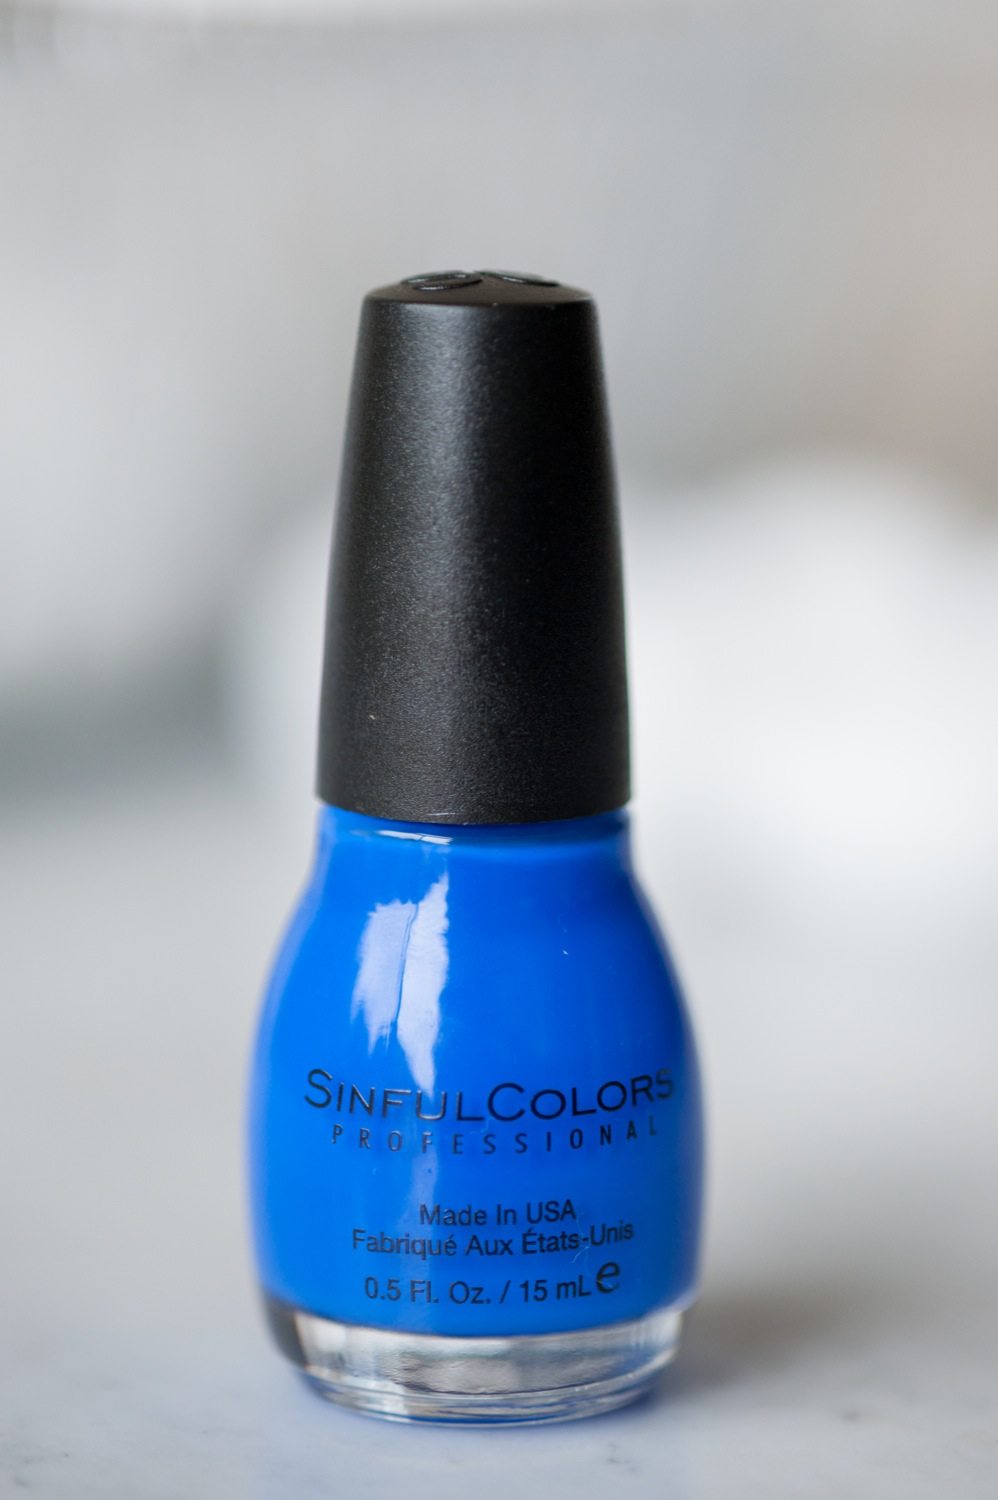
- Nail polish (the cheaper the better)
- Wooden skewers or toothpicks
- Warm water
- Disposable pan or bucket (it will get stained)
- Nail polish remover
- Cotton balls
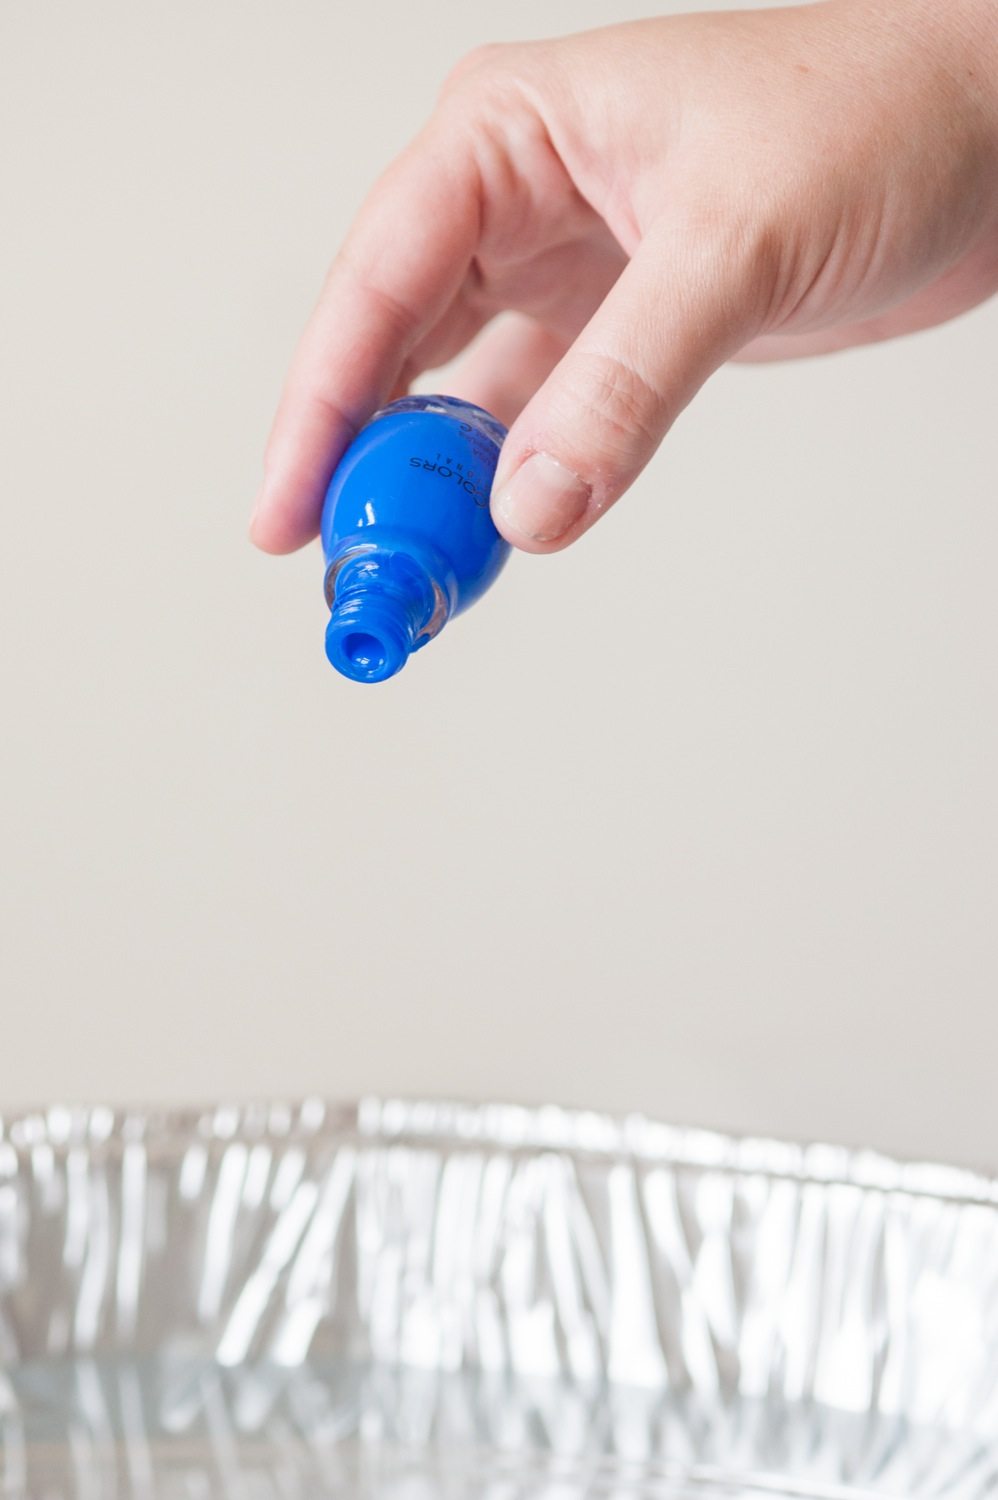
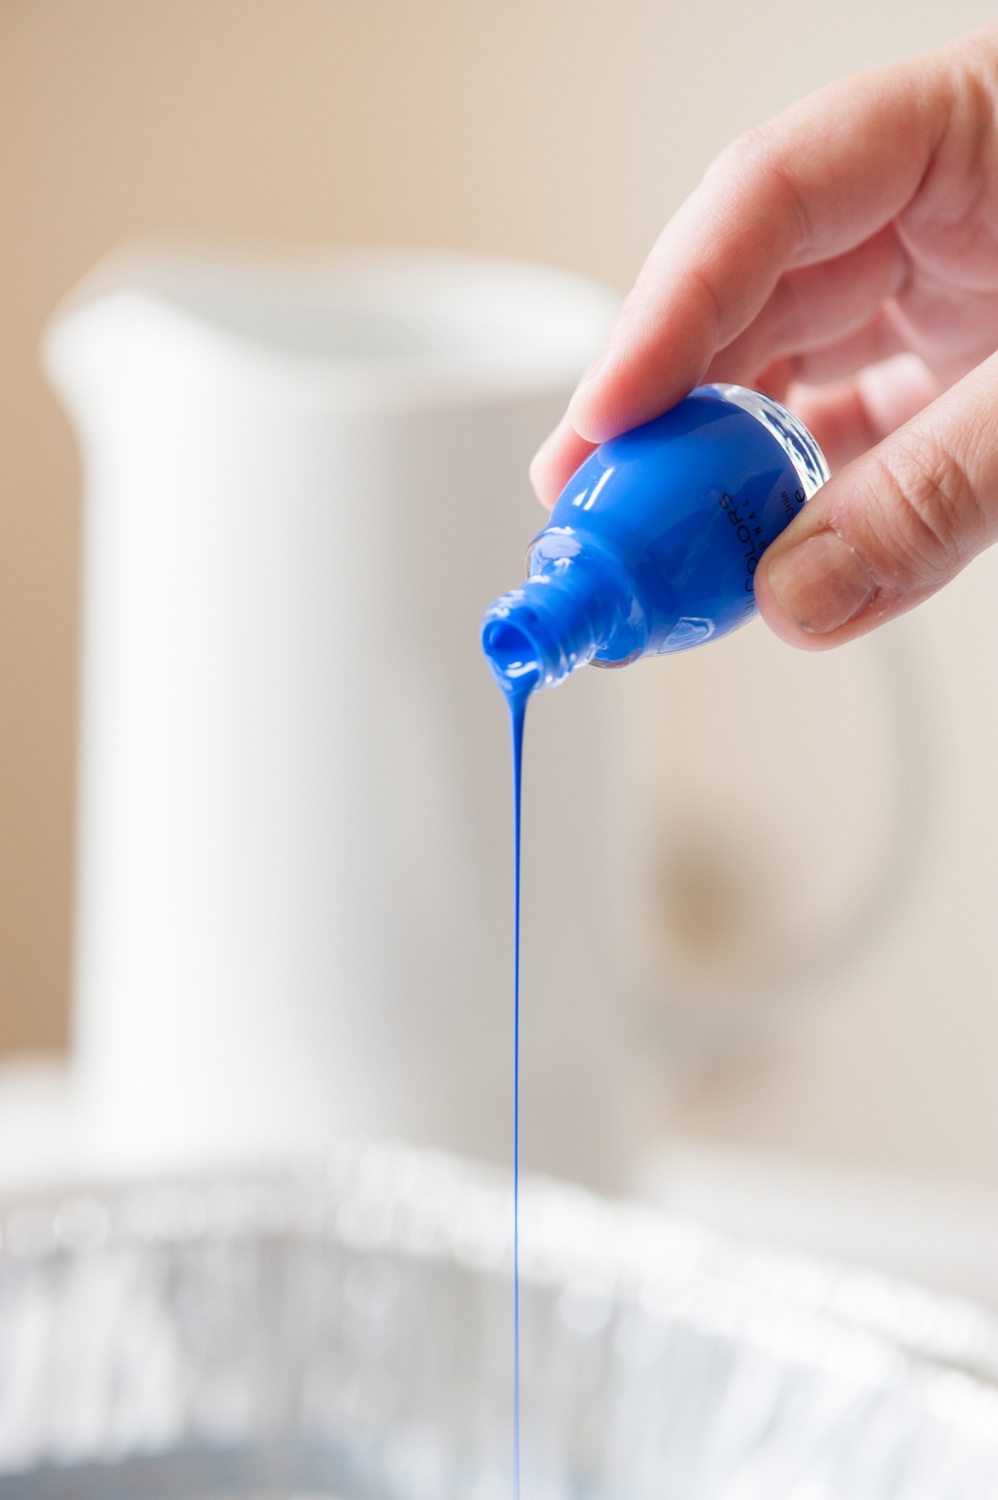
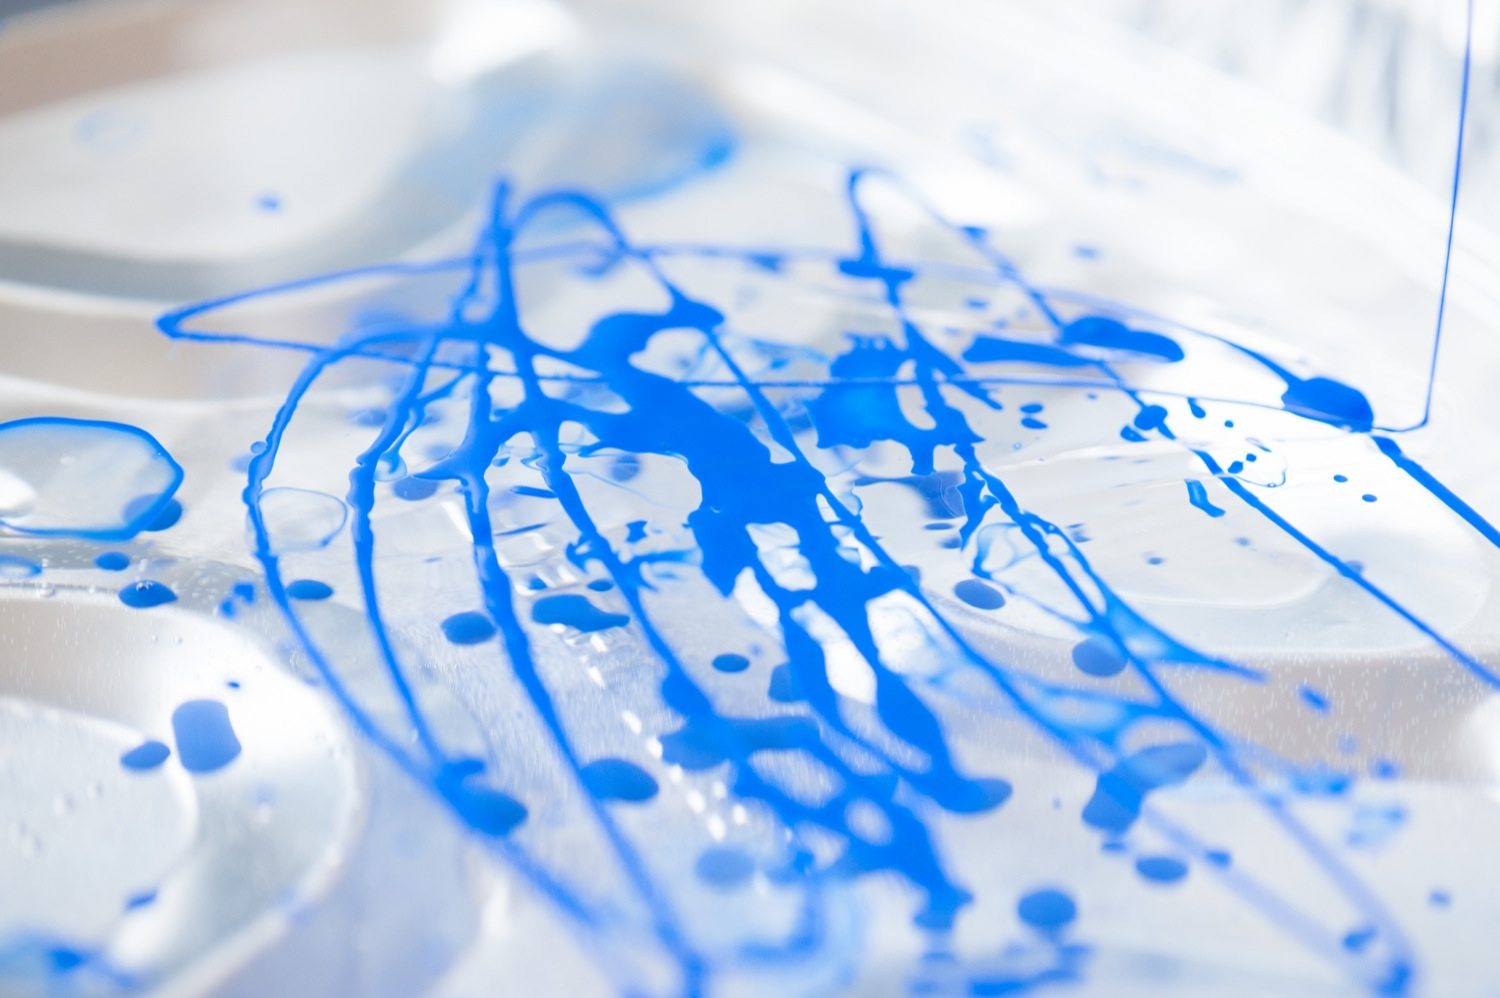
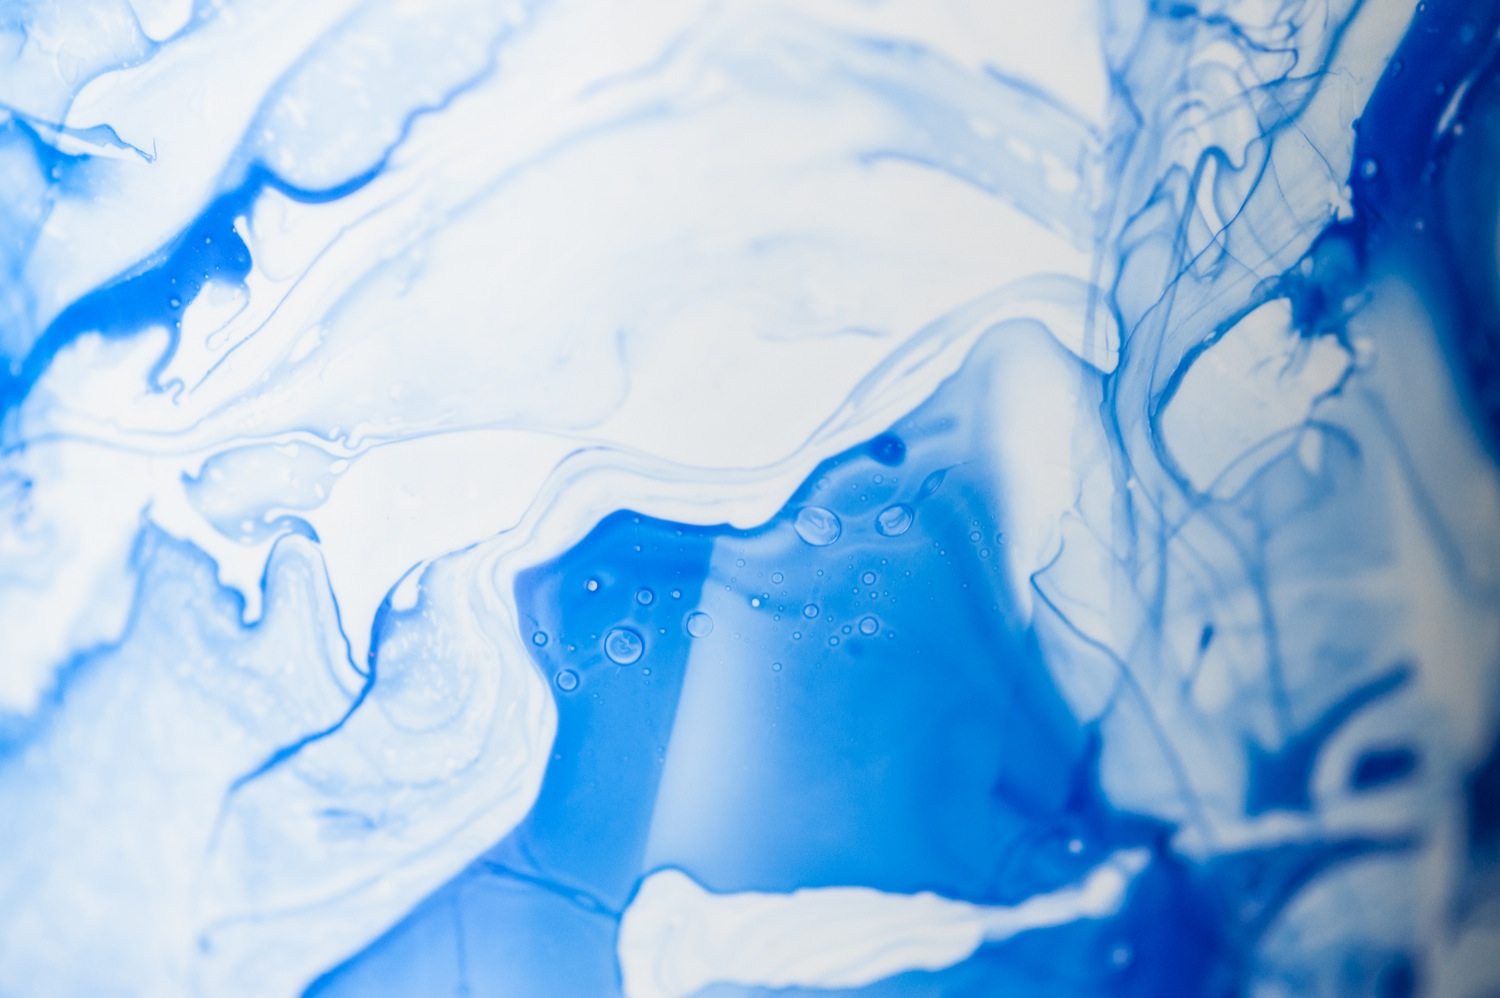
To get started you’re going to need a disposable pan, dish or bucket. The nail polish will stick to it and pretty much ruin it, so something you don’t mind getting covered in nail polish is the way to go. I find that disposable pans work great! Next up, fill your pan or bucket with warm water so there’s at least a couple of inches in the bottom. Then it’s time to play! Grab your nail polish (I was all about this deep indigo color) or polishes and drizzle them over the surface of the water. You can use multiple colors to create more dimension.
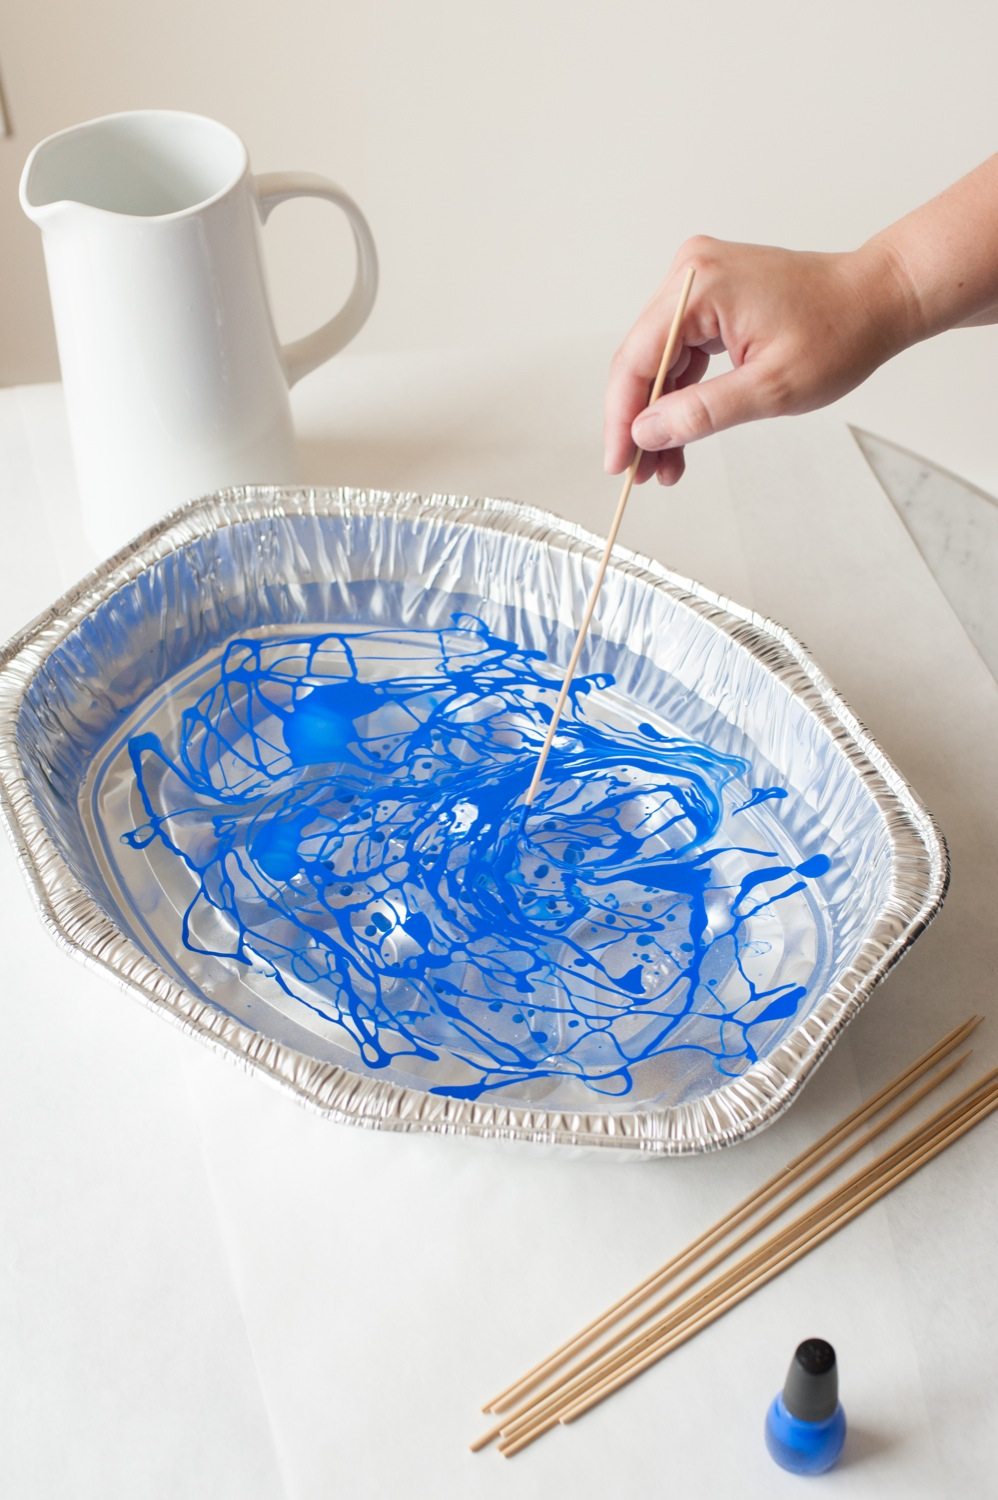
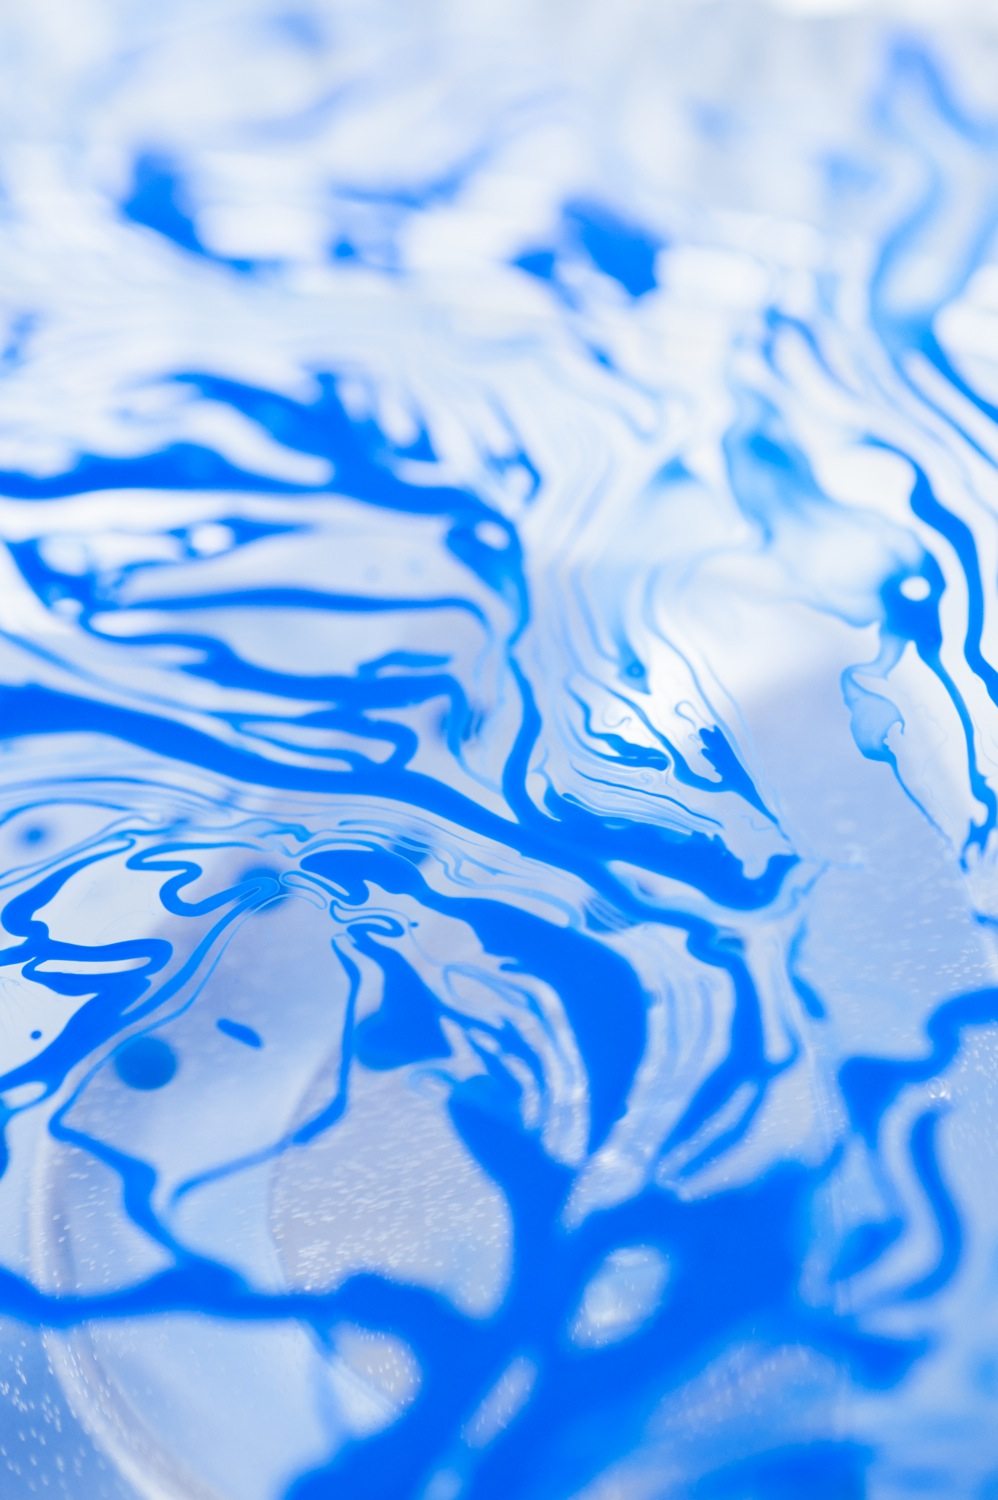
Once you’ve added the nail polish to the water, you’ll need to move quickly as it will start to dry to the surface of the water and get a bit clumpy. That said, when the nail polish color (or colors) are added to the water, grab a wooden skewer or tooth pick and drag it through the polish, which will give it that cool marble look. You can swirl it around a bit to create an effect that you like best, just being sure to work quickly.


Then it’s time to dunk! (Dunk, by the way, is a very technical term.) There’s no right or wrong way to dunk so don’t obsess over the process. Just grab your pitcher, dip it into the water and then rotate it so all or most of the surface gets a wash of marble. Then just pull it out of the water and marvel as the nail polish swirls stick to your pitcher! Allow it to dry for several hours, being sure not to rub it or wipe it dry with a cloth. If there are a lot of water drops, you can gently press a towel against the pitcher to blot dry, but I find that air drying is best.
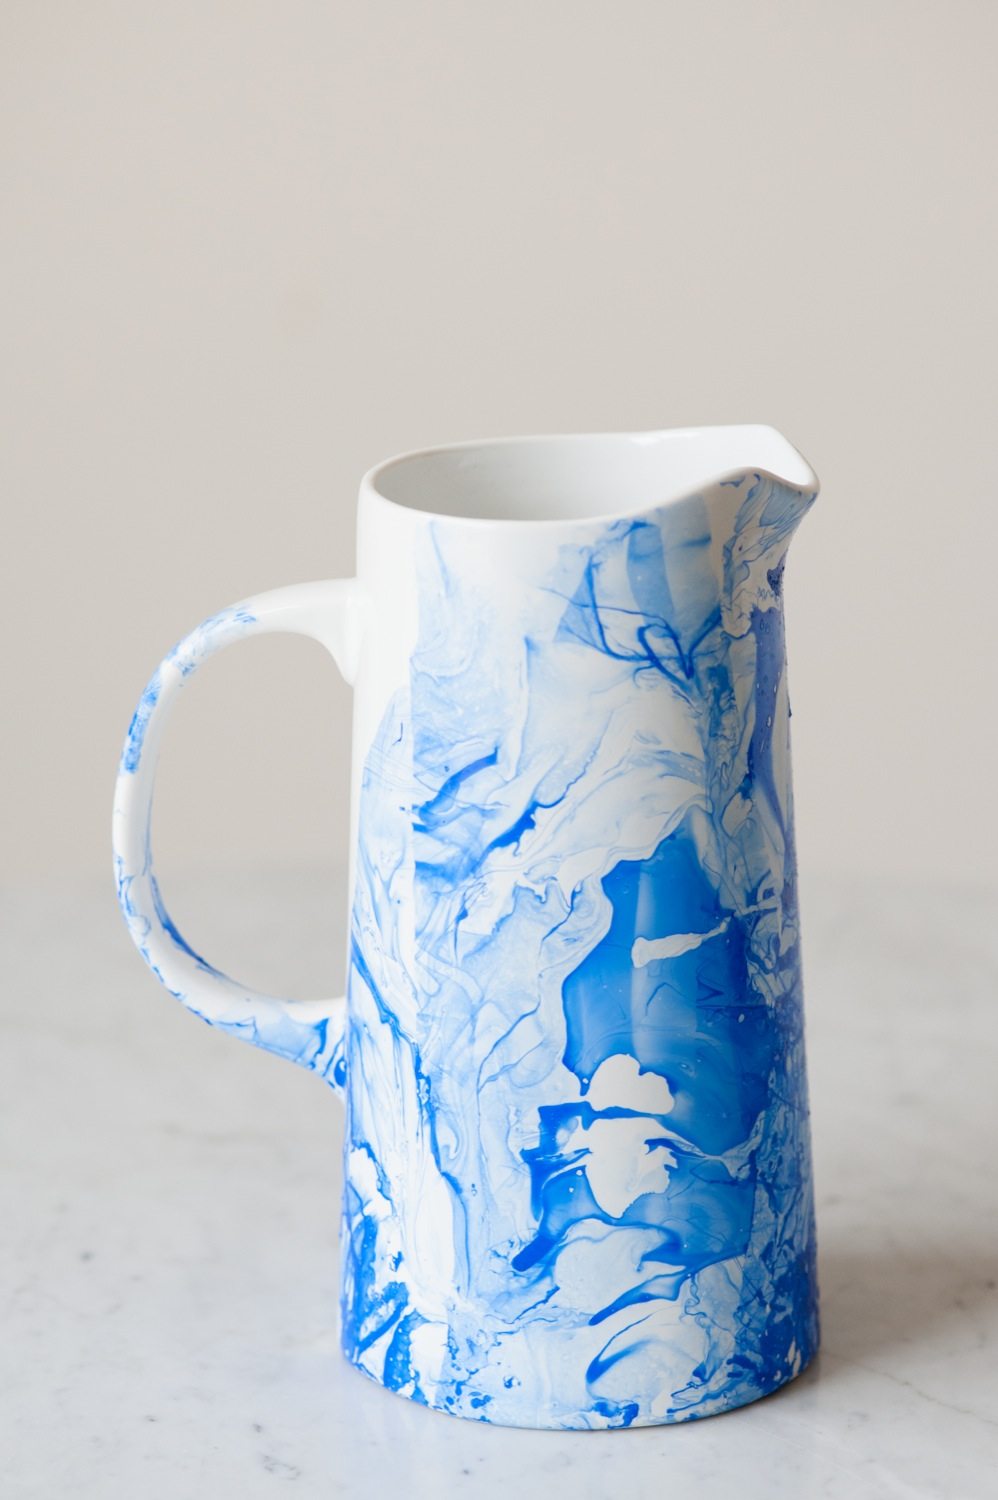
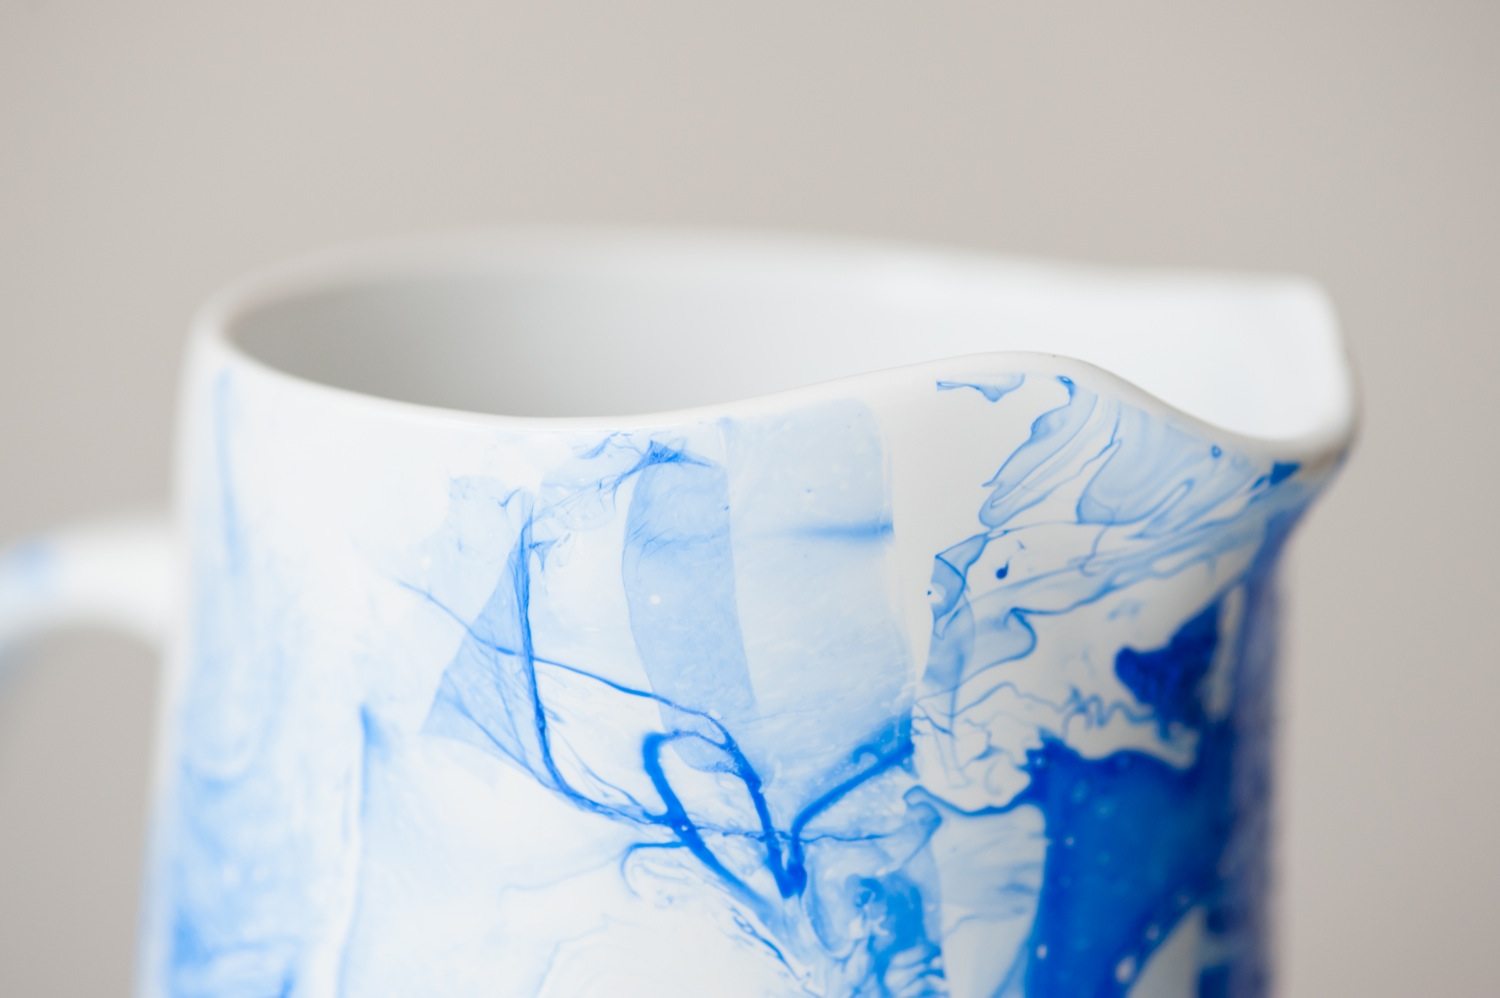
Ahhh isn’t it the prettiest? Because this is a pitcher, I went back after it had dried and cleaned the edges and lip with nail polish remover so that anything that is poured from it won’t be in contact with the nail polish. Keep in mind that this is definitely nothing that you should run through the dishwasher, because the marble effect will start to wear off, but gentle hand washing with a super soft cloth should do the trick just nicely.
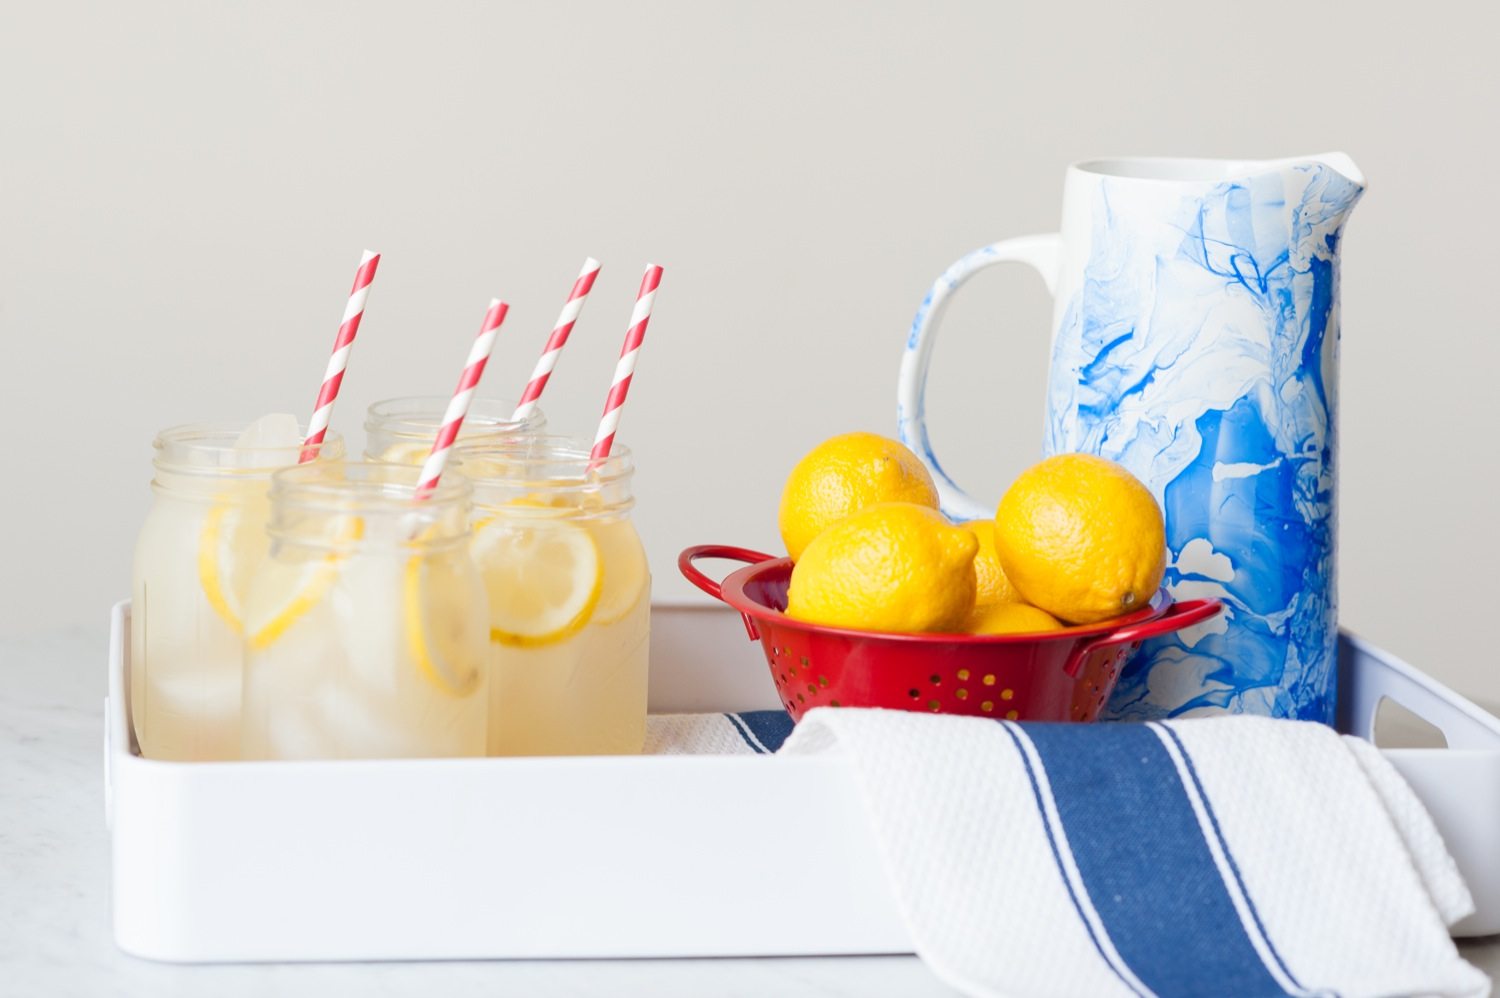
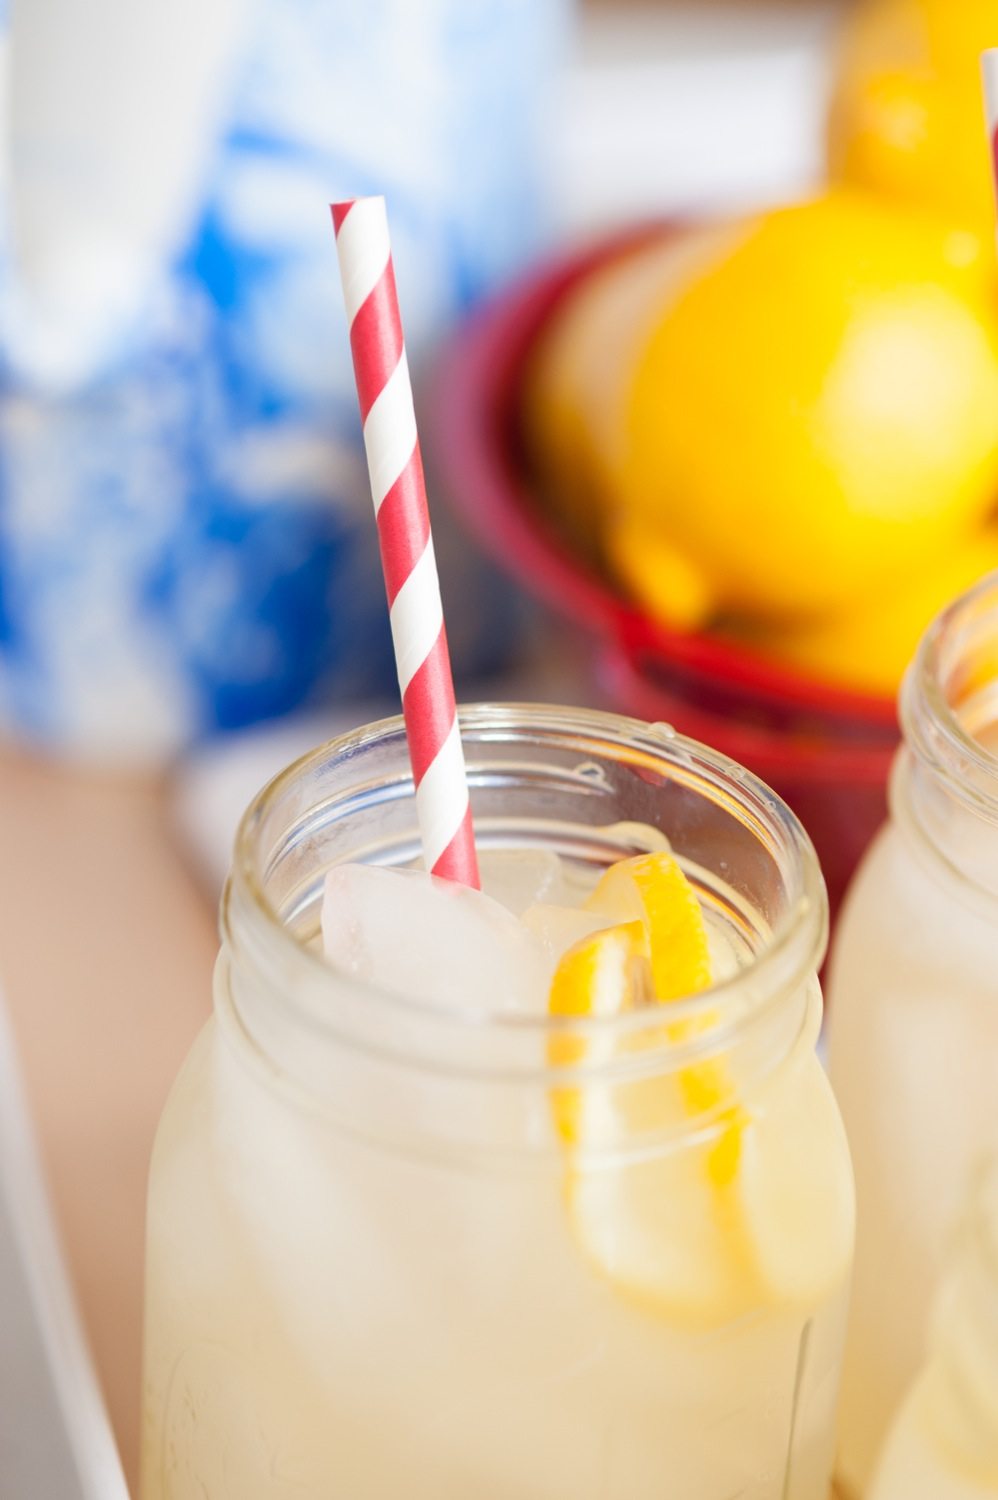
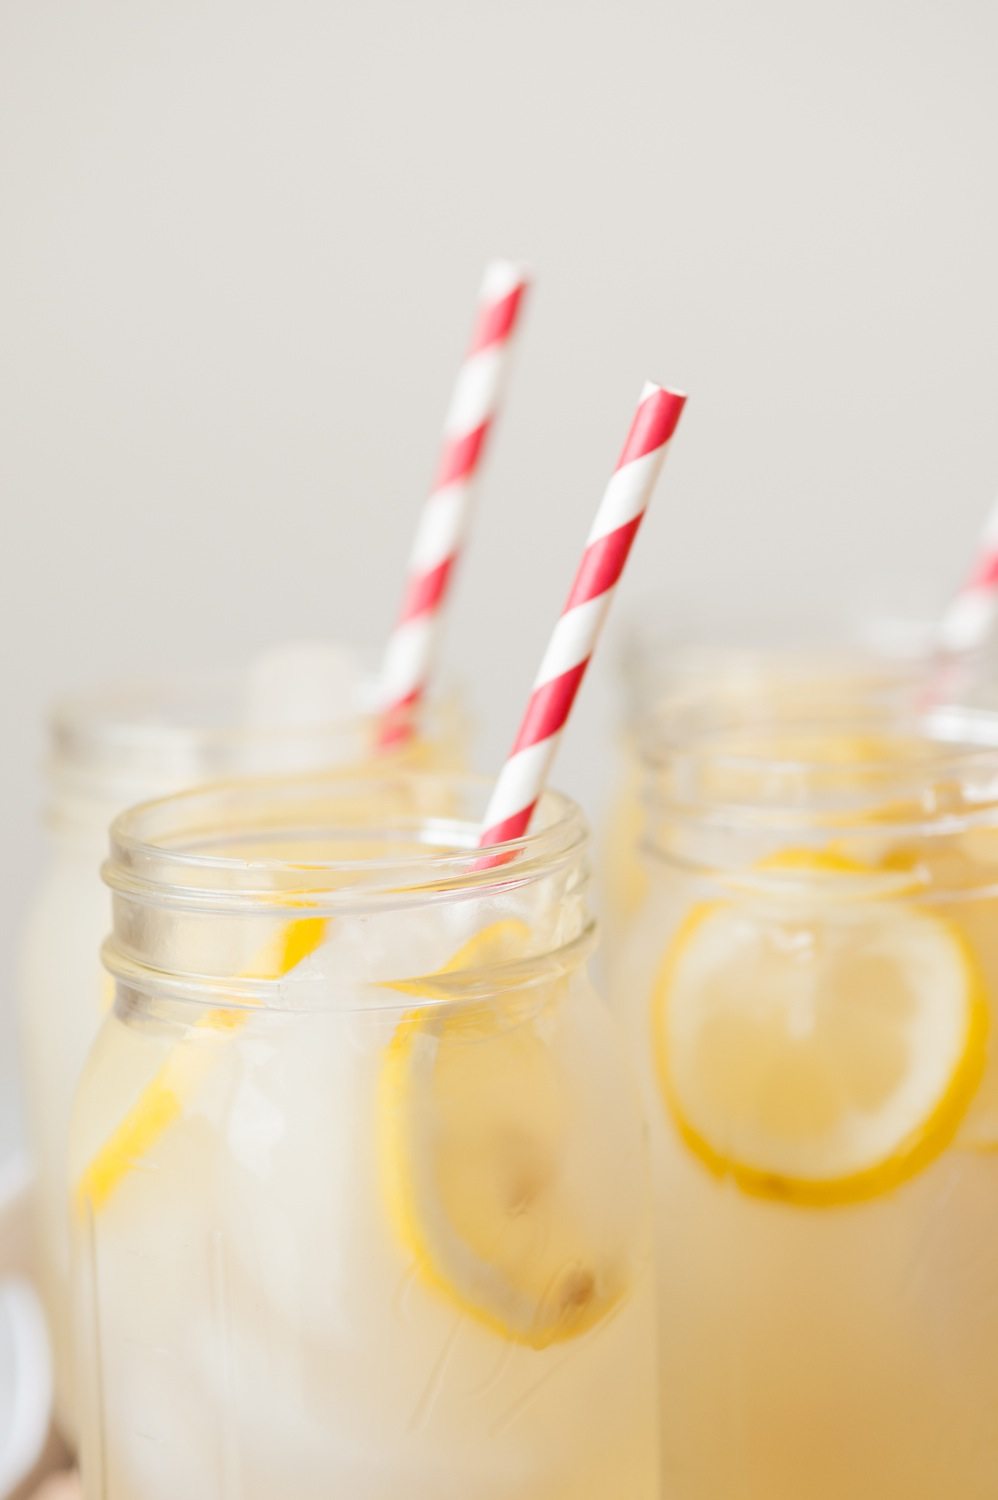
Of course, with that indigo color and the 4th coming up next week, I couldn’t resist styling up a big tray of lemonade! I think that’s my favorite thing about this marble look. It can adapt to nearly any occasion or season just by pairing it with different pieces. And that marble look. It’s just killer! Ok, so, who’s ready to marbleize everything in sight? I am!
![]()
[Design + styling by Cyd Converse | Photos by Alice G. Patterson for The Sweetest Occasion.]
The fine print: Please link with love! As with all of our posts, DIY projects featured on The Sweetest Occasion may not be copied, distributed or reproduced without express written permission. Love and links are always appreciated! If you’d like to share this post, please link to this post directly for the DIY tutorial and do not include the instructions in your own post. Thanks so much! xoxo


 Back to Top
It looks so beautiful.
But I tried and the results were not as good as I wished for.
Maybe because I used nail polish from the stone age? It was a bit (a lot) old.
Maybe I will try again some other time .
Hi May! As I mentioned in the comments above, I haven’t tried this technique with older polish. Also, it’s definitely true that you have to move very quickly or the nail polish gets thick and gloopy. I hope this helps!
This is such a neat idea. The possibilities with nail polish are endless!
Such a great idea! Nail polish has sooo many uses!
Could you bake the piece so that it would adhere to the pitcher? They do it with permanent markers
then it would be dishwasher safe?
Hi Kelly! I don’t have a dishwasher (crazy, I know) so I wouldn’t be able to test that out, however it might work! I’d be a little worried that perhaps baking would alter the colors so I would suggest doing a test on maybe an old mug or something picked up at the dollar store first just to see. :-)
wow this is awesome! I’m curious, did you have trouble dunking it and smearing it with your fingers?
Hey Rachel! I didn’t have any issues with smearing. For the pitcher I dunked it holding the handle, then rotated it a bit and dunked again with my hand inside the pitcher, if that makes sense. Keep in mind, if you have a smearing mishap, you can clean everything up with nail polish remover (which works best while everything is still wet) and start over!
I love this marbling technique so much! I kinda want to decorate everything with it.
beautiful, cyd! marbling with nail polish is challenging and you did a fabulous job!
Muah! Thank you, Amy! I definitely did overthink it at first, turns out you just have to dunk and keep the faith. ;-)
no way, this is beautiful!
Tereza, thank you so so much! xo
Love this! I just did a candlestick AND the candle with a similar blue marble… so elegant. Love how it turned out.
Thanks, Amy! I just checked yours out and they are gorgeous. Candles! I never would have considered doing the candles themselves, it’s brilliant.
Ahh this is amazing! I want to do this with everything now haha
Jo Kay, ME TOO! I want marbled walls and clothes and dishes and the works. lol
Thanks, lady! It’s called Endless Blue…I think it’s a pretty great color and about $1.99 a bottle. Bonus! ;-)
So pretty! Love the blue you used :)