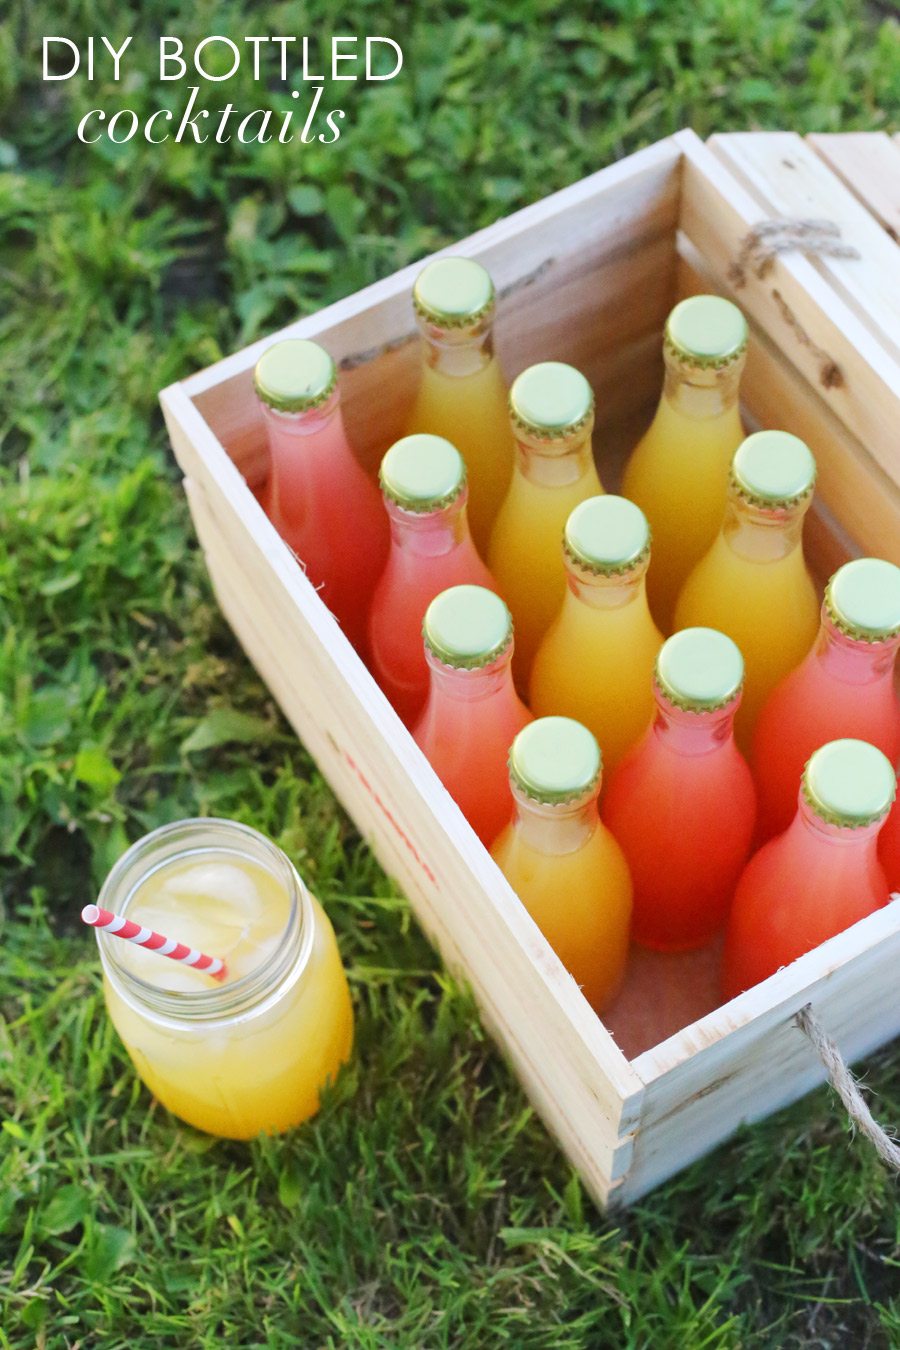
I’m going to take you back a few years now. Make that nine years. To the apartment I lived in during my senior of college, which more closely resembled a shanty tacked onto the back of a decrepit former frat house than an actual apartment. Where friends packed in tight to sit on a creaky metal futon and watch Project Runway. Where the winter cold seeped in through every crack possible and the pipes in the bathroom froze on a regular basis. It was truly a ramshackle little place, but it was also a place where awesome memories were made. Incidentally, it’s also where I first learned how to brew beer and make wine at home, an experience that ultimately lead me to try bottling my own cocktails. So here’s the thing. Bottled cocktails are so smart. You can make them in advance to stock up the cooler before a camping trip (which is what I did this week) so you don’t have to mess around with bottles of booze and mixers. They’re also perfect for weddings and parties and backyard barbecues, picnics at the park, tailgating or just stocking the fridge at home.
To get started, you’ll need to pick up a few specialty items at a local home brewing shop or you can order online using the links below. While there’s a little bit of an upfront cost, the best part is that everything here is reusable (save for the bottle caps) so you can make your own bottled cocktails over and over again once you have everything you need. That’s the long way of saying, don’t be daunted by this because it’s fun, easy, awesome and sure to impress your friends.
![]()
![]()
- Single serve clear glass bottles
- Crown bottle caps
- Crown capper
- Small funnel
- Pitcher of pre-mixed cocktails
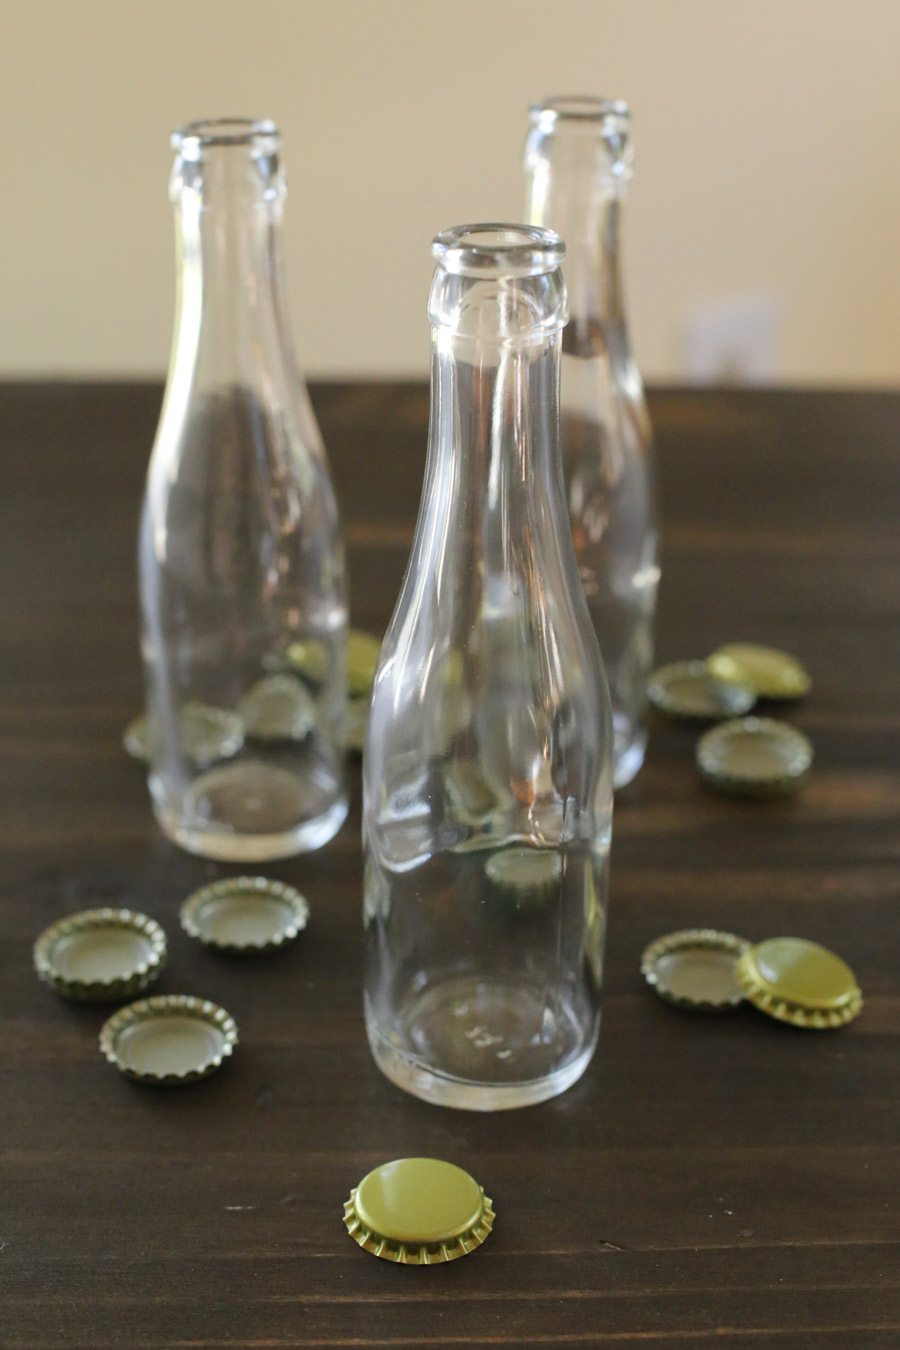
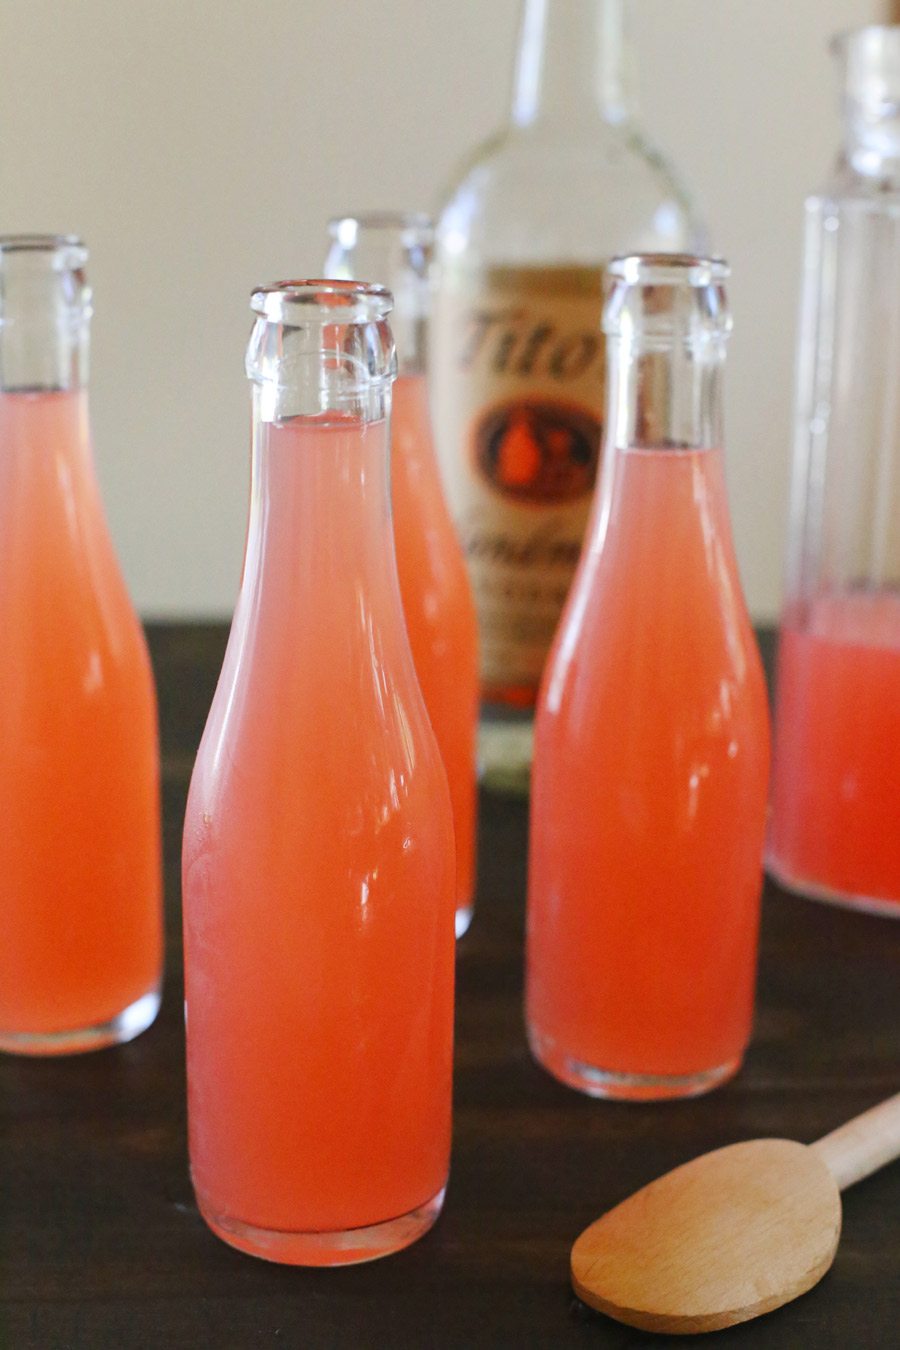
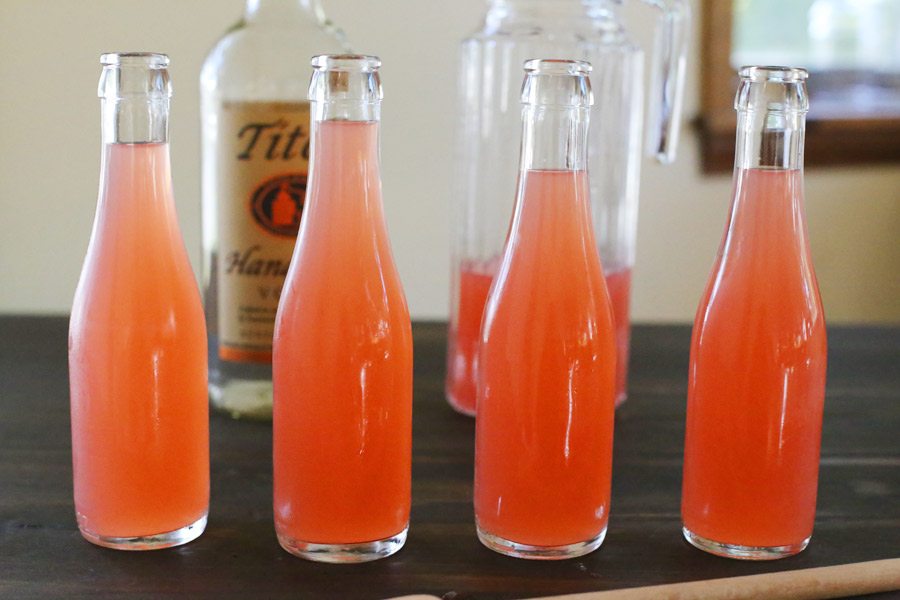
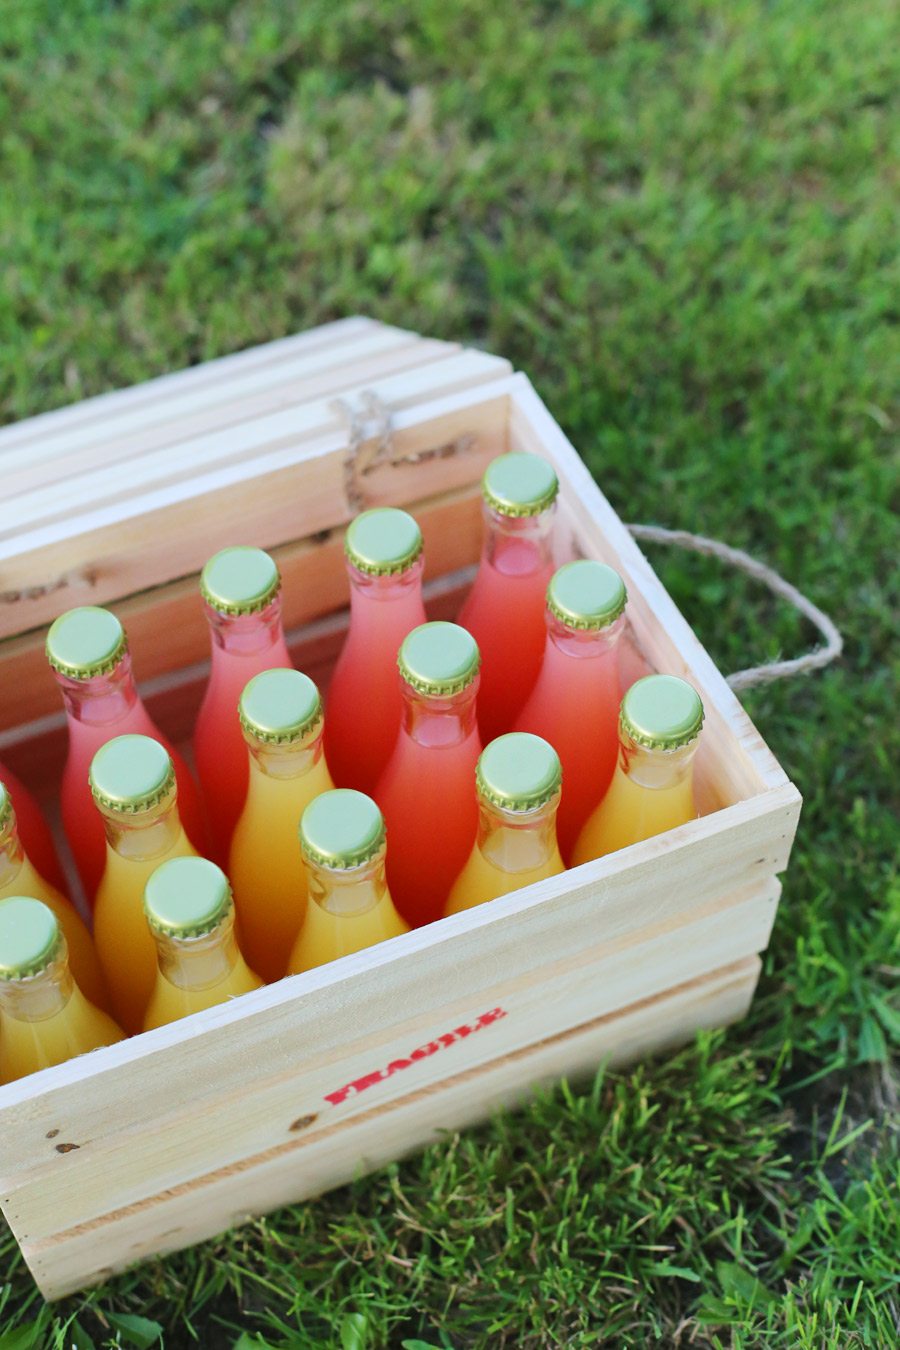
Begin by washing your glass bottles and allow them to dry completely. Then it’s time to mix up your cocktail of choice! I’ve read that if you’re planning to keep your cocktails unrefrigerated for an extended period of time that it’s best to avoid citrus mixers, as they tend to be less shelf stable than those with other ingredients. That said, I don’t usually make these too far in advance. I haven’t had any issues with using citrus mixers and keeping them for a few days before taking them on a camping trip or serving them at a party. Once you’ve determined your cocktail of choice, mix it in a pitcher and use a small funnel to fill each bottle. If you’re going with a carbonated or sparkling cocktail, be sure to pour short of the neck of the bottle so the carbonation has somewhere to release when you open your cocktails later.
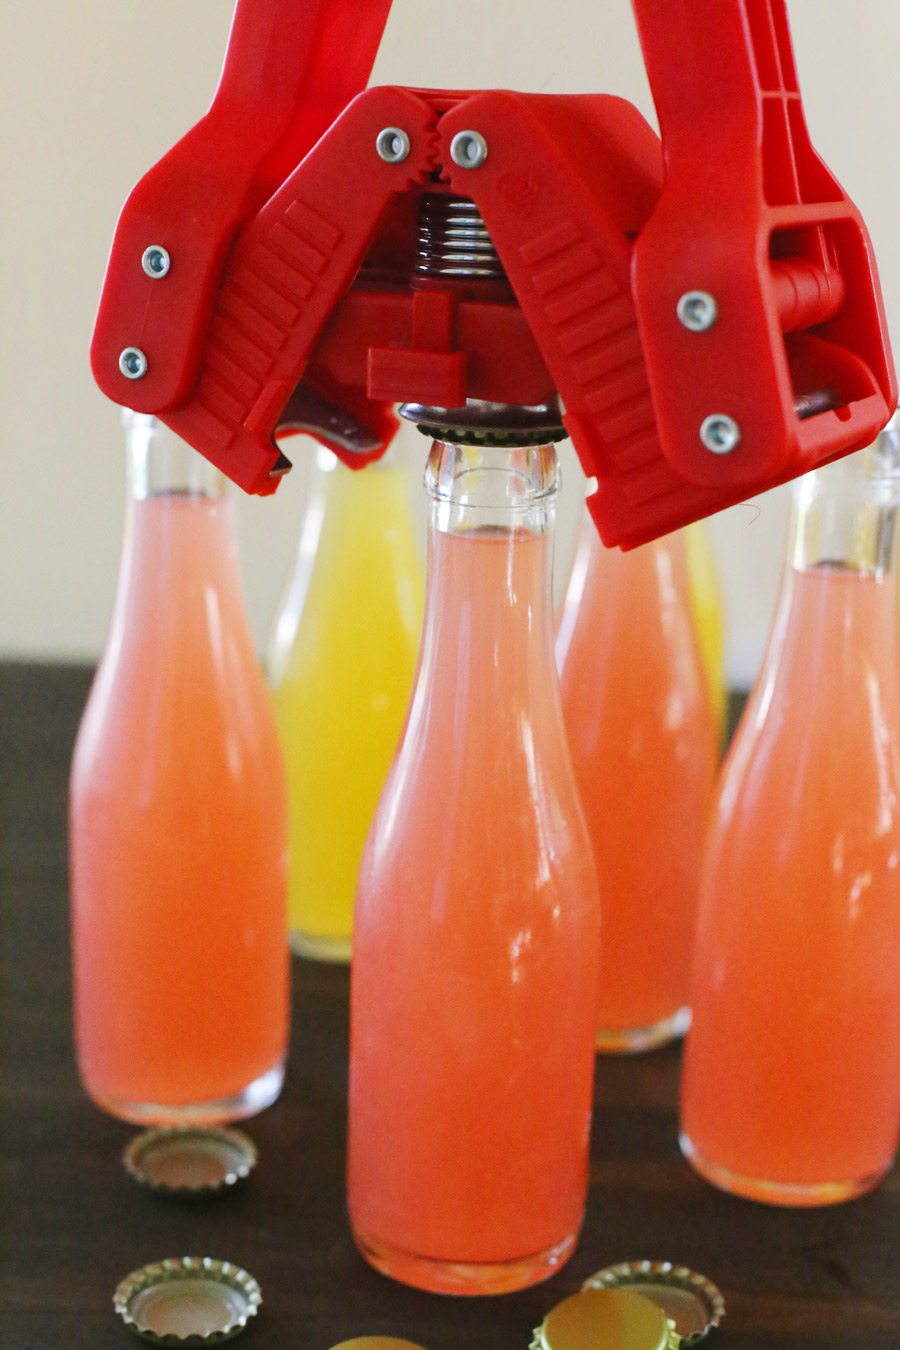

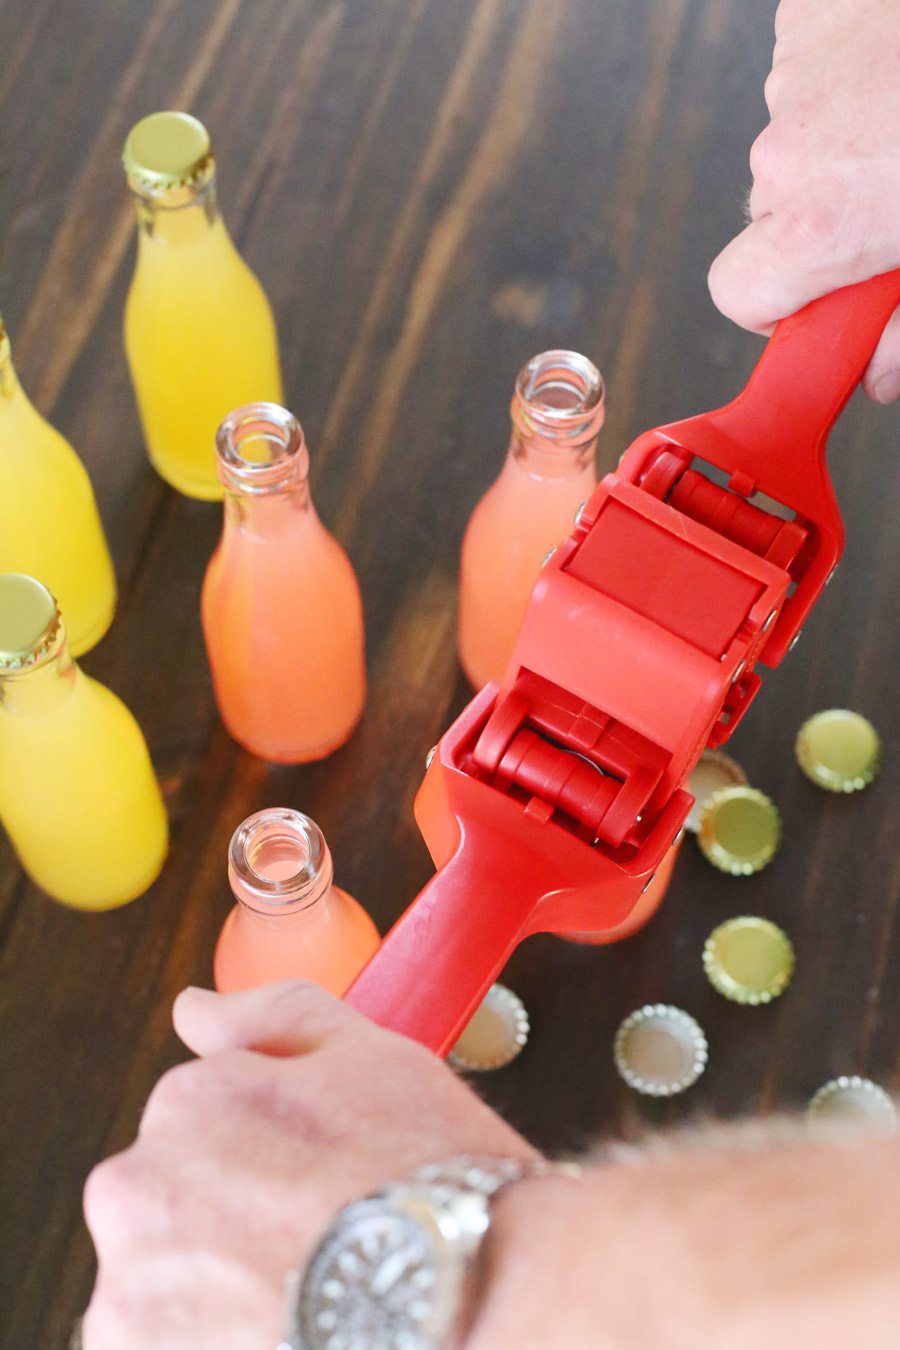
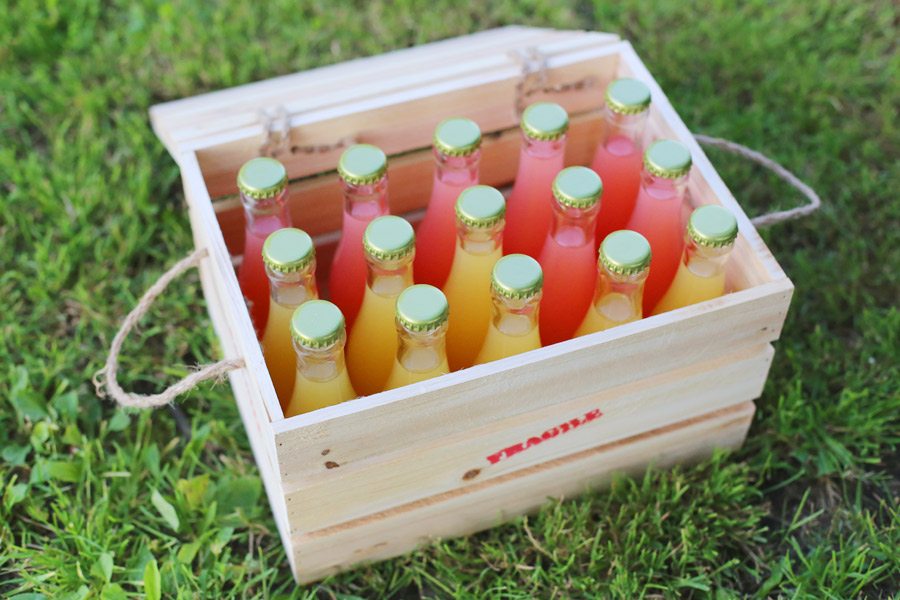
Next up, it’s time to cap those bottles! You’ll need the crown capper for this, which is really easy to use. Just place a cap on top of each bottle, center the capper over top of it and then push the handles down. It takes a little bit of elbow grease to get the job done, but overall it’s a very simple process. It takes just a few seconds to cap each bottle so you can do up a whole bunch in fairly short order. From start to finish, including mixing up my cocktails, it took me less than a half hour to bottle and cap an entire case worth of cocktails. Boom!
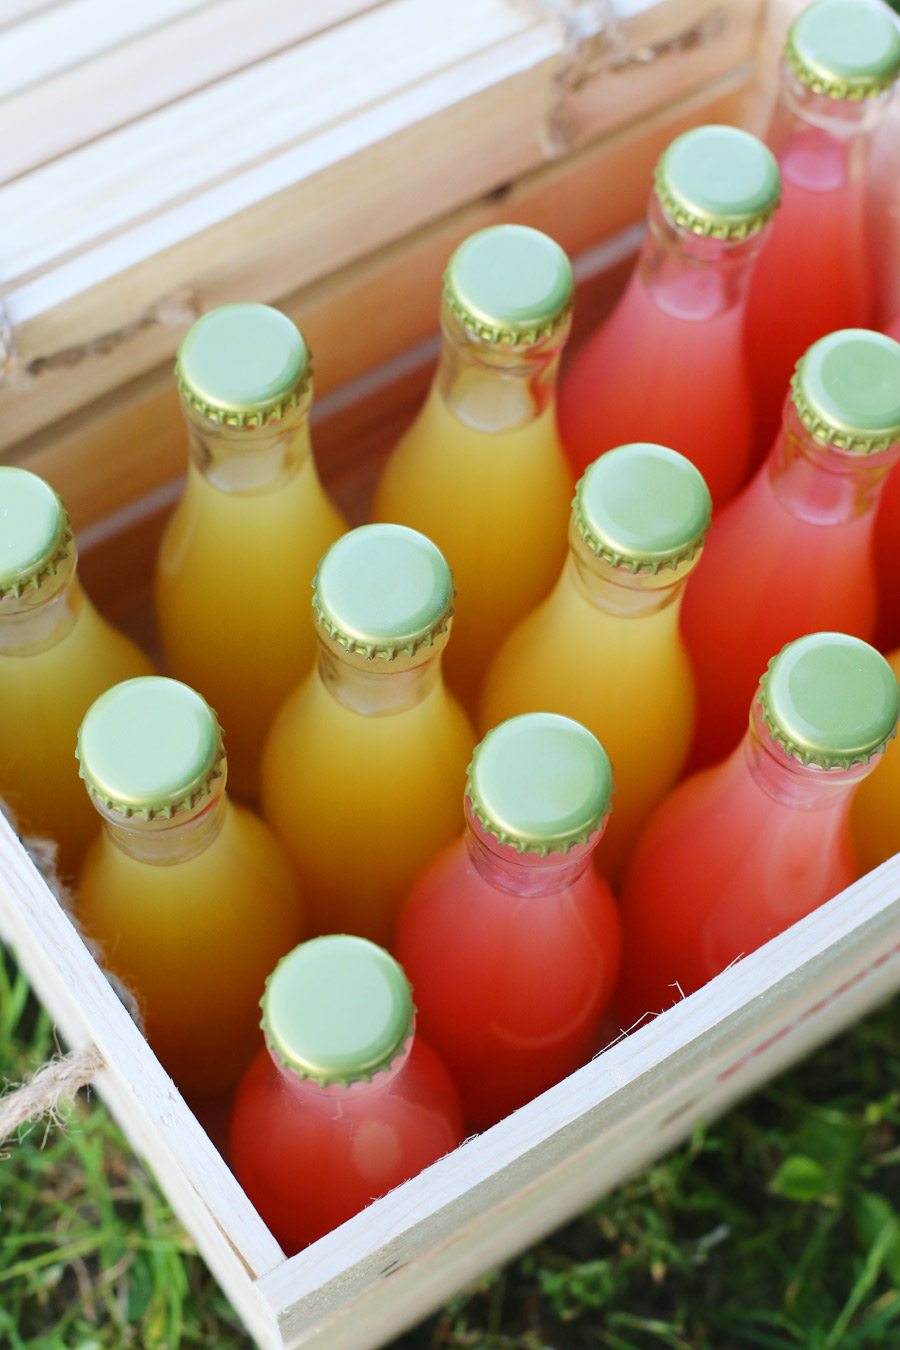
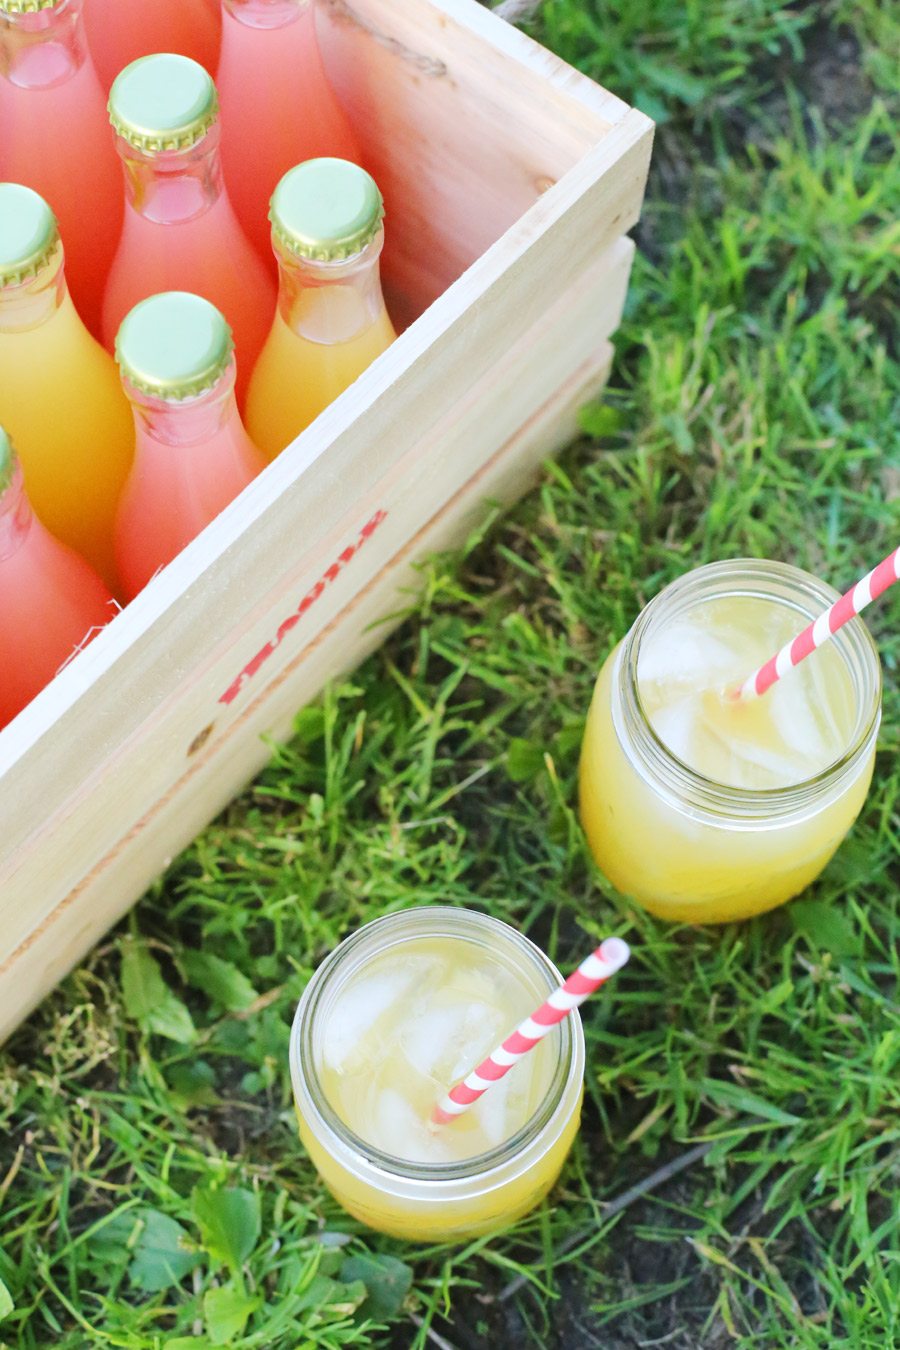
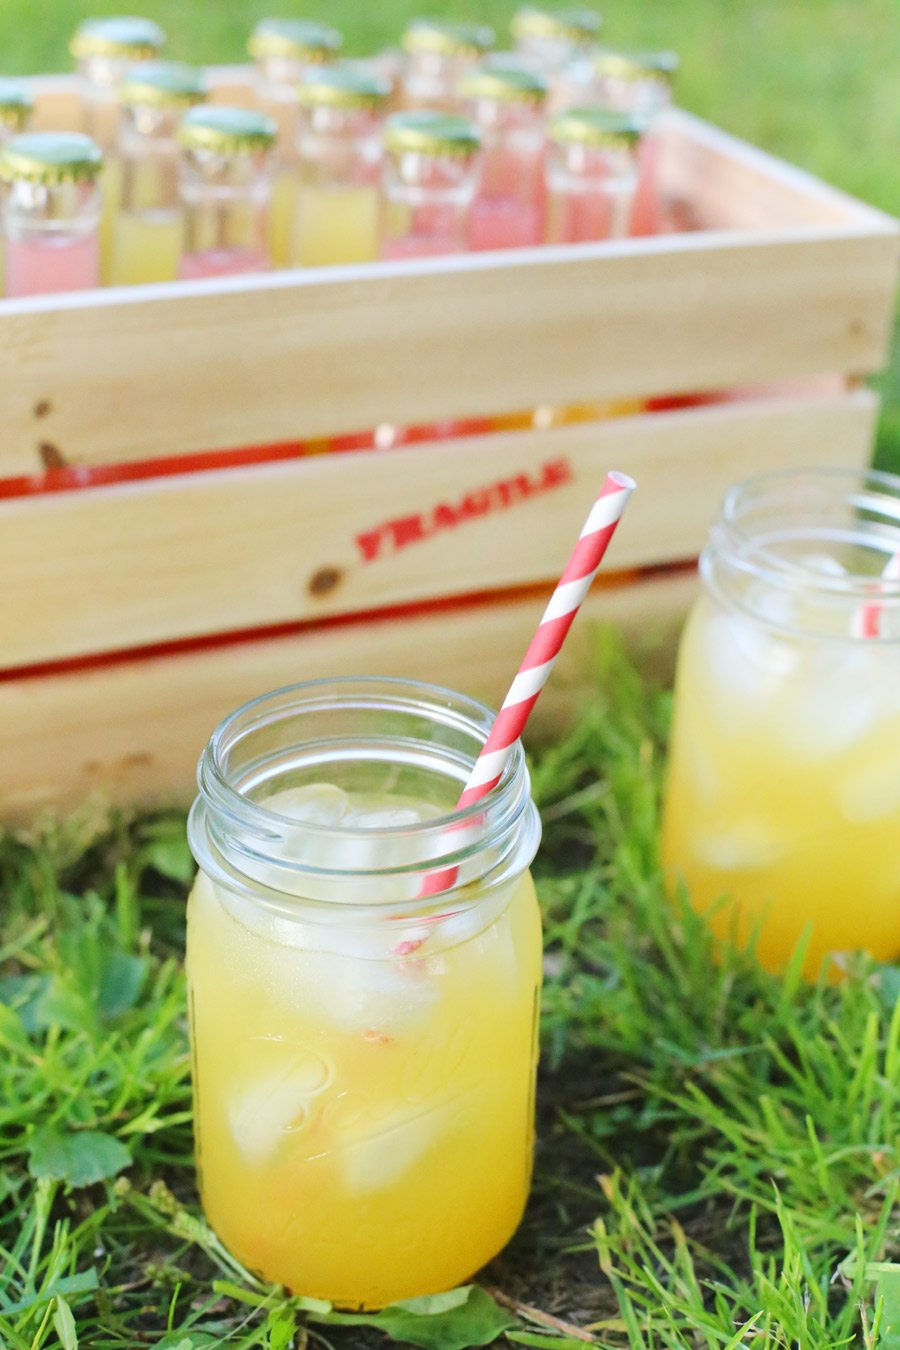
When it comes time to serve ’em up, you can stick a straw in it or just sip directly from the bottle. Or you can load up a glass with ice and pour over top. Totally your pick! I tend to like my campground/backyard cocktails in a mason jar filled to the top with ice, but the best part about these bad boys is that there is no glass required. This is the part where I tell you that I hope you give these a try. Because I really really do. They’re so much fun and people think they’re really cool, which they are. (And, so are you.) If you do make up your own bottled cocktails shoot me a photo on Instagram or Twitter and I’d love to see!
![]()
![]()
[Photos by Cyd Converse for The Sweetest Occasion.]
Courtney
Tuesday 7th of April 2015
I love this idea! So colorful!
Jessica - Pen N' Paper Flowers
Tuesday 7th of April 2015
Get out of here! I LOVE this idea!! Thanks for sharing!!
Shannon
Saturday 8th of November 2014
This is so Cute!!! Would love to make this as a gift. Could you please tell me where you found the crate? Thank you!
cyd
Monday 10th of November 2014
Hi Shannon! Thank you so much. The crate is actually just something I had hanging around the house, but I've seen similar ones at Christmas Tree Shops in the past or sometimes I'm able to find such unfinished wood items on Amazong. I hope this helps! xo
erin
Tuesday 9th of September 2014
I LOVE THIS SO, SO MUCH.
Wandering the Future
Friday 22nd of August 2014
Looks so cute, I love it!! xx