This post was sponsored by Air Wick. Thank you for supporting the sponsors that so
generously help The Sweetest Occasion keep on keepin’ on!
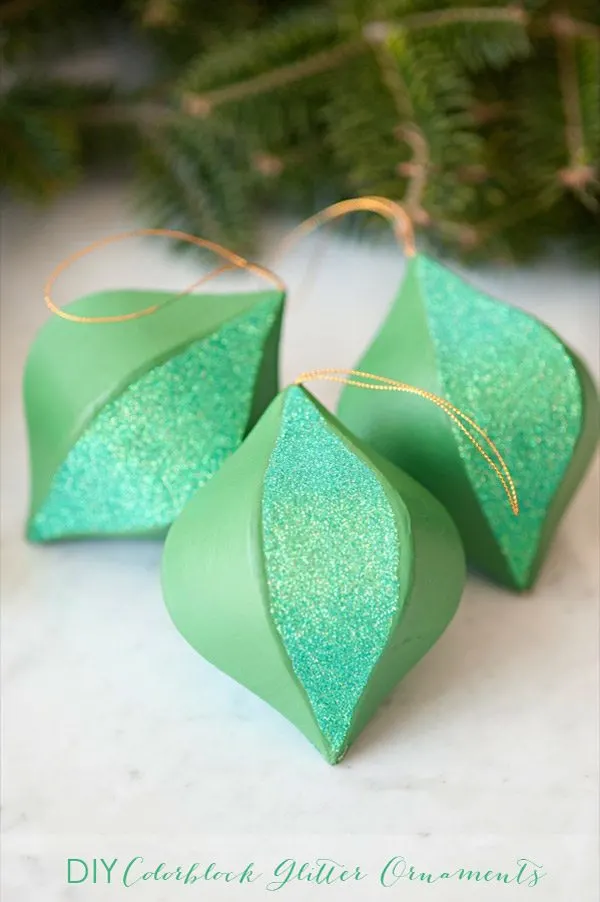
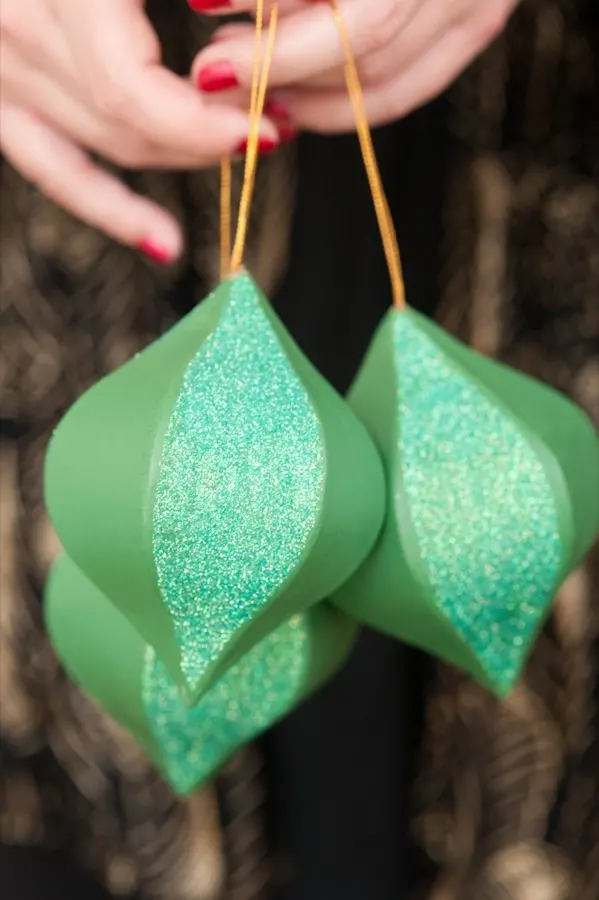
One of my favorite parts of the Christmas season is the tree. The bigger, the better. As a kid, my dad and I were always on a mission – to find the biggest, tallest tree we could fit in our house. Then, the tree trimming would commence! Huge boxes full of carefully wrapped ornaments, Christmas music rocking, big mugs of hot cocoa and hours of finding the perfect ornament for each branch of that massive tree. The final installment of my holiday collaboration with Air Wick, today we’re making DIY colorblock glitter ornaments inspired by Air Wick’s Trimming the Tree fragrance! You know that perfect smell of fresh cut pine that fills your home the morning after you first bring the tree inside? It instantly puts me in a festive mood and brings to mind those nostalgic memories of watching my dad wrap the Christmas tree with lights. That perfect holiday scent is the essence of Air Wick’s Trimming the Tree fragrance, which inspired me to craft up a handful of gorgeous glittery green ornaments to trim our own tree with this holiday season.

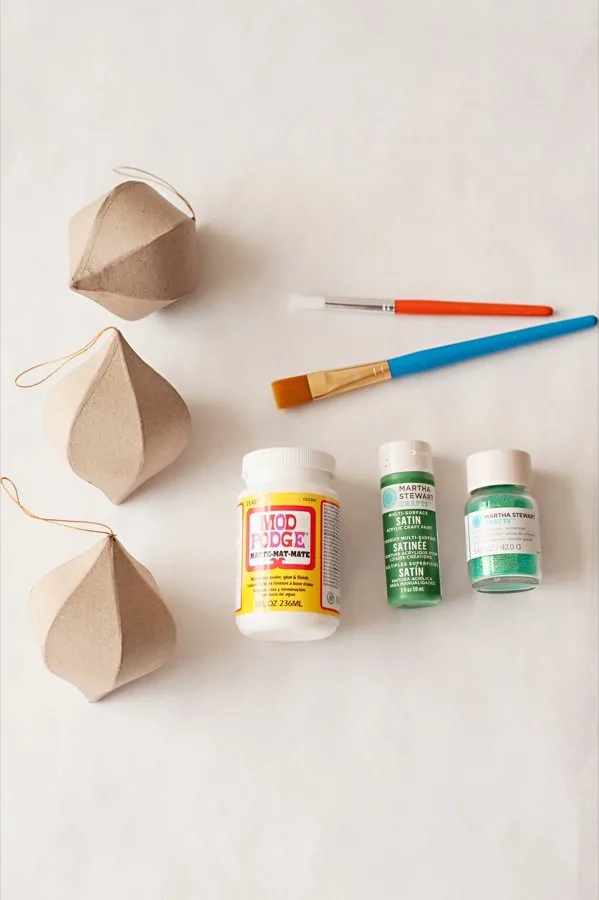
- Unfinished paper mache ornaments
- Craft paint in your choice of color
- Craft glitter
- ModPodge
- (2) craft brushes
- Clear gloss spray (I like this one)
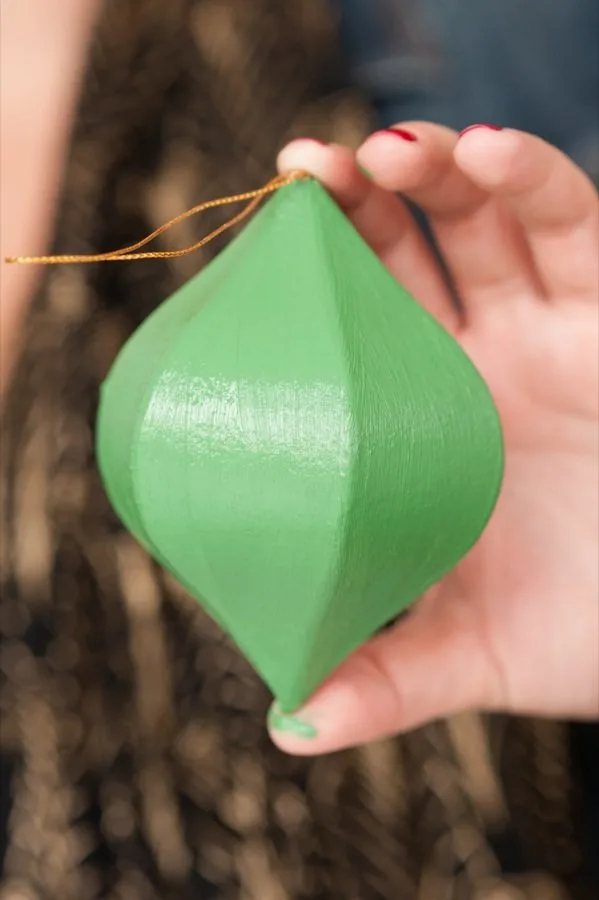
To get started you’re going to need a handful of paper mache ornaments. You can find these inexpensively at virtually any craft store this time of year, often on sale for as little as $1 each. Begin by giving your ornaments a coat of craft paint on all sides. I chose a green that reminds me of the essence of pine and evergreens and the colors of Christmas, but you can absolutely switch this up however you like! I found one slightly heavy coat did the trick and it dries pretty quickly because the paper mache of the ornaments is quite absorbent. If you feel you need a second coat, go ahead and paint away, then find a place to hang your ornaments to dry completely.
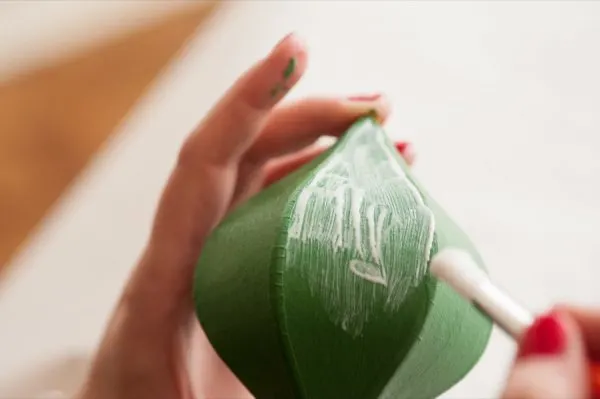
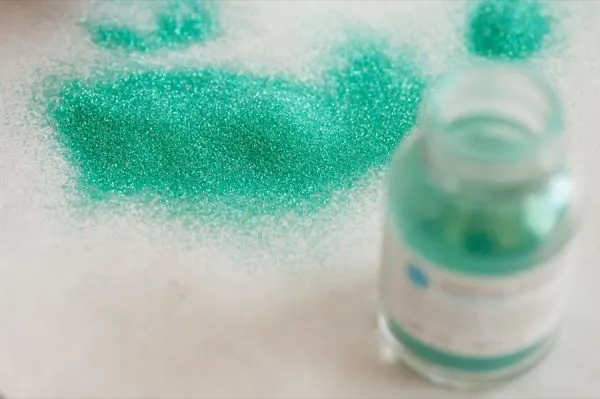
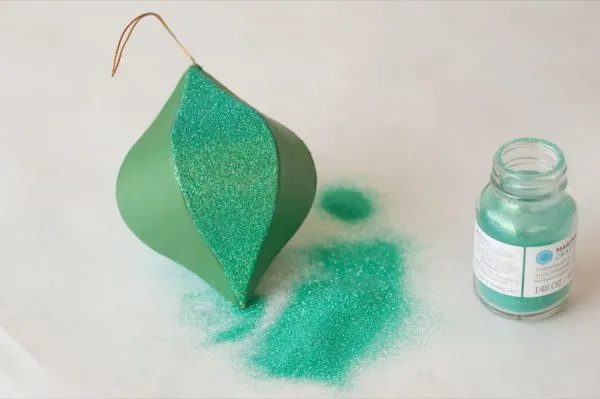
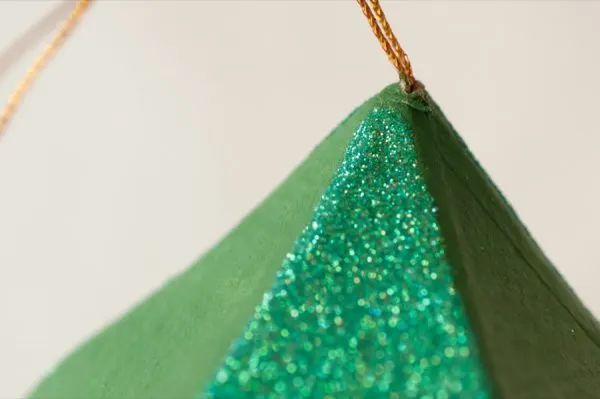
Next up, it’s our old friends ModPodge and glitter! (You guys know I love decking things out with glitter!) Using a clean craft brush, apply an even coat of ModPodge on the section of your ornament that you’d like to have end up glittery. Then liberally pour the glitter over top to ensure all the ModPodge is covered with glitter and shake to remove any excess. Repeat this process if you feel there are spots that could use more glitter. I choose to work over kraft paper when using glitter so I can then use the paper like a funnel to replace the leftover glitter to my jar for future projects. For my ornaments I worked in sections, applying the ModPodge and glitter to one block at a time and then rotating until I had all desired sections coated in glitter.
Once the ModPodge and glitter are completely dry, it helps to give everything a quick coat with a clear gloss spray to seal the glitter in place. Otherwise you’ll have glitter all over your house, which is awfully pretty this time of year, but will get old in a few weeks, trust me. Just give all the glitter sections a quick spray, allow them to dry and you’re ready to deck the halls! These ornaments would also make great gift toppers or little gifts to bring your favorite hostess or pass out to your friends at the office.
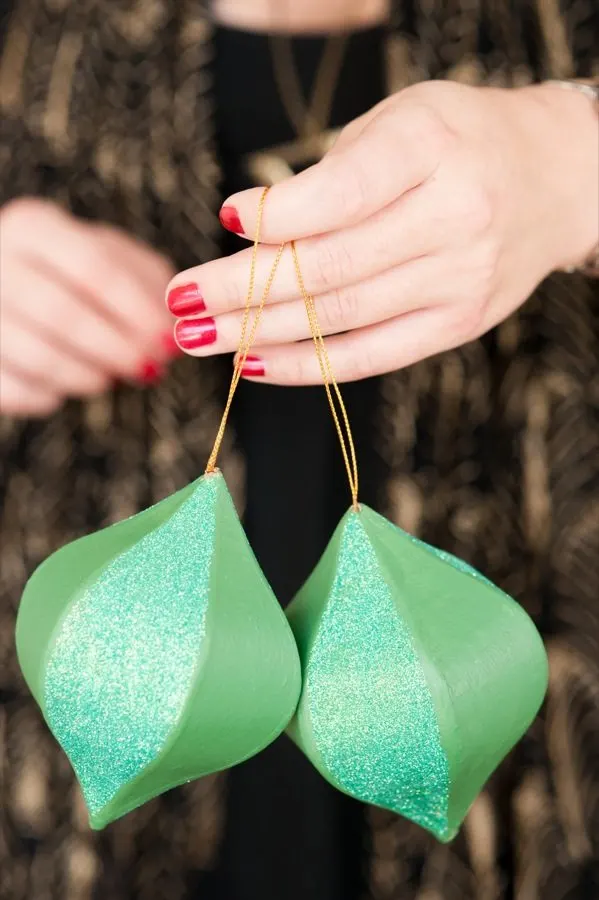
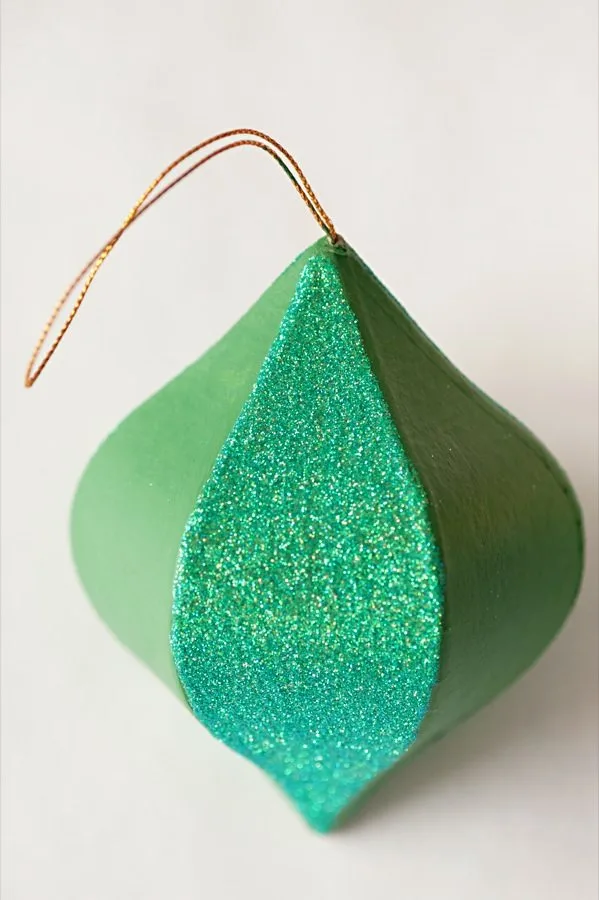
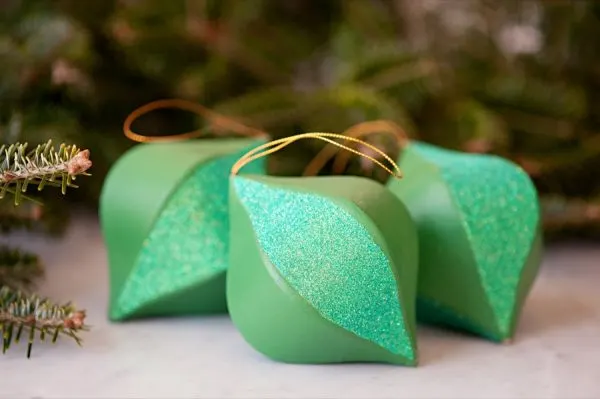
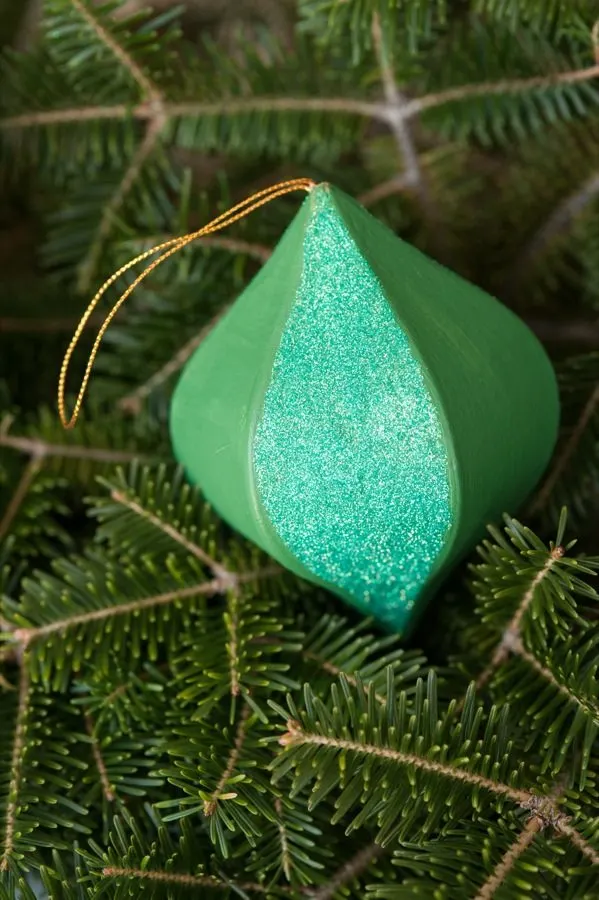
I love how shimmery and beautiful these ornaments turned out and the gorgeous green color just makes them perfect in my book. Reminiscent of fir and pine and boxwood and everything green and lovely this time of year, they’re the prettiest way to trim the tree in style while bringing that homemade touch to your holiday decor. Grab the kids or round up a group of your girlfriends, gather your paint and glitter and have at it!
![]()
[Design + styling by Cyd Converse for The Sweetest Occasion. | Photos by Alice G. Patterson.]
Sources –
Ornaments from Hobby Lobby
Paint in Pesto by Martha Stewart Crafts
Glitter in Wintermint by Martha Stewart Crafts
Nail polish is Sunset Kiss by JulieG
Trimming the Tree candle by Air Wick
This post is a collaboration with Air Wick. For more homemade holiday ideas, follow along on Facebook! Read more about our editorial policies.











Crafting: Color block ornaments | Sparkle Box
Friday 5th of December 2014
[...] Tis the season for crafting! Check out these sweet color block ornaments by The Sweetest Occasion. [...]
20 DIY Christmas Ornaments ⋆ The NEW N!FYmagThe NEW N!FYmag
Thursday 4th of December 2014
[...] 7. Colorblock Glitter Ornaments by The Sweetest Occasion [...]
DIY Ideas: Christmas Ornaments | wedo.
Wednesday 18th of December 2013
[...] holiday craft items that one should always have. And these color block glitter ornaments from The Sweetest Occasion are no exception. Just cover some already-made paper mache ornaments from your local craft store in [...]
Jenny Franklin
Tuesday 17th of December 2013
Wow Cyd. The ornament looks store bought! If I didn't know from the pictures that you made it by the hand, I may not have entirely believed it! Absolutely gorgeous.
cyd
Tuesday 17th of December 2013
Thank you, Jenny!!! You are way too sweet. Thanks for making my day :-) xoxo
Rachel | 52 Weeks Project
Monday 16th of December 2013
Beautiful work Cyd! Your glittering is so precise too! I feel like mine would just be EVERYWHERE.
cyd
Tuesday 17th of December 2013
Thanks, Rachel! You're too sweet. It's called lots of practice...once I get the ModPodge on I go through with the edge of the brush and clean it up to make it as straight as possible, using the edge of my fingernail if need be to make it nice and even. ;-)