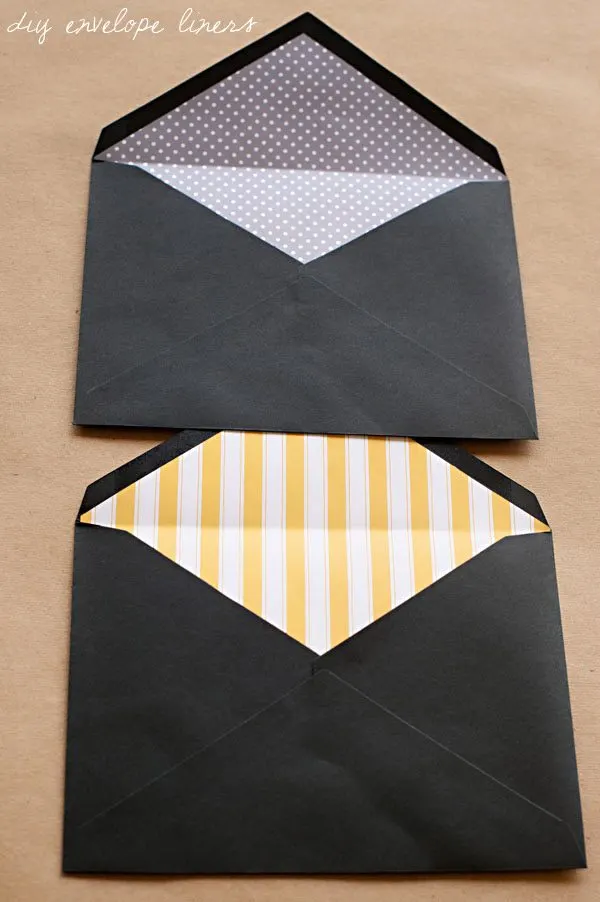
Stationery has long been one of my truest and deepest loves. I’m pretty sure you all know that by now. But what you may not know is that I am straight up coocoo for Cocoa Puffs over great envelope liners. Seriously. This affliction is real and it’s deep. There’s just something about a pop of color and pattern that always does it for me. So back when I used to get my DIY on a whole lot (ahem, also known as the days before I happily bestowed a hefty chunk of my income upon all the amazing stationers I love), I was all about any excuse I could find to line my own envelopes. Believe it or not, it’s easier than you think! So today let’s talk DIY envelope liners shall we?
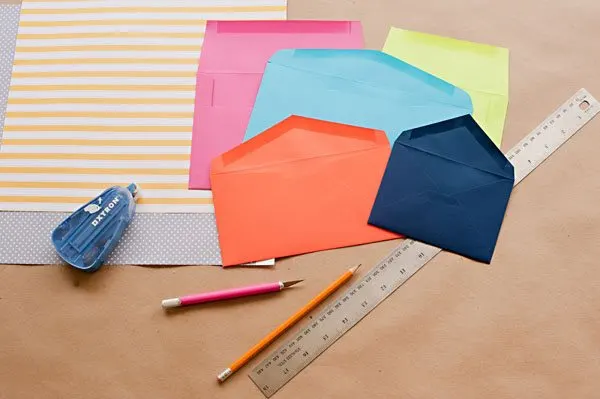
Supplies –
- Envelopes (in the color/size/shape to match your stationery)
- Patterned paper (gift wrap and scrapbook paper both work well)
- Metal straight edge
- Cutting mat or other cutting surface
- Pencil
- Xyron adhesive and/or double-stick tape
- Craft knife
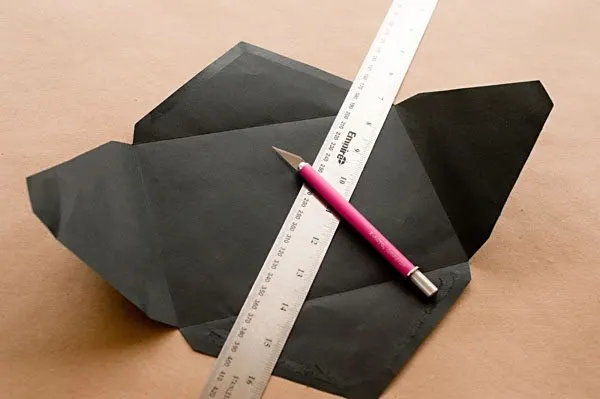
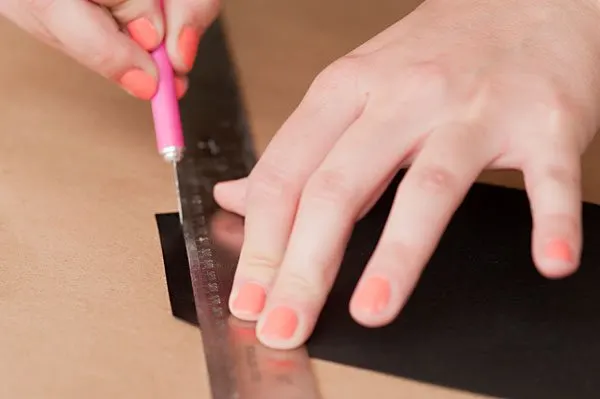
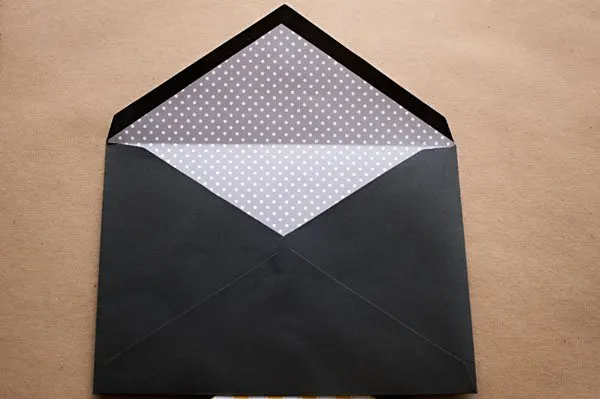
First up, carefully disassemble one of your envelopes along the glued seams. Next, using a metal straight edge as a guide and your craft knife, cut off the side and bottom flaps of the envelope. Making a straight line from top to bottom, start at the edge of the gummed edge on the top flap, and trim the sides of the envelope, creating a template for your liner. Then use the same technique with the metal straight edge and the craft knife to cut off the gummed edge of the top envelope flap. (Because, remember, your envelope still needs to be able to seal so the top edge of your liner should stop short of the gummed edge once you stuff your liners in each envelope!)
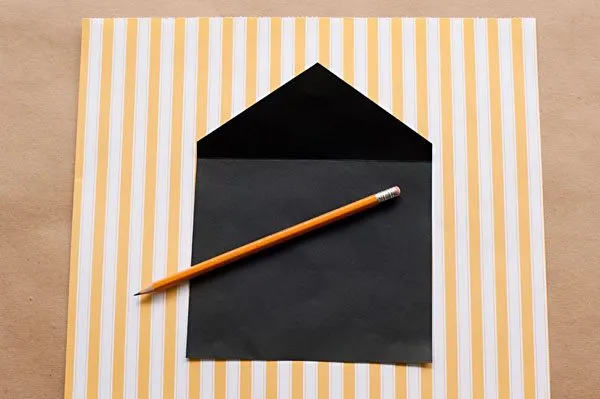
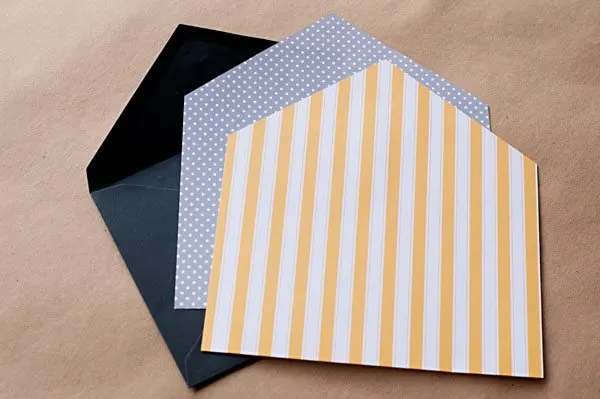
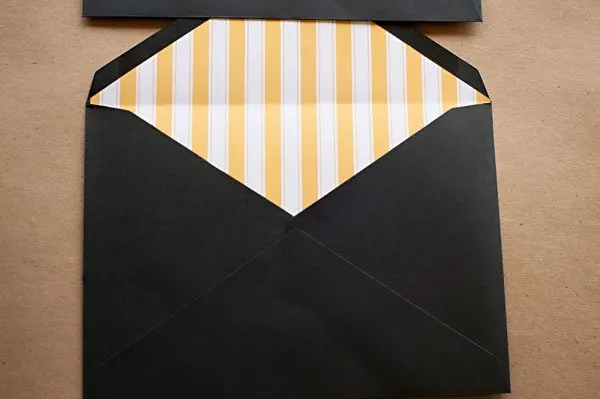
What you’re left with is the perfect template for your envelope liners! Using a pencil, trace around the perimeter of the template onto your patterned paper. Then use your metal straight edge and craft knife to carefully cut out as many liners as you need. Mix up the patterns and colors as you see fit! (Yes, technically you could use scissors for this, but trust me – you’re always going to get a straighter, more precise cut using a metal straight edge as a guide in conjunction with a sharp craft knife!)
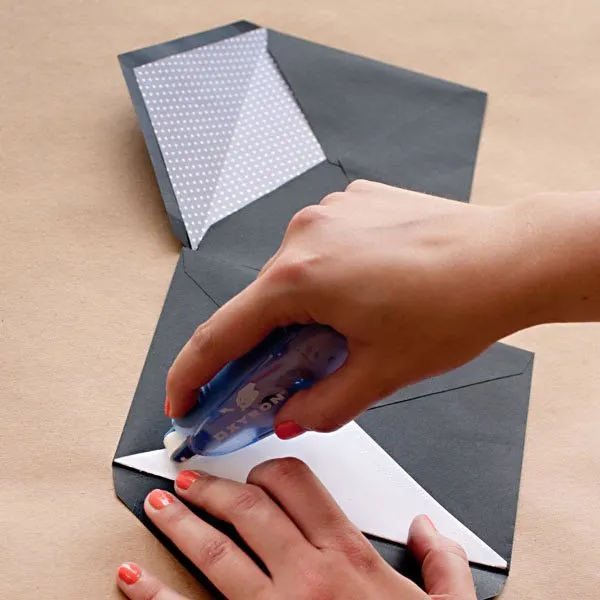
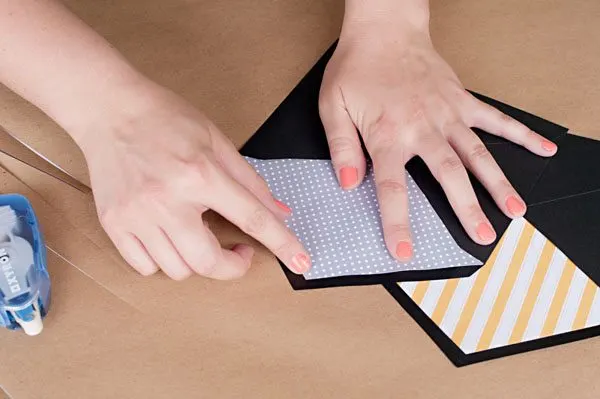
The final step in this simple little process is to take your Xyron (or double-stick tape) and run a line of adhesive along the underside edge of your liner. Carefully smooth it into position and press firmly to be sure the adhesive gets a good grip. I usually make sure to load up my Xyron with permanent adhesive for this step, just to make sure the liner is good and sealed to the envelope. And there you have it! Quick and easy DIY envelope liners that perfectly coordinate with your stationery or party invitations.
{Design + styling by Cyd Converse | Photos by Alice G. Patterson for The Sweetest Occasion.}

Sweeten Up Your Valentines // with Sent Well | Lost & Fawned
Tuesday 15th of January 2013
[...] Try making a custom envelope liner our of pretty paper, vintage book pages, wrapping paper, a doily, or anything else you can think of. I used pages from a vintage bird book in our wedding invitation envelopes. Here is a great tutorial. [...]
Carrie // cue the confetti
Monday 2nd of July 2012
The little details are the best. Super cute idea.
PassionForColors
Thursday 28th of June 2012
Nice idea :)
Alice G Patterson
Thursday 28th of June 2012
That little extra effort makes such a fun impact!