


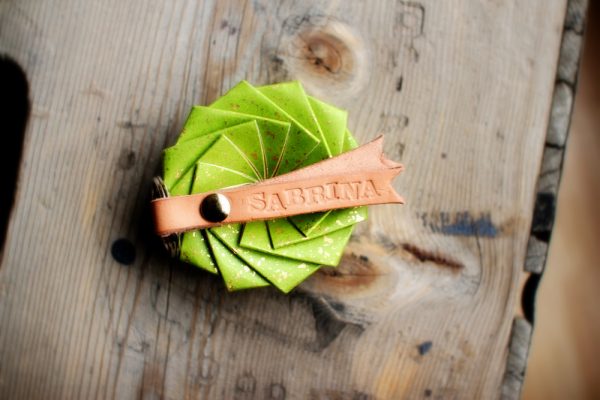
Hello, lovelies! It’s Jenny, from Hank + Hunt, how are you? Are you a bit more aware of how much you are spending this year on holiday gifts? I sure am. I have a little DIY for you that, for a small cost, can yield lots of presents (or wedding favors) for around $50. I know I am going to say “leather working” and people will start running. Wait! It is super simple, I promise, and the results are simply amazing. We’re talking DIY monogrammed leather key chains. Don’t think you have what it takes to mess with leather? I bet you do! It’s super simple and all you need are a few of the right tools.
- 1/2″ leather strip ($8)
- letter leather stamps ($20)
- key rings ($3)
- screw posts ($5)
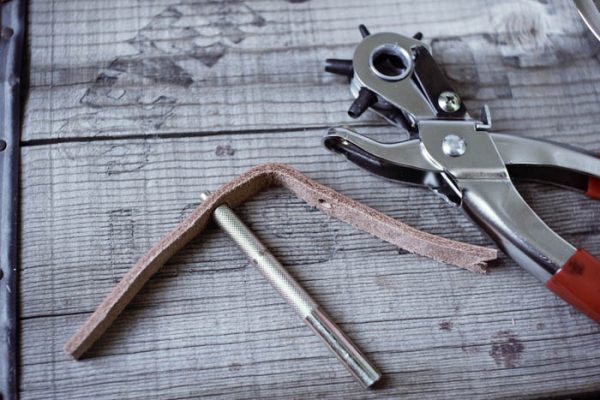
- mini punch set ($10) or rotary punch ($20)
- kitchen scissors or spurge and get leather scissors ($7)
- hammer or mallet ($5)
- a shallow bowl of water
You can really get by with the cheaper options. I made these with kitchen shears and although I had a rotary punch, the holes can be easily made with the punch set for half the cost. In total: $46 or $61 (as shown in the tutorial here) or add $7 and get some leather scissors. Even at the most expensive option, it yields about 10 key rings. Handmade, lettered leather key chains for $7 a pop? So worth it. Let’s get started!

Using your scissors cut the leather into 5 – 7 inch strips. I erred on the longer side, so I could make sure my letters fit. You could make them shorter if you are just doing a monogram (or Cyd’s name…hee hee). Wet the entire strip you are going to punch. Front and back. This ensures that you don’t accidentally get water marks. Set out your letters, and insert the last letter of the name or monogram first. Center punch, about 1/2 to 3/4″ from the end of the right end of the strip, making sure the letter is facing the right direction (don’t ask how I know) and hit twice with the hammer or mallet. Pound firmly, but easily. Be sure to hold the stamp steady or you won’t get a clean letter. Repeat with the remaining letters, working backwards to the first letter.

Next, fold the strip around the key ring eyeballing the placement of the name and leaving space for the post to set. Mark a spot for the hole, about 3/4″ from the fold. Punch the hole. Mark and punch the bottom hole. It is important to go all the way through the leather. (If you use the mini hole punch set, remember to have a cutting board or scrap wood underneath to protect your work surface.) To use, just center the hole punch on top of the leather and hit with the hammer twice. This time a little harder than the letter stamp, as you are trying to go through the leather this time. Insert the screw post halves on each side of the key fob. I used the smooth side for the top.
Hint: if you are having a hard time getting the screw to go through the hole, use the letter stamp handle and wiggle it a bit to stretch the hole.
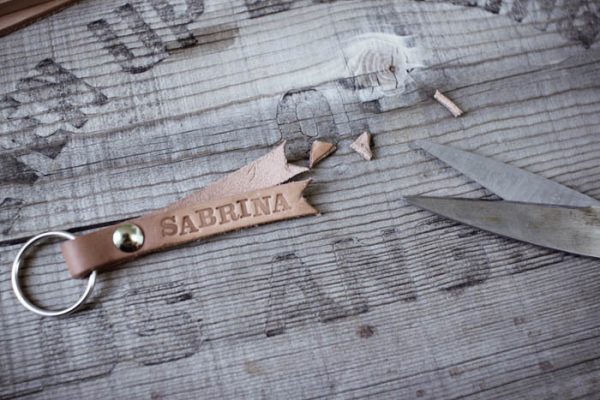
Screw both sides together and trim the ends flush. Cut into flag shape or leave plain if you like. Let dry. You will know they are completely dry when they are the same pale color you started with.
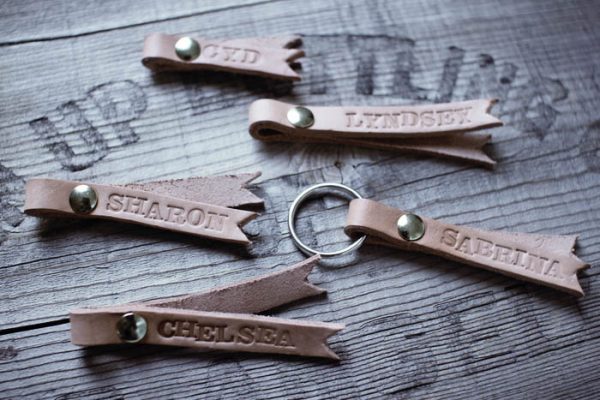
Once you get the hang of it, you can whip through a bunch in an hour. I ran out of key rings in my tutorial but I was still able to make them all at once. I just unscrewed the posts and reattached the key fob around the new key rings. I left my leather raw, because I like how it wears over time. If you happen to wander the leather store, you will see that you can buy brightly colored dyes and traditional dyes. To use, just unscrew the posts and coat all sides evenly with a sponge. The colors are fun when you leave the leather plain. I still can’t believe how fun these would be for a party favor!
{Photos by Hank + Hunt for The Sweetest Occasion.}


 Back to Top
love these! So cool.
First, great idea. Thanks for sharing.
Second, I already own all this stuff except the keychains. Yay!
You’ve made me so happy.
WOW! These are so cool, I wish I had a leather stamper!!
Great idea…I’m definitely going to add that to my to do list…in the photo, there is a little gift box…I’ve been looking for those to buy in bulk…can you tell me where you got it? I really appreciate it and love your blog…thanks for all the inspiration!
Love this! Incredibly clever and original.
This comment has nothing to do with today’s post. I just wanted to say thank you for the All is Calm All is Bright banner you made a couple of weeks ago and for the easy DIY to make it.
I made one to hang in my bedroom and I can’t quit staring at it. I love it. So thank you for sharing. Merry Christmas!
Wow, what a great DIY tutorial! These would be awesome bracelets too! Love love. :)
WAHHH! These are so cool! Isn’t it crazy how sometimes a certain tool or technique can seem really intimidating but, if you actually try it, it’s totally simple? Love these. :)