


Happy October, lovelies! It’s me, Jenny from Hank + Hunt, with the first of many goodies for the celebration season that is upon us. I will admit, we decorated for Halloween this past weekend. (I’m sure your aren’t surprised by that, are you?)
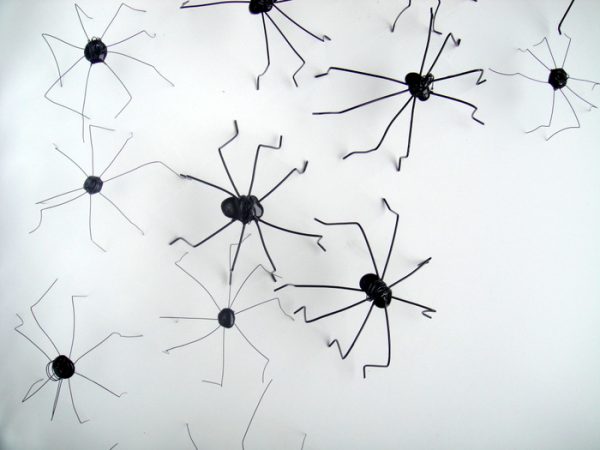
Today I have the world’s easiest Halloween decoration for you – spiders! These little cuties are made of wire and hot glue, and are just about as simple as anything I have ever shared with you. You can make these guys into placecard holders or leave the “card holder” off and have an army of eight-legged creepies to scatter about your home.
Supplies –
- black jewelry wire (I used two different weights)
- black hot glue
- hot glue gun
- needle nosed pliers
Use the upper portion of the pliers (the wire cutting part) to snip 4 – 5 inch lengths of wire, in sets of 4. Use less or more depending on your desired length of legs. You could also use kitchen shears if you don’t have needle nose pliers.
Cut a longer length for every 4 pieces, this will be your placecard holder. Wrap the longer length around the pliers and release.
Ok, now, the black hot glue. I had never seen such a thing until I bought my newest hot glue gun, by Martha Stewart Crafts. The black hot glue sticks are for the HIGH heat setting and came with the glue gun. I must admit, I’ve been looking for something to use them with, and little spider bodies are perfect! If anyone knows where to find more black glue sticks (the set only comes with a few) please let me know. I made 16 spiders and I still have about four sticks left, so don’t worry, you won’t use much with this project.

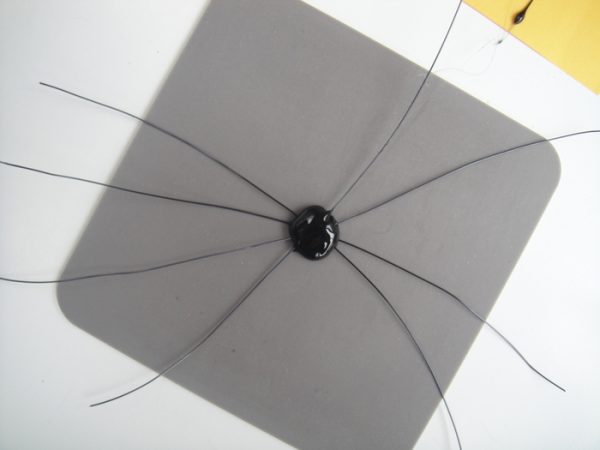
With your glue gun heated and ready to go, use a glue gun mat (also comes in the Martha Stewarts Craft kit) and place a pinky tip sized drop on the mat. Working quickly, crisscross 4 wires across and into the bead. If you are using a heavier weight wire, you will need to add more glue with each wire addition. After all wires are inserted, place a finishing drop on top. The high heat will allow it to spread smoothly. Add the placecard holder on top. You might need to hold it until it sets.
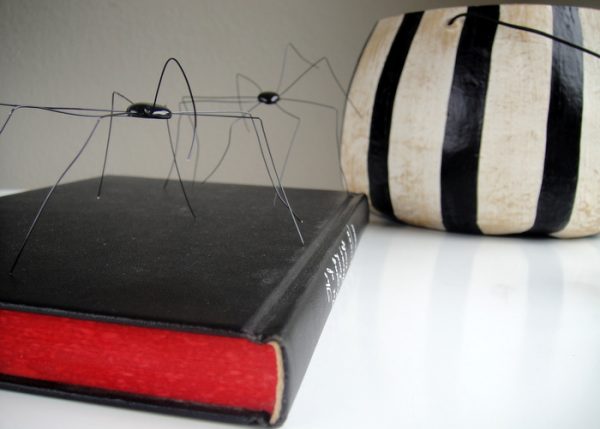
Or leave as is for a simple spider with just a finishing drop to the top. Either way, let cool on the mat. Transfer to completely cool and make more.
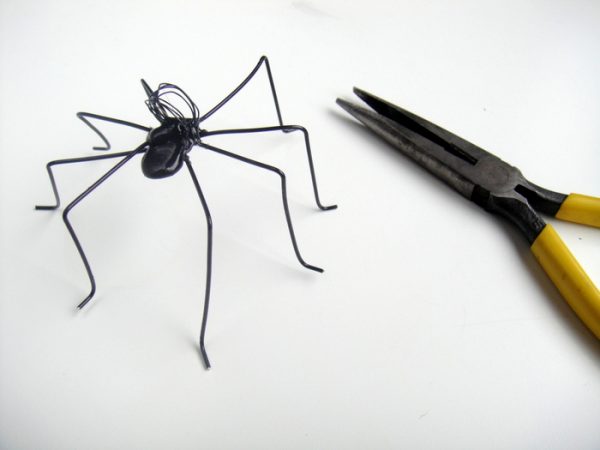
Once all spiders are made, use your needle nose pliers, or your hands, to bend the legs. I also bent feet for the thicker wired ones. Feel free to trim the legs if you want them perfect.
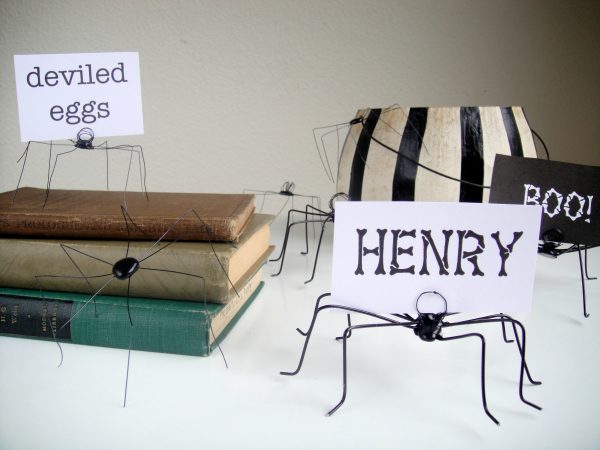
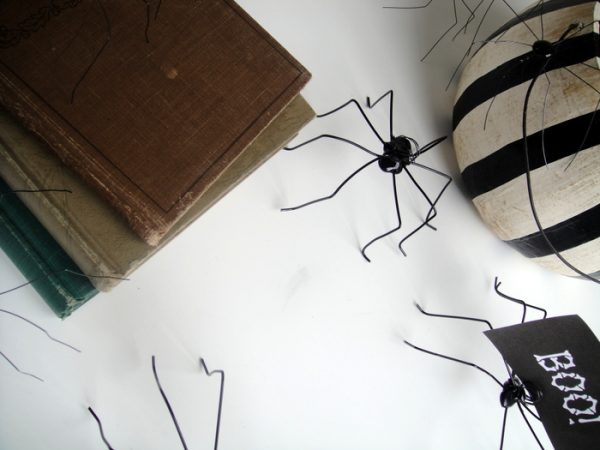
Make in sets for your Halloween table settings, or strewn across your dessert buffet.
I am making a few sets to put in a muslin bag as hostess gifts this season. Enjoy! Aren’t they so cute it’s creepy?
{Photos by Hank + Hunt for The Sweetest Occasion.}


 Back to Top
Here they are: http://studio5.ksl.com/?nid=121&sid=22338944
Thanks again!
Risa
Thanks so much for sharing, Risa! Love how yours turned out! :-)
I love these! I am a contributor for a local television show here in Utah, and these are one of the 5 things I will be sharing live tomorrow! By the way… I gave you credit on my blog as well :)
Thanks!
Risa
I never thought I would call a spider cute but these are! They remind me of those “daddy longlegg” spiders. I hope it’s okay, I just finished a Halloween crafts/decor round-up and couldn’t resist featuring them. You can see it here:
http://jamiebrock.hubpages.com/hub/Super-Cute-DIY-Project-Ideas-Decorating-for-Halloween
Thank you for sharing the tutorial.. I can’t wait to give these a try :)
These are cute, but I’ve never heard of black hot glue until now. I wonder if they have it in other colors.
These are just so cute! Never actually tried any DIY tips, but this one really got me. Am desperate to get black glue in London- any suggestions? Thanx :)
they are wonderful you can
BUY BLACK GLUE GUN STICKS AT AMAZON !
Too Cute! and easy! I have got to try these out!!
Another amazing DIY!!! You truly are the DIY queen!!!!
.-= Brancoprata’s most recent blog post: Sneak Peek =-.
eek! creepy and fun!
.-= invitation consultants’s most recent blog post: Hey Batter Batter… Inspiration for a Vintage World Series Celebration! =-.
These are darling! Love em! I’ll need to try them out!
That is… creepy and terrifying and wonderful at the same time. I am really afraid of spiders and I got scared just looking at that first picture (so many legs! Too many spindly legs!) but I sort of want to try one now, even though I’m sure the moment I see one of these giant spiders from the corner of my eye, I’ll have a mini-heart attack. So… great Halloween decor!
.-= Naomi’s most recent blog post: Appreciation =-.
Can I marry you Jenny?? GENIUS! so adorable.