Good morning, everyone! I am so excited to welcome Eden to The Sweetest Occasion today to contribute to DIY Week. Take it away, Eden!
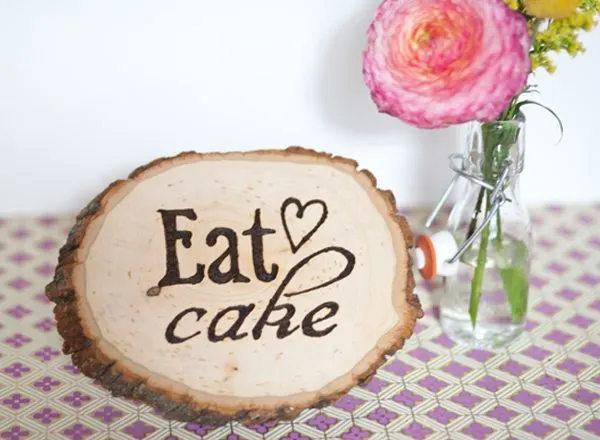
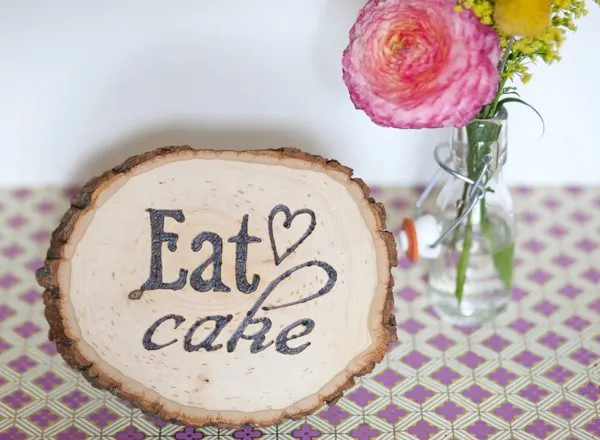
Hi! I am so honored to be guest posting for Cyd today! My name is Eden and I’m the author of the blog Sugar and Charm! I am an avid reader of The Sweetest Occasion, just like you, so I was more than thrilled to put together a DIY project to share on Cyd’s amazing blog! I recently styled a rustic, garden wedding where we incorporated a lot of wood burning. It turned out lovely and the wooden planks looked beautiful placed at different locations around the wedding. I thought it would be neat to show all of you how to create your own wood-burned sign, using any font and style you want! It’s actually pretty simple and really fun too! Read below for the tutorial and I hope you enjoy!
Supplies –
wood burning kit
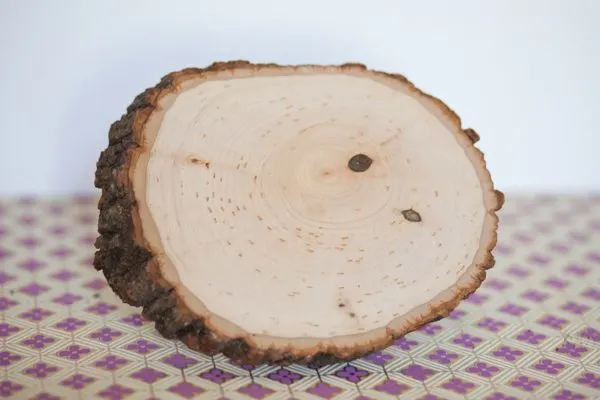
wooden planks
charcoal pencil
white paper
printer
(I got all of my supplies at Michaels. You can order wood burning kits online, any of them will work fine.)
Directions –
Step 1: On a computer, type out or design whatever you want your wooden sign to say. Choose a fabulous font that fits the style of your event. If you like the one I used in this DIY project, you can download it here! It will fit a small wooden plank perfectly.
Step 2: In order for the size of the letters or font to fit on the wooden plank, you may need to print a few copies, adjusting the size until it fits perfectly on the wood piece.
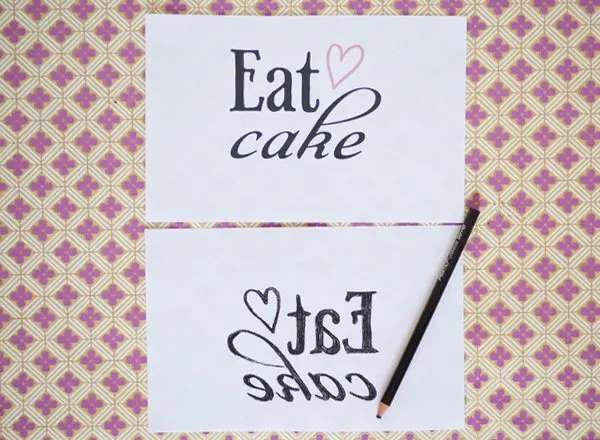
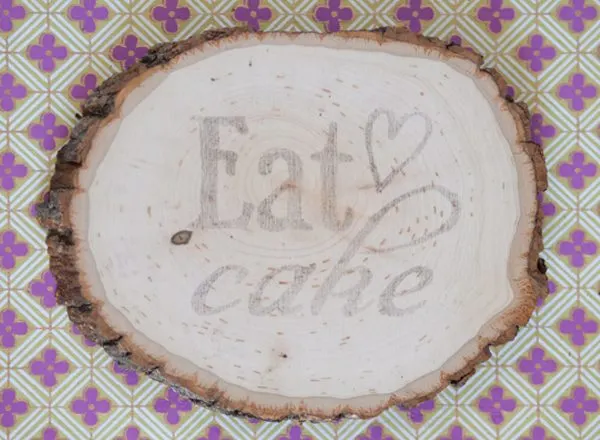
Step 3: Once you have the correct size, turn the paper over and with a charcoal pencil trace the back of your design. Make sure to trace hard enough so the charcoal will transfer onto the wooden plank.
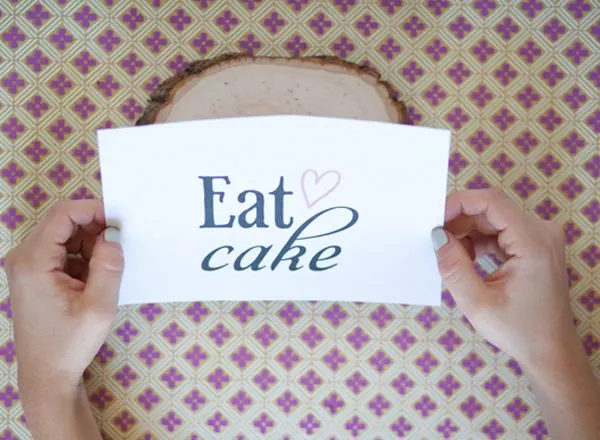
Step 4: When all of the letters are traced, place the paper on the wooden plank with the charcoal side facing down. Press firmly on the letters to make sure they transfer nicely to the wood. Remove the paper when you’re finished.
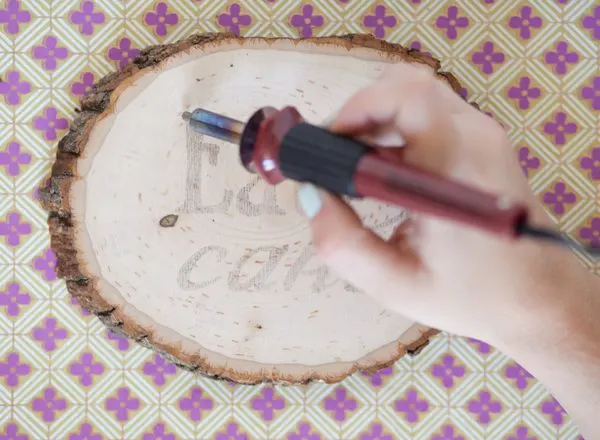
Step 5: There should be a nice outline of your letters for you to trace. With the wood burning tool (which can get extremely hot, so be careful) start to trace and fill in the letters. Once you complete one letter move on to the next. You will get the hang of it after the first letter. Have fun!
{Photos by Sugar and Charm.}

101 Simple Handmade Wedding Ideas
Thursday 8th of March 2012
[...] Wood Burning Signs – The Sweetest Occasion [...]
Ashley
Tuesday 24th of January 2012
you can get the same effect by using a regular pencil to darken in the back of the paper. you just have to make sure that you press down firmly when you're transferring the image or letters onto the wood.
Sophie
Tuesday 25th of October 2011
this is gorgeous, I was wondering what fonts you have used and where i could find them?i love the one that EAT is written in! please let me know
Sophia
Saturday 22nd of October 2011
Hi I was wondering where you find the wooden planks? I can never find where to get some! I love the color of the wood! it's beautiful! Do you paint it with anything so it does not dry out and lose its color? .-= Sophia's most recent blog post: Fuchsia Cotton Bracelet =-.
weadoreweddings.com » DIY Monday
Monday 19th of September 2011
[...] see how you can make this very sweet sign, take a look over here. Many other inspiring thing to see too. Posted in DIY, [...]