


It’s Chelsea, back from Lovely Indeed, with a quick and easy DIY sewing project for you! No joke – even a novice on the sewing machine (much like myself) can handle this one. Today, we’re tackling fabric pouches!
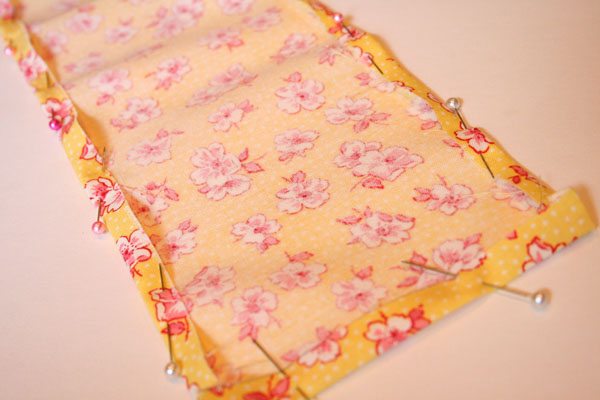
First, find some adorable fabric and cut a piece 5 inches by 15 inches. Pin and iron the edges to prepare for sewing a 3/8 inch hem.
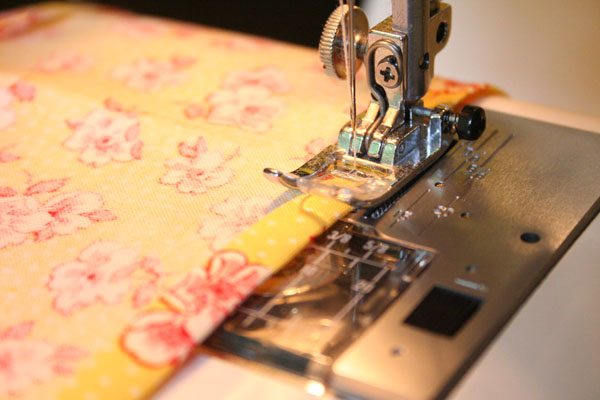
Sew your 3/8 inch hem around all four edges using a straight stitch. Trim any stray threads.
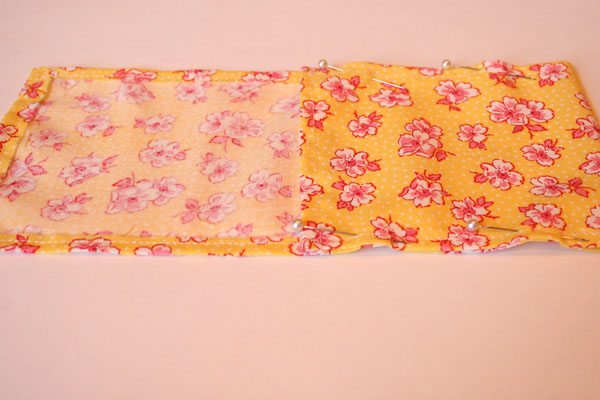
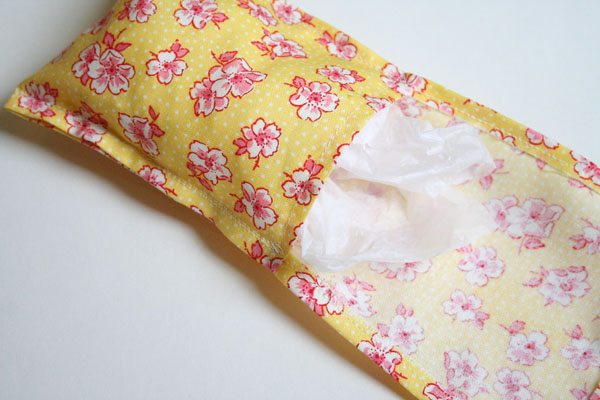
Fold over about 4 1/2 inches of your fabric onto itself and pin at the edges. Sew the two open sides down using the same straight stitch. You can sew directly over your original hems. Trim threads.

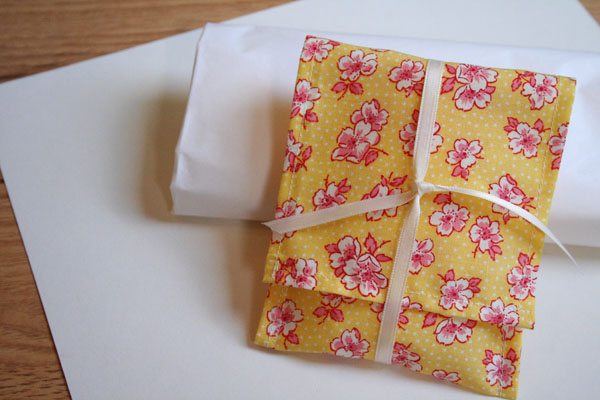
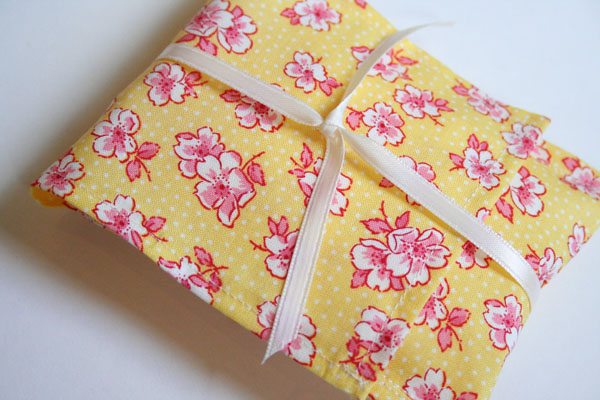
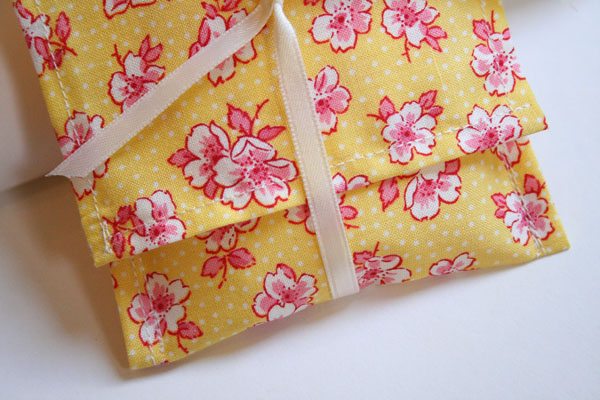
You did it! Grab a length of ribbon (about 15 inches should do it) to wrap around your pouch and hold it closed. Finally, stuff it with whatever you’d like! You could use your pouch as a sachet and fill it with fresh lavender, or tuck some cookies inside and give it as a gift. These are so quick and easy you could even use them as favors at a shower or wedding, filled with candy or trinkets. Be creative and have a blast! xoxo

{Photos by Lovely Indeed.}


 Back to Top
Another idea with essentially the same steps: fabric sunglasses pouch. Just make the pouch more narrow and long enough to fit your fave shades. Perfect for small handbags!
so cute and so easy!