


Recipes
Peanut Butter Breakfast Parfaits
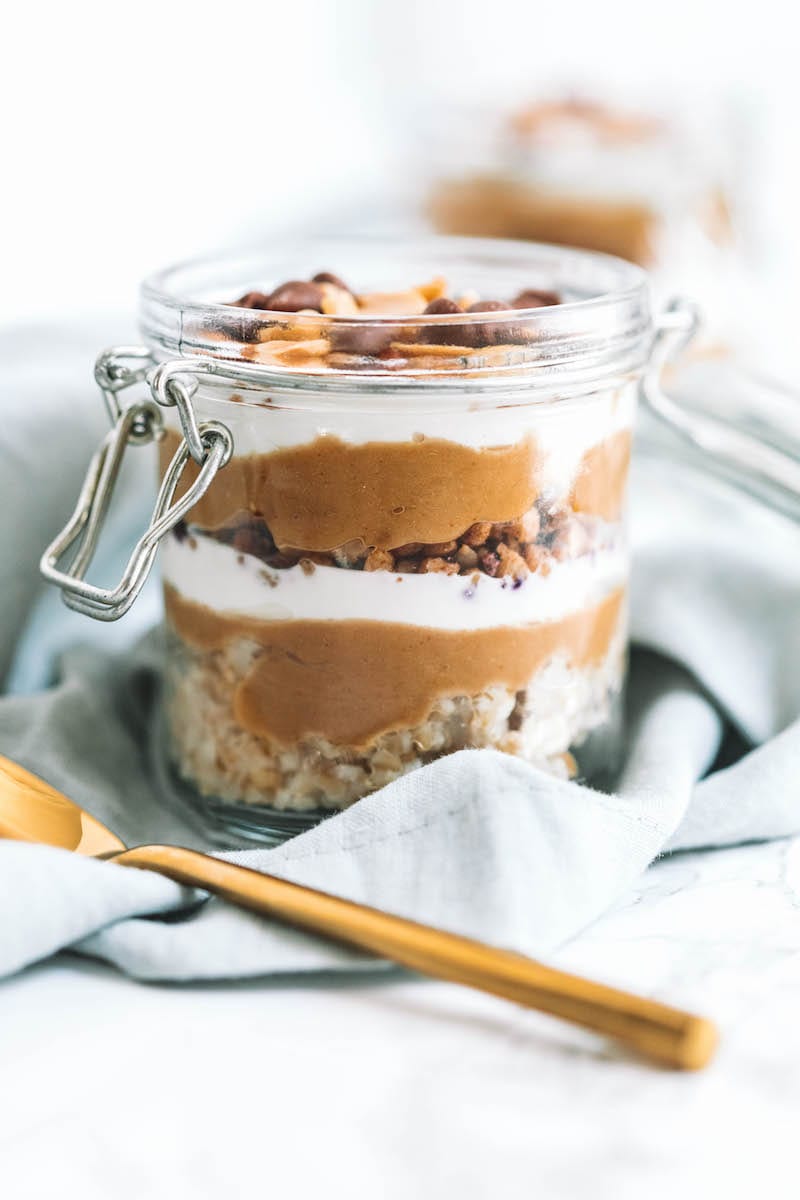
I started making layered breakfast parfaits recently and, friends, let me tell you. They are giving me life! Today I am sharing these insanely delicious peanut butter breakfast parfaits, which you can make ahead for the week and grab on the go. Basically, these are the perfect summer breakfast! No heating up the kitchen, plus they’re loaded with protein and seriously delicious.
Recipes
German Potato Breakfast Casserole
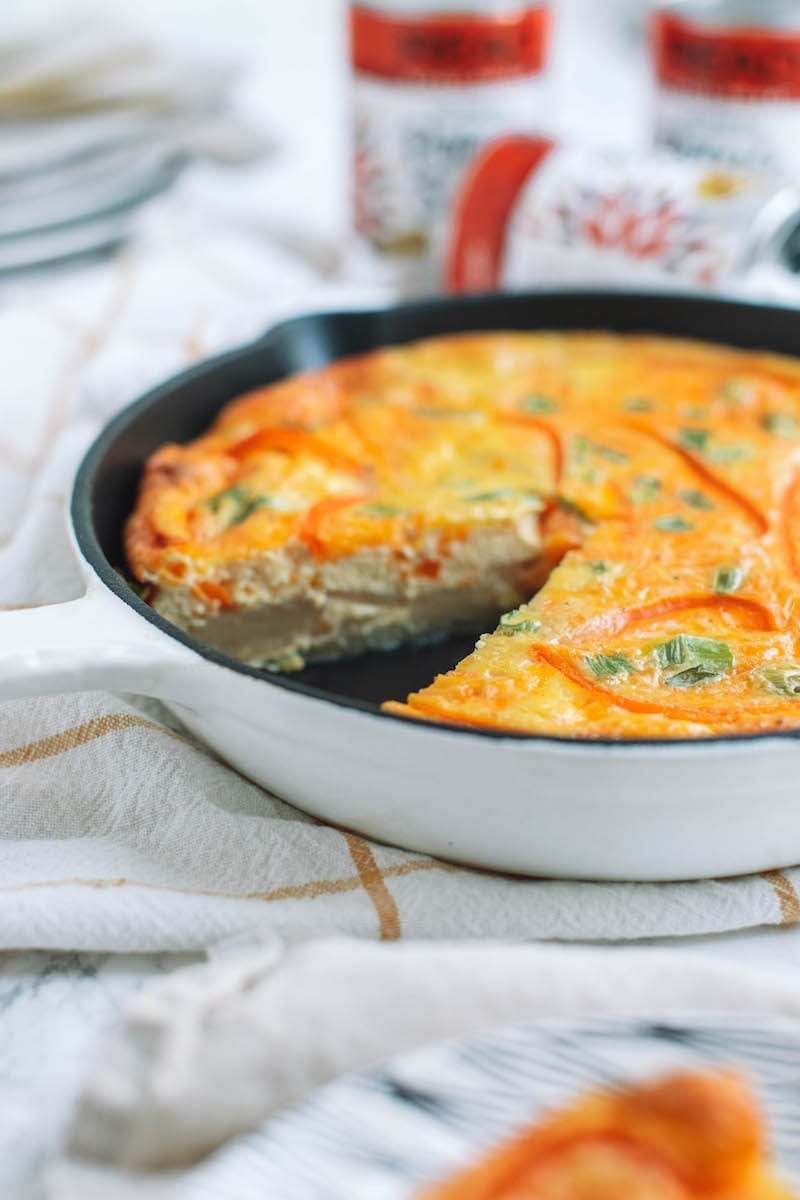
It’s officially summer, friends, which means it’s also family reunion season! I always loved our family reunion as a kid. The sack races, swimming all day and, of course, the food! Today I’ve teamed up with READ® Salads to share my easy reunion-ready German potato breakfast casserole. You’re going to love it!
Recipes
Portobello Burgers with Grilled Peaches + Pickled Onions
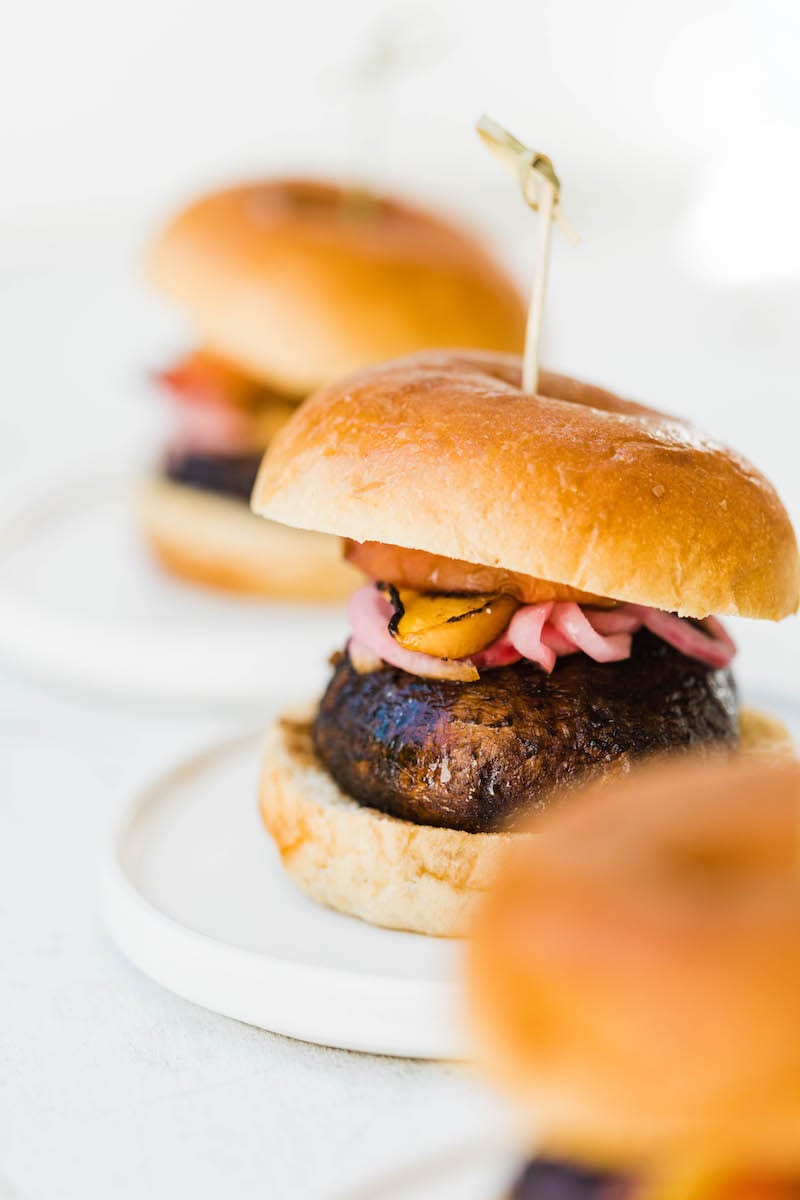
There’s a restaurant here in our little city where they serve the most amazing portobello burger. It’s so good that it inspired me years ago to starting grilling portobello burgers at home. Today I’m teaming up with SOLA® to share what might just be the perfect summer grilling recipe – my portobello burgers topped with grilled peaches and pickled red onions!
Recipes
No-Bake Homemade Peanut Butter Cups (Made with Crackers!)

Is anyone else a complete sucker for a peanut butter and chocolate combination? I seriously can’t get enough, which is why I’m particularly fond of these no-bake homemade peanut butter cups! And you know what’s crazy? They’re made with crackers!
Recipes
21 Super Tasty + Equally Easy Summer Party Appetizers
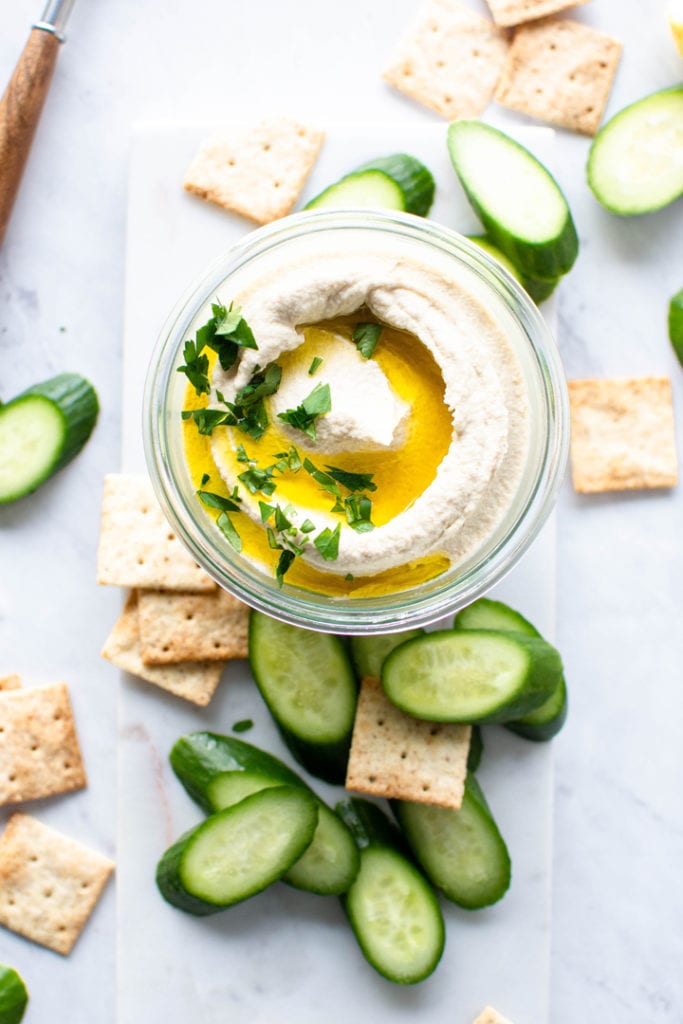
One of the most popular requests I receive (both here, on Instagram and from my friends and family) is for more party appetizers! People love an easy party appetizer recipe, so I decided I would take a moment today to round up 21 of the best summer appetizers perfect for all your upcoming summer parties.


 Back to Top