


Family + Kids
Our Favorite Baby + Toddler Toys

In a shocking turn of events, our sweet little Emerson turns two in just a few weeks. Two! It is so so true what they say. The days are long, but the years are short. It’s immensely bittersweet for me, which I’ll ruminate on at great length as her birthday approaches, but suffice it to say that I love watching her grow up, I just wish it were happening a little slower. (Classic Mom feels, I guess.) As I prepare her little wish lists for her birthday and Christmas for grandparents, aunts and uncles, I realized it was perfect timing to share some of our favorite toddler toys! I am really committed to the idea that fewer, higher quality toys (and things in general) is the way to go, both from the standpoint of not wanting to waste money on things that feel really disposable, but also because it helps keep clutter in check. I am someone who gets really stressed out by visual clutter, so choosing toys that look great, function even better, keep her happy and are easily tucked away at the end of the day keeps me feeling sane. Plus I love that idea that we try to mostly select toys that are really well made and could easily be passed down to her kids someday. I am all about that nostalgia life. Keeping reading for a bunch of our current favorites and please comment with links to your favorites so I can check them out!
Recipes
Simple Stovetop Mulled Apple Cider
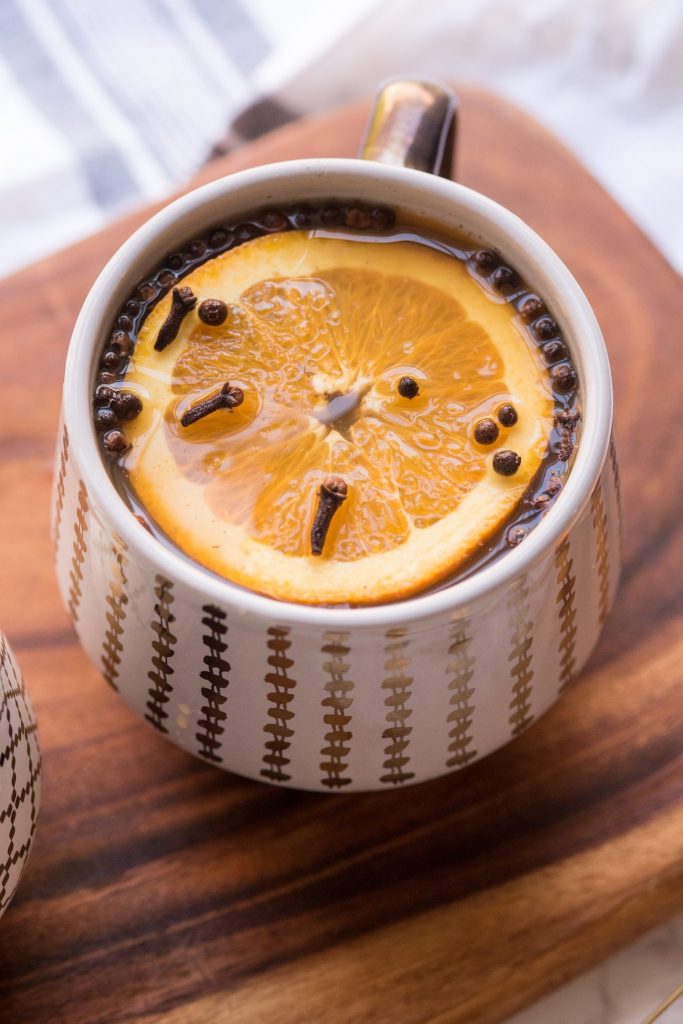
Making homemade mulled cider is one of those feel good fall traditions that just feels so right this time of year. It’s such a simple thing to do, mixing cider and spices and fresh orange slices, but it elevates the whole experience. Today I’m collaborating with my friends at Truvia to share my go-to mulled cider recipe, with fewer calories and less sugar! It’s simple enough to make on the stovetop, but it can easily be made in a slow cooker, too, so you can revisit it all day and keep refilling your mug. I made mine with Truvia Brown Sugar Blend so it’s sweet, but tart, spicy but citrusy and just the very definition of delicious. For an adult twist, you can add a generous splash of good brandy or spiced rum to your mug, which I find particularly appropriate on chilly fall evenings or when you get home from trick or treating with the kids and need a little warm up from the inside out. And, because it’s made with Truvía Brown Sugar Blend, a yummy blend of Truvía Natural Sweetener and brown sugar with 75% fewer calories than traditional brown sugar, you can sip to your heart’s content with a lot less sugar.
Home + Living
Our Fall Front Porch Decor
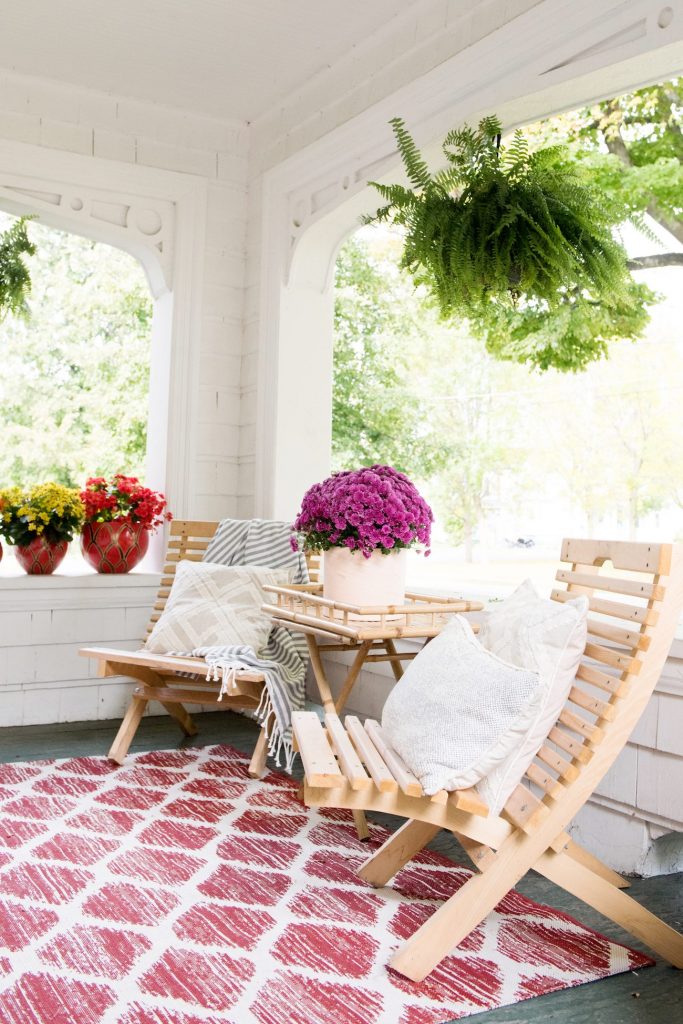
Hello, friends! It has been such a whirlwind in our world over the last few weeks, but we shot these photos of our fall front porch decor a while back and it feels like high time I give you a little peek at our house all decked out for fall. At least, my version of “decked out” which is probably a bit simpler than most of the front porches you’ll find on Pinterest this time of year, but that’s how I like things. Oh, p.s. We got married! If you haven’t yet seen it you can catch the quickest sneak peek on Instagram, and I’ll be sharing a few more photos here and there while we wait to get our hands on all the amazing photos our photographer shot. Because we had our wedding at our home, I wanted every aspect of our exterior decor to feel warm, welcoming and cozy, so taking some time to really make the front porch feel inviting was important to me. I used a lot of pieces we already had and just made sure to add enough color and texture to give it that warmth that fall begs for. (Keep scrolling for all the details and shopping sources below!)
DIY Projects
Trick or Treat! You’ve Been Booed Halloween Printables
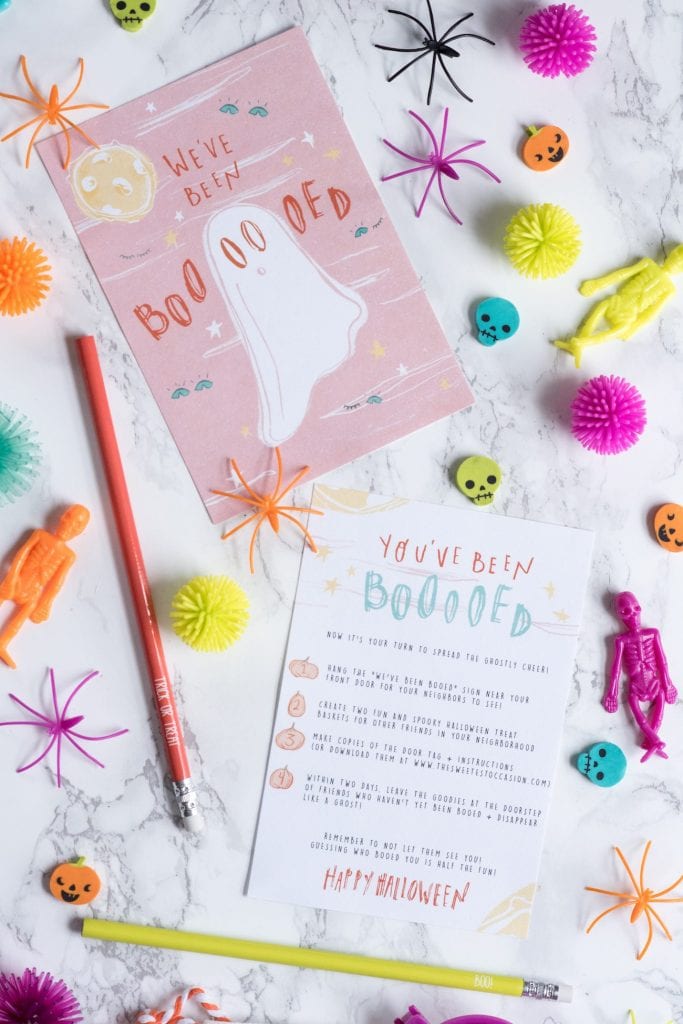
Last year was our first year living in our house and one day in October we came home from running errands to find out we had been booed! The idea behind being “booed” is that someone leaves a basket of goodies at your doorstep on the sly at some point during the Halloween season with a note letting you know you’ve been booed. You’re then supposed to pass along the fun by booing another family, all done anonymously. Today I’ve teamed up with HI-CHEW and the super talented Isabela of La Lu Isa to create these really happy and barely spooky Halloween printables so you can boo all your neighbors and officially be the coolest kid on the block! You can download them here, then just print on card stock and trim. Fashion together a basket or two loaded with your favorite HI-CHEW flavors (mine are mango and strawberry!) and a bunch of fun Halloween paraphernalia and you’ve got all the right moves.
Recipes
Chocolate Dipped Apples On a Stick
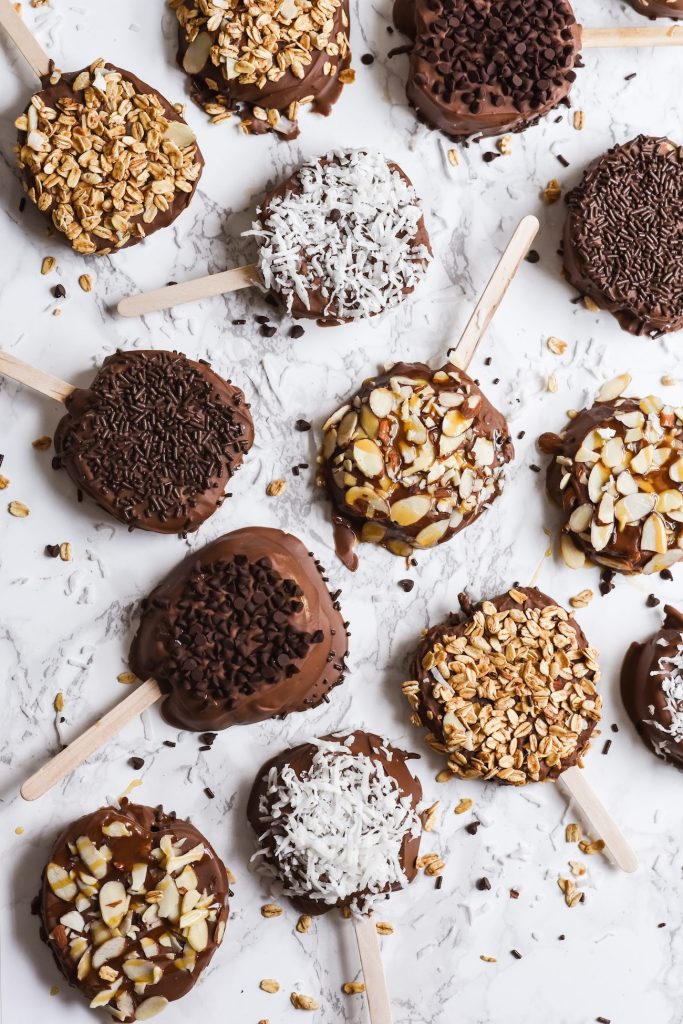
Fall in Upstate New York is effectively synonymous with apple season. On weekends you’ll find the local apple orchards packed full of people filling baskets with their freshly picked bounty and the local cider mill with lines a mile long waiting for fresh cider and donuts. We get really crazy about the change in seasons around here and apples definitely take center stage in fall. I love these chocolate dipped apples on a stick as really fun seasonal treat that doesn’t require hours of peeling, coring and rolling of dough. If you have kids, let them pick out and sprinkle on their own toppings! I like a mix of mini chocolate chips, granola, shaved coconut and almonds, but you can switch out the toppings for whatever your crew will most enjoy.


 Back to Top