


Recipes
An Easy Summer Tomato Tart Recipe

This easy tomato tart recipe is the perfect way to use your summer tomato haul. It features a light, flaky puff pastry crust and a flavorful ricotta cream cheese filling, packed with great summer flavor.
Recipes
Glazed Apple Fritter Waffles Recipe

These tasty apple fritter waffles are loaded with fresh apple flavor then dipped in a sweet glaze making them part waffle, part fritter and totally delicious.
Cocktails
White Wine Sangria Recipe with Peaches + Pineapple
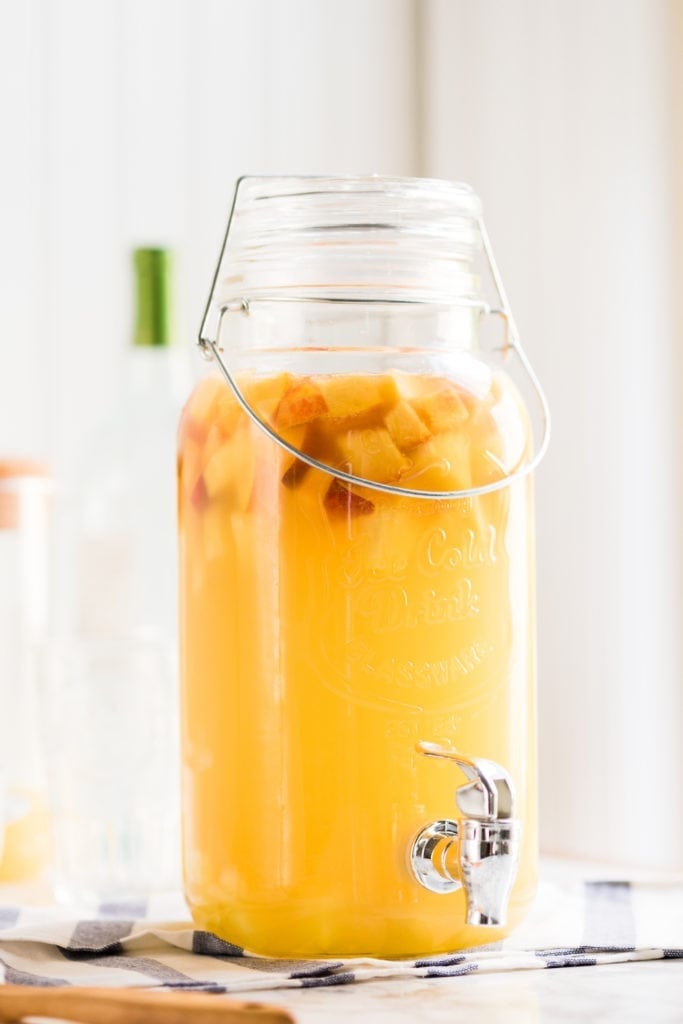
This easy white wine sangria recipe is made with peaches and pineapple, making a super refreshing summer cocktail. Make a pitcher of this white wine sangria for your next summer party or to invite neighbors over to sip on the front porch.
Recipes
Garlic Parmesan Grilled Corn on the Cob Recipe

This delicious garlic parmesan grilled corn on the cob recipe pairs perfectly with all of your favorite summer dishes like burgers or grilled shrimp. In this post I also share my easy, fuss-free method for making grilled corn on the cob.
Recipes
Easy Oven Roasted Brussels Sprouts Recipe
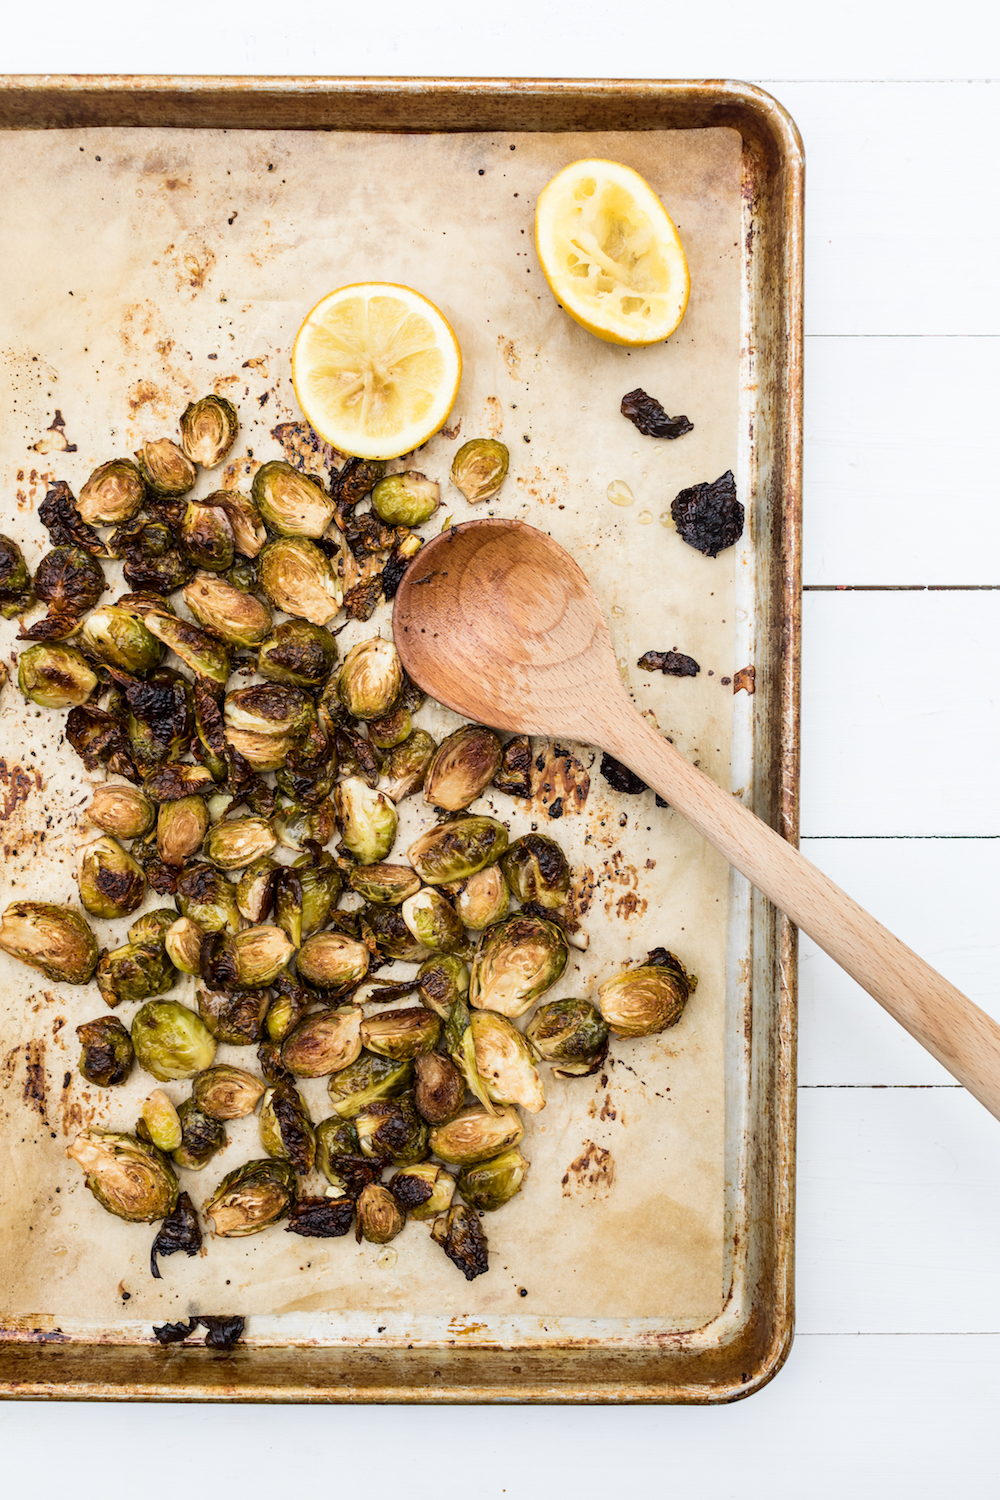
This easy oven roasted brussels sprouts recipe is a perfect, easy side dish or as an addition to salads, grain bowls, vegetarian entrées or even omelettes!


 Back to Top