


Cocktails
Summertime and the Sippin’ is Easy: Blueberry Beet Gin Slushies
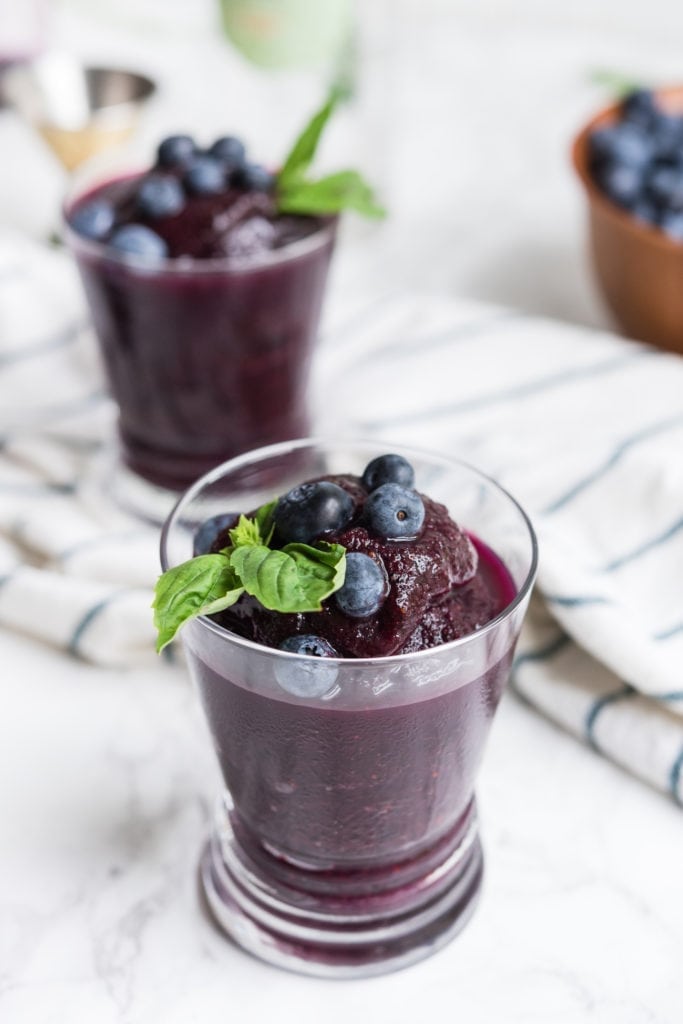
It was my dad who first introduced me to the beauty of really good gin cocktails. Late in my college career, I’d go home summers to work an internship at a local architecture firm. My dad and I would often meet on the back porch in the evening after work and he’d make us each a perfect gin and tonic. Perfectly refreshing. Perfectly summer. I’ve been a gin fan ever since. But today I’ve upped the game on the classic gin and tonic with these blueberry beet slushies made with Prairie Organic gin. They may just be the single tastiest cocktail I’ve ever concocted and with blueberries currently in season, you’re going to want to fire up that blender!
Family + Kids
The Beauty and the Truth of My Life as a Full-Time Solo Parent
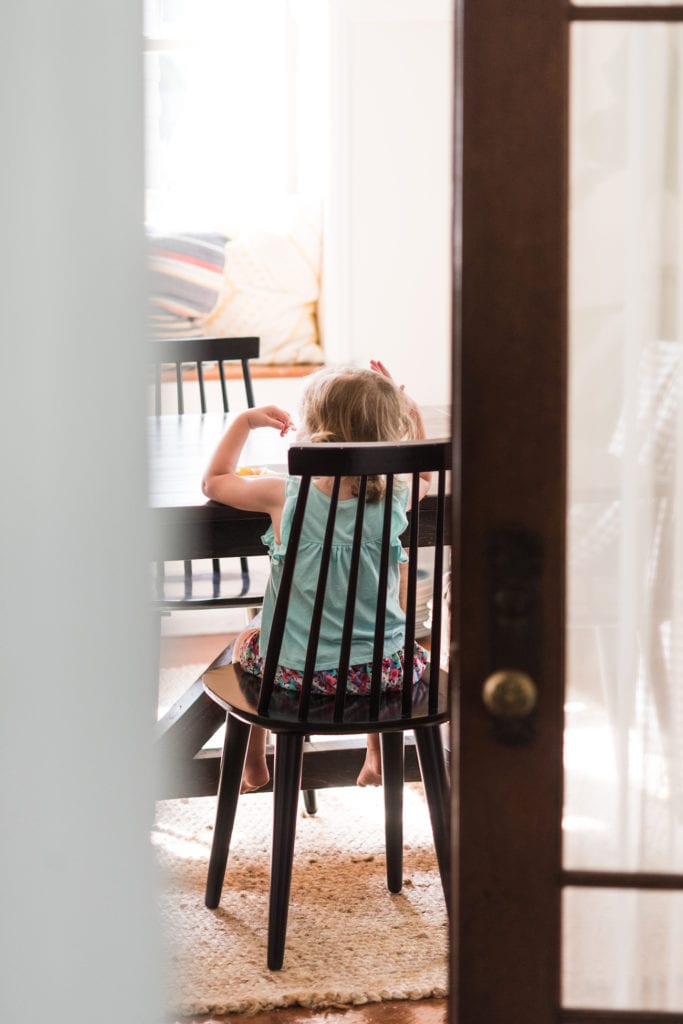
My alarm went off for the first time at 4:30 this morning. The room was still dark, fans blowing every direction to keep the bedroom cool since our big old house is sadly want of central air. My husband slipped out of bed, reappearing briefly a bit later smelling of toothpaste and freshly applied deodorant to plant a kiss and whisper “I love you, baby” before he was off, still long before dawn. A couple of hours later I woke again to the sounds of a little voice calling for mommy through the baby monitor. I roused the dog who had climbed into her father’s spot on the bed shortly after he left it, and walked into the room next door to fetch a snuggly toddler still encased in blankets. And so, the day began.
Recipes
Grilled Eggplant Sandwiches with Sriracha Mayo + Pickled Red Onions
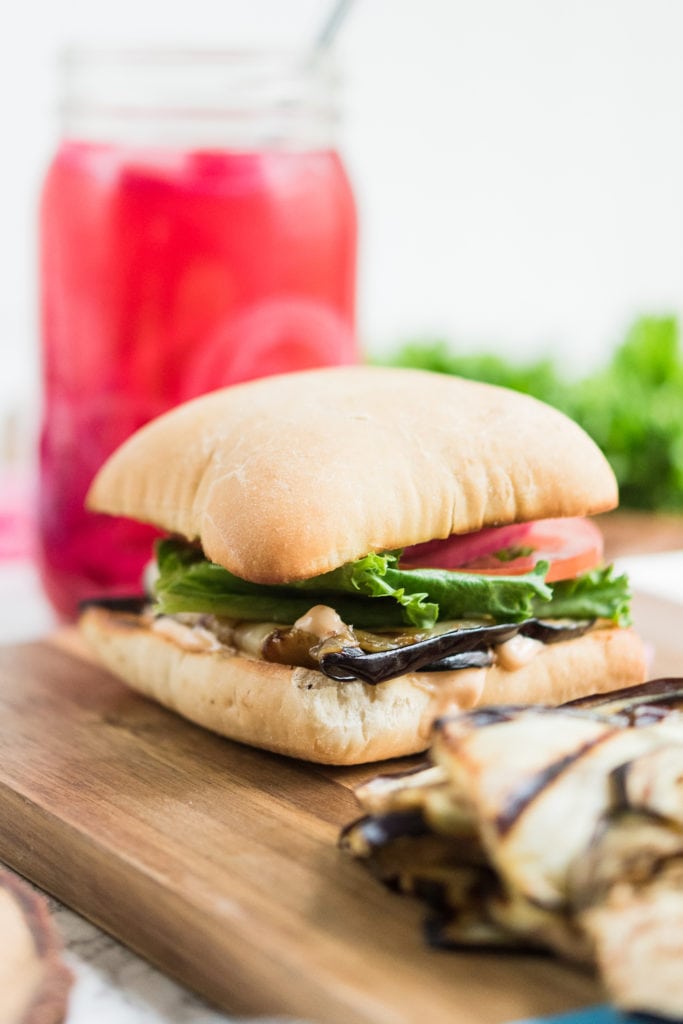
It’s the season of sandwiches around our house and these babies have quickly become one of my favorite grilled eggplant recipes! The perfect eggplant layered with my homemade sriracha mayo, lettuce, tomato and those easy pickled red onions I’ve been obsessed with all summer long. This is a sandwich that’s as comfortable as weeknight dinner as it is as the star of a casual weekend dinner party. I’ll be making them like every other day from now until forever.
Recipes
How I’ve Been Making the Best Pickled Red Onions
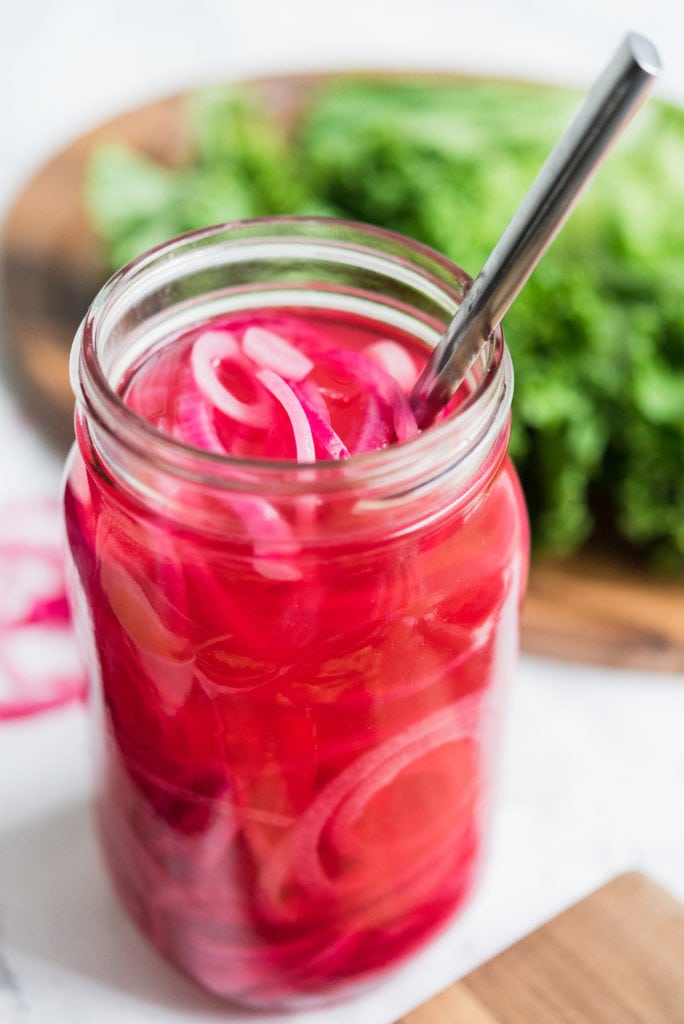
We’ve been eating copious amounts of pickled red onions lately. On tacos, on breakfast sandwiches, on salads piled high with watermelon and feta. The reason why is simple. I started playing around and realized just how insanely easy they are to make and how they make basically everything more delicious. They might not work on chocolate cake. But then again, maybe they would! I won’t tell you how to live your life or how to eat your pickled red onions, I just have to insist that you make a jar. Five ingredients, no cooking, no fancy processes. The result is a delightfully pink onion that even non-onion lovers will love – they don’t have any spice to them at all, but they have the best crunch!
Parties
Make Summer Entertaining Easy with a Make Your Own Sandwich Board
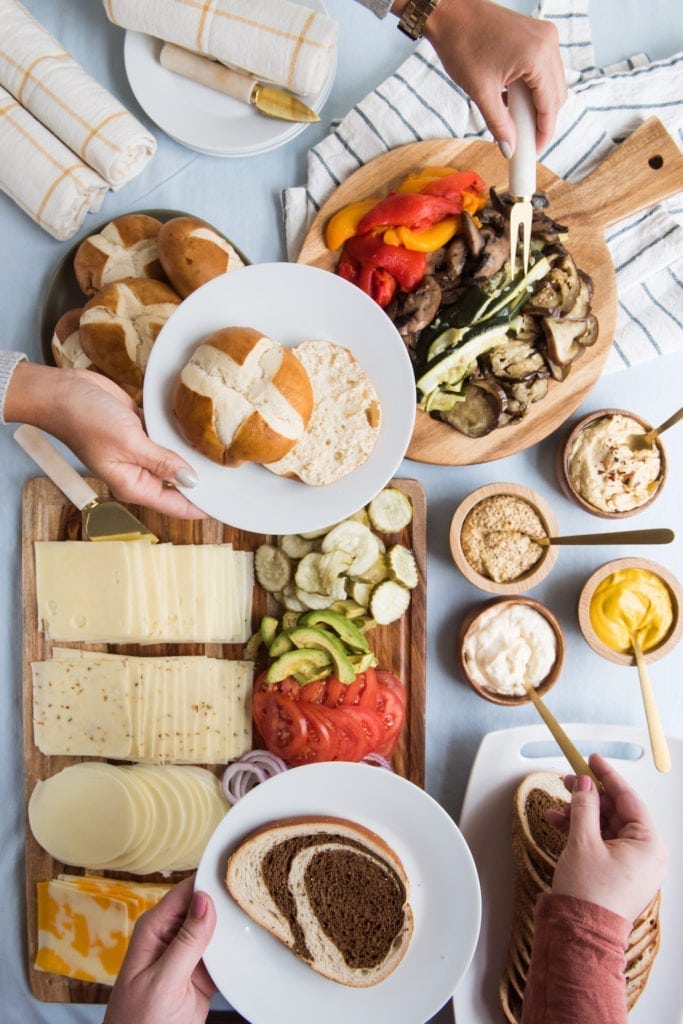
When we’re entertaining, Bob and I start the same way every single time – by brainstorming the menu. We can have epically long discussions about what to serve for Thanksgiving dinner while sitting on a boat in the blazing hot sun in July. But right now, the earth is melting. It’s actually threatening to melt at any minute, at which point the floor will literally turn to lava and we’ll be undone. It is so hot this summer! While I’m loving it, I basically don’t want to cook. Ever. We’re living off sandwiches, salads, watermelon and big jars full of ice water in our house and I have no shame. Even standing over a grill sounds entirely unappealing. Short of ordering pizza delivery, which is an entirely valid option, this sandwich board is your answer for your next party! You don’t have to cook, you barely have to prep anything. It’s the very definition of life saving when you have a party coming up and the earth is melting.


 Back to Top