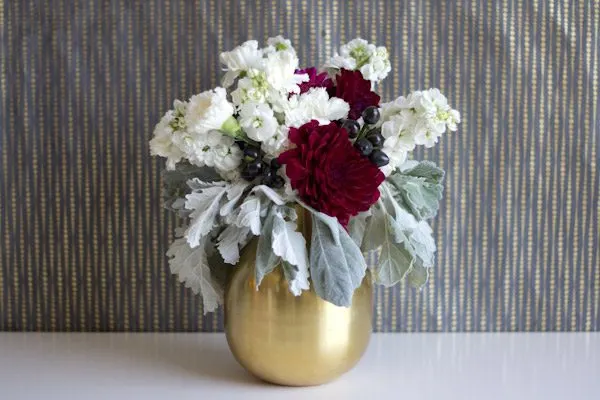
It’s October! And you know what that means – things are about to get all spooky up in here. But this year I’m switching it up and instead of good ol’ orange and black, all of my Halloween festivities are going to be black and white. It feels a little bit classy, a little bit glamorous, and still plenty spooky for Halloween. And we’re translating that palette into a simple bouquet of Halloween flowers that you can use as a centerpiece. Just find some seasonal florals in a black and white palette and let’s get to work!
Supplies –
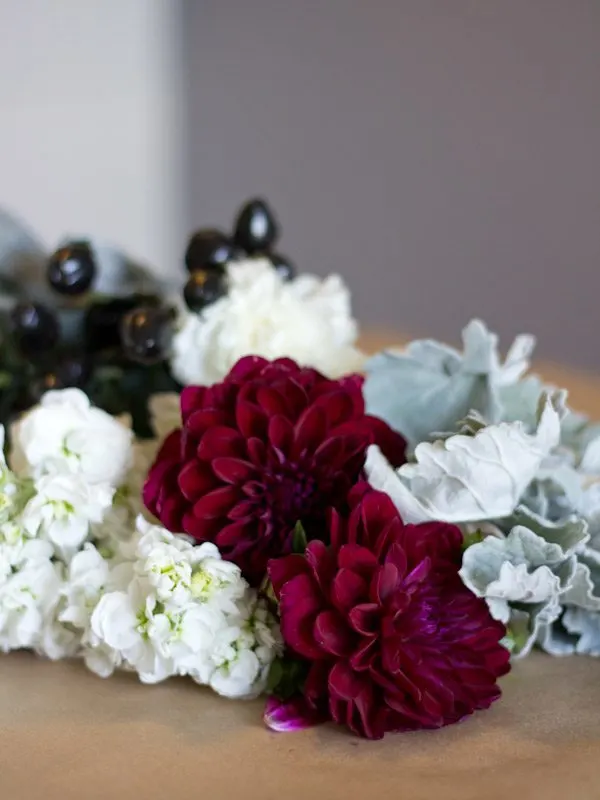
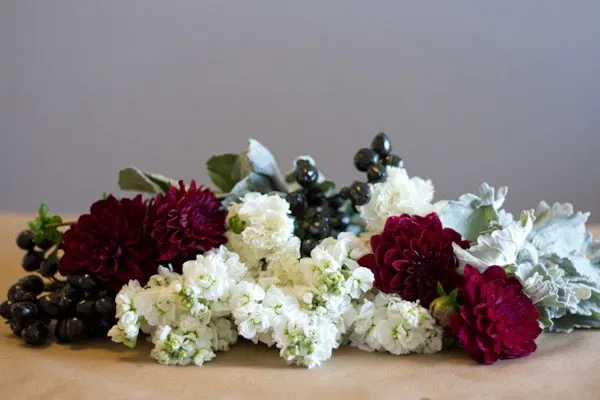
- white filler flowers like carnations and stock
- black or dark purple flowers like dahlias (black lilies would also work!)
- black accent pieces like black chili pepper plant
- drooping greenery, like dusty miller
- vase
- scissors
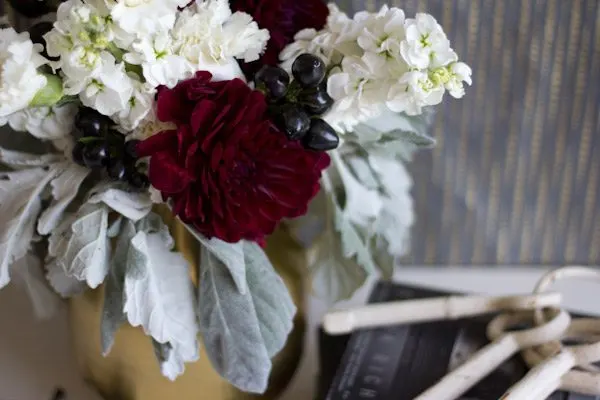
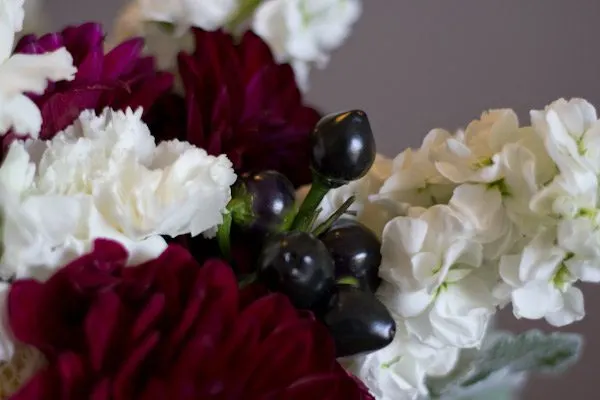
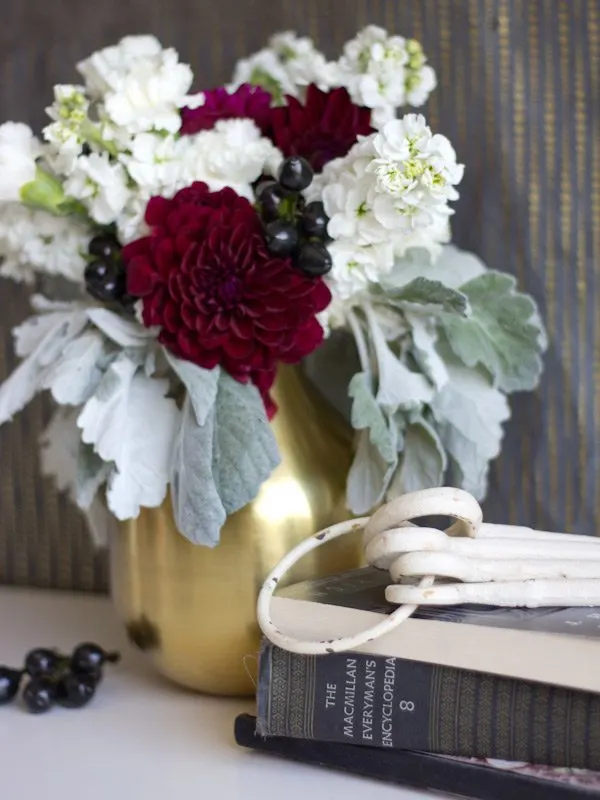
First, when you are choosing your florals, look for interesting shapes and textures. I love the combination of the hanging dusty miller, the ruffly dahlias, and the glossy chili peppers — it feels kind of mysterious. And if you can’t find flowers that are black, go for an inky purple or maroon. Perfect for Halloween!
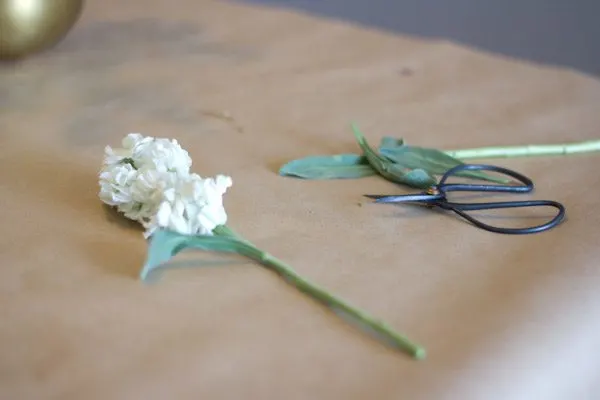
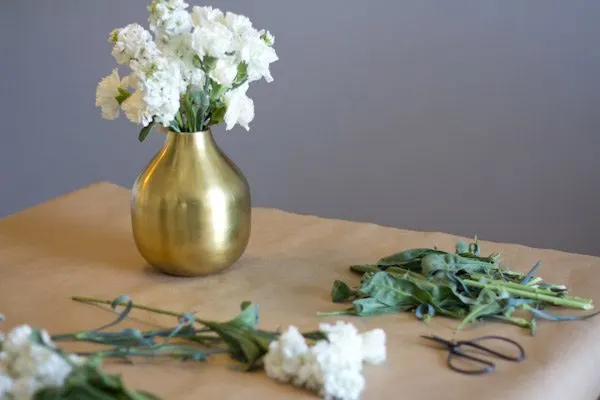
After you have your florals chosen, start with the white filler stems. Trim the leaves on the lower portion of each stem. Cut the stem at an angle, ensuring that it’s the right height for the vase. Create a few that are a little taller at the center, and a few that are a little shorter around the outer edges of the bunch to get a nice shape started.
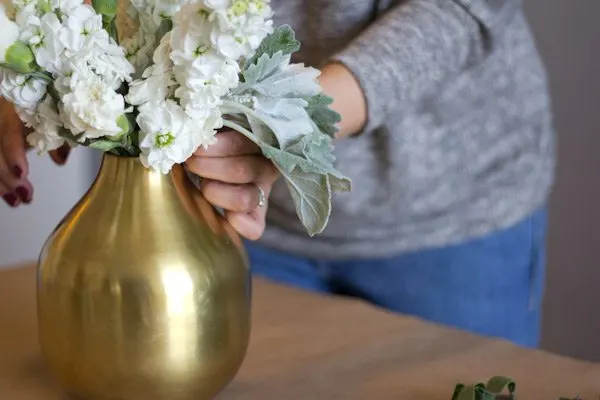
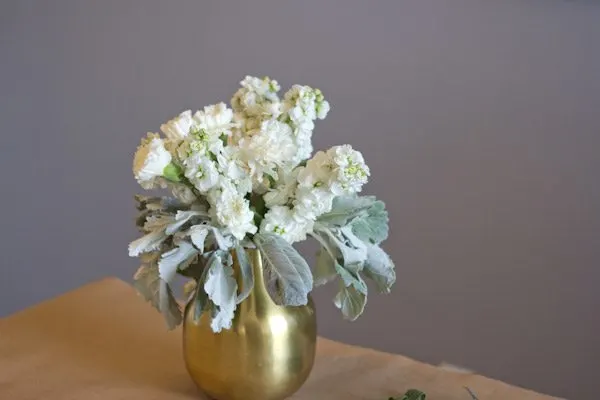
Once the white flowers are in place, begin to insert the dusty miller around the base of the bouquet, so that it hangs over the sides of the vase. Trim any greenery around the stem and be sure to make a fresh cut before inserting each piece. Continue until you are satisfied with the amount of greenery.
Finally, insert your darker pieces. Trim the stems at an angle and remove any low leaves. Start with the dahlias and tuck them into the bouquet, being sure to spread the color evenly around the vase. Finish with the chili peppers, placing them every so often for visual interest.
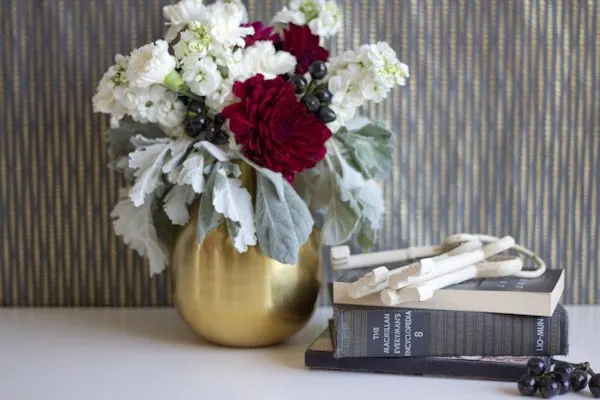
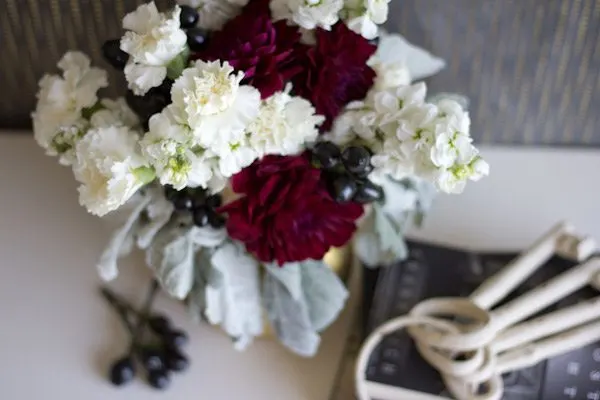
Be sure to look at your creation from all sides and rearrange any uneven parts! Use the centerpiece on your table, or take it as a gorgeous hostess gift to your big Halloween party. I’m looking forward to a glam, black and white season!
![]()
[Photos by Lovely Indeed for The Sweetest Occasion.]
Sources –
Gold vase from Target
The fine print: Please link with love! As with all of our posts, DIY projects featured on The Sweetest Occasion may not be copied, distributed or reproduced without express written permission. Love and links are always appreciated! If you’d like to share this post, please link to this post directly for the DIY tutorial and do not include the instructions in your own post. Thanks so much! xoxo

elaine costa
Tuesday 1st of October 2013
Love the chili and the Dusty Miller, verrrry spooky looking.
Joelle
Tuesday 1st of October 2013
Oh my goodness, I love the idea of using the chili peppers! I don't know that I've ever seen them this dark or this small, but they almost look like berries. So different, and perfect for Halloween!
DIY Halloween Florals on The Sweetest Occasion • Lovely Indeed
Tuesday 1st of October 2013
[...] once a month, with a different floral DIY for you to try. Today’s post is all about making a DIY Halloween bouquet that’s chic and mysterious — I kind of feel like it should be in the Haunted Mansion at [...]
Aleah and Nick
Tuesday 1st of October 2013
What a beaut! The color combination is perfectly spooky, without being too Halloween-y. Love!
cyd
Tuesday 1st of October 2013
Thanks, Aleah and Nick! I totally love what Chelsea came up with :-)