


Update: Congratulations to Louise who is the winner of the Cuttlebug, provided by Provo Craft!

Hello! It’s Jenny, from Hank + Hunt, back to share one of my latest experiments in crafting tools. Recently, the folks at Provo Craft were in touch with us ladies here at The Sweetest Occasion with an offer to try out the all-new Cricut Mini. Lucky for me, I was the girl who got to play around with it! This fabulous little machine cuts out shapes so you aren’t spending hours doing so yourself. I was especially excited when I was given the tour around the Craft Room, Cricut’s own software that let’s you create personalized designs on your computer. You can even create designs from anywhere in the world (ahem…extra time at the in-laws’…) and then save them for later. Design when inspiration strikes or when you have a few minutes to spare!
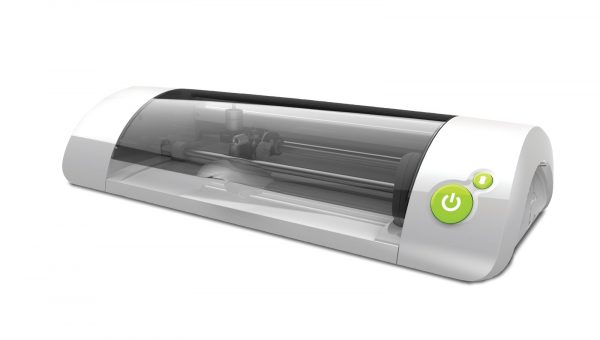
The Cricut Mini hooks right up to your computer and cuts out whatever creations you make with the shapes available from the incredible selection of designs. Personally, I was blown away by the banners, party picks, and labels that you can use for all of your party needs. Of course, I wasn’t just given this machine for the fun alone, I had a challenge! Take a simple box, use the Party Picks designs and create a design that was uniquely me. Game on!
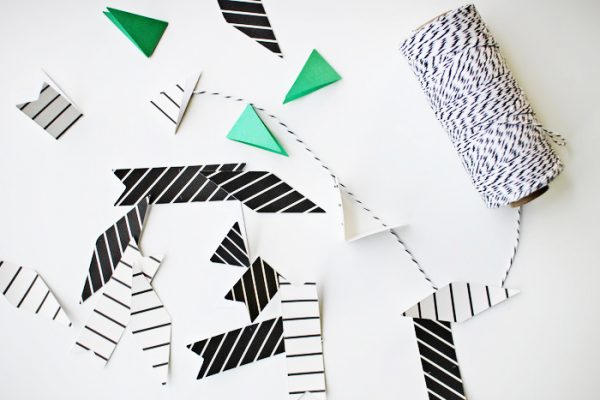
The first sheet I tried for the bunting shape. It cut out in mere seconds. I sat there, stunned. Seriously, seconds? Do you have any idea how many days of my life I have spent cutting out flags? Hallelujah! If you are anything like me, you would get this little number just for the Party Picks. There are so many more designs, too, that you just can’t go wrong. It’s incredible the amount of time this bad boy saves you!
At any rate, back to my challenge. A bunch of us were asked to create pretty little packages, which you can check out on the Cricut Facebook page here. Now, let me show you what I created.
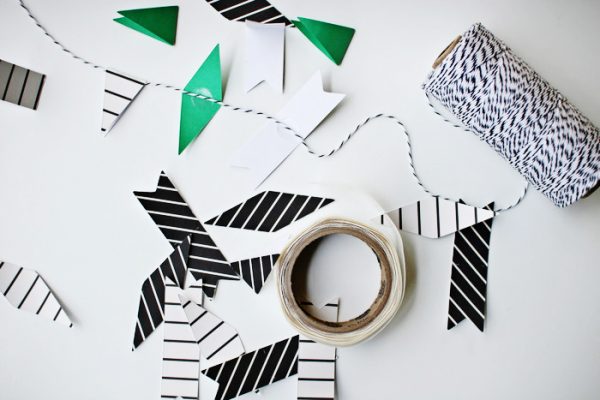
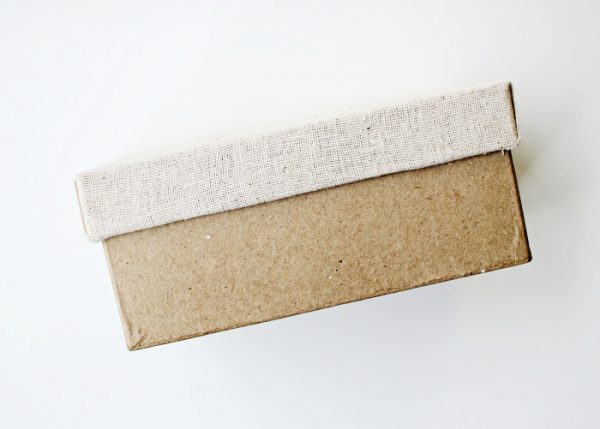
I started with a paper mache box, assorted black and white print card stock, a piece of chunky muslin, twine, Glue Dots, double stick tape and the newest member of my craft arsenal, the Cricut Mini. Using the Cricut Mini, I picked various shapes and cut them out. It was quick and incredibly easy. After the shapes were cut, I folded them in half and attached them to twine using Glue Dots. I pre-measured my twine by wrapping my box.
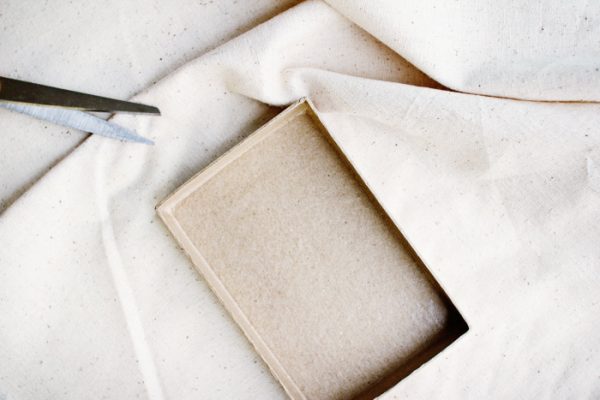
To embellish my box, I wrapped the lid with chunky muslin fabric. I love this fabric because it has a thick weave and resembles linen, at a very cheap price. I placed my box lid upside down on top of a piece of fabric larger than the top. I trimmed the fabric so it was just long enough to cover the sides and wrap to the inside of the lid.

Cut a slit in the fabric to the box on each of the four corners, as shown. This will let you have neat flat corners. I put two pieces of double stick tape on top of the lid and centered it on the fabric. Then I covered each side with more double stick tape and pressed the fabric up, making sure the fabric stayed taut and smooth. Finish up with double stick tape on the inside of the box and adhere the long sides first. Trim as needed to lay flat. Then adhere the shorter sides.
You could repeat the same steps to cover the entire box, but I liked the look of just the lid being decorated. This works with any kind of fabric and any size box. You can get really creative with designs, and you can reuse these boxes year after year.

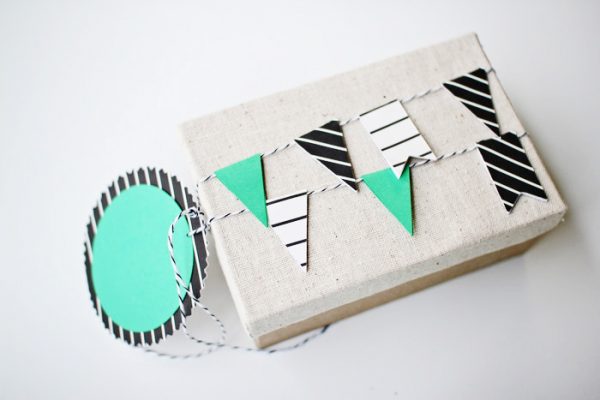
Now, that my box was done, I attached my bunting covered twine. I only did a few to start, and then wrapped the twine on the box. Once it was placed, I added the remaining pennant flags. I was also thinking, when I do this again, I should make a full garland, so they can hang the decoration after unwrapping.
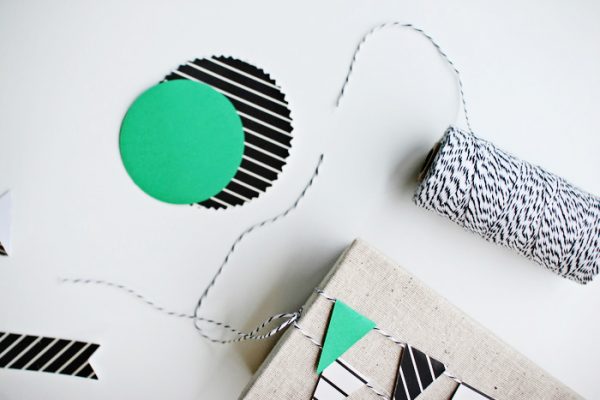
I also used the Cricut Mini to cut some label shapes and layered them together with Glue Dots. I tied them to the box with twine.
I hope you like it! It has all of my favorite things – black and white stripes, emerald green and muslin…I love it! To get your creativity flowing, check out Cricut’s new short inspirational video. If you are anything like me, it will get you excited about craft tools, especially when they can make your life easier! I am in love with that little fox. To celebrate the launch of the Cricut Mini, see the facebook page for the mini here. Oh, and we’re giving away a Cuttlebug!
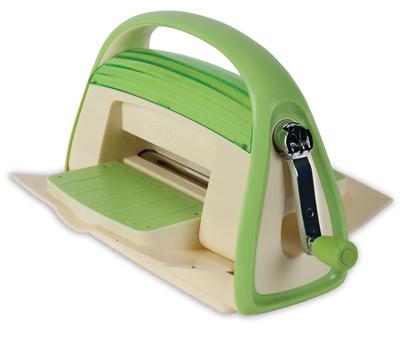
The Cuttlebug uses a special roller to emboss and cut shapes into your paper…how cool would this be for a wedding? You could emboss to your heart’s content! (You can check it out here.) What do you need to do to win? Leave a comment below and we’ll announce one randomly-selected winner. How easy is that? Happy crafting!
{Photos by Hank + Hunt for The Sweetest Occasion.}
Editor’s Note: In exchange for this review, Provo Craft provided The Sweetest Occasion with one Cricut Mini free of charge and a Cuttlebug to give away to a reader. We received no monetary compensation for this review.


 Back to Top